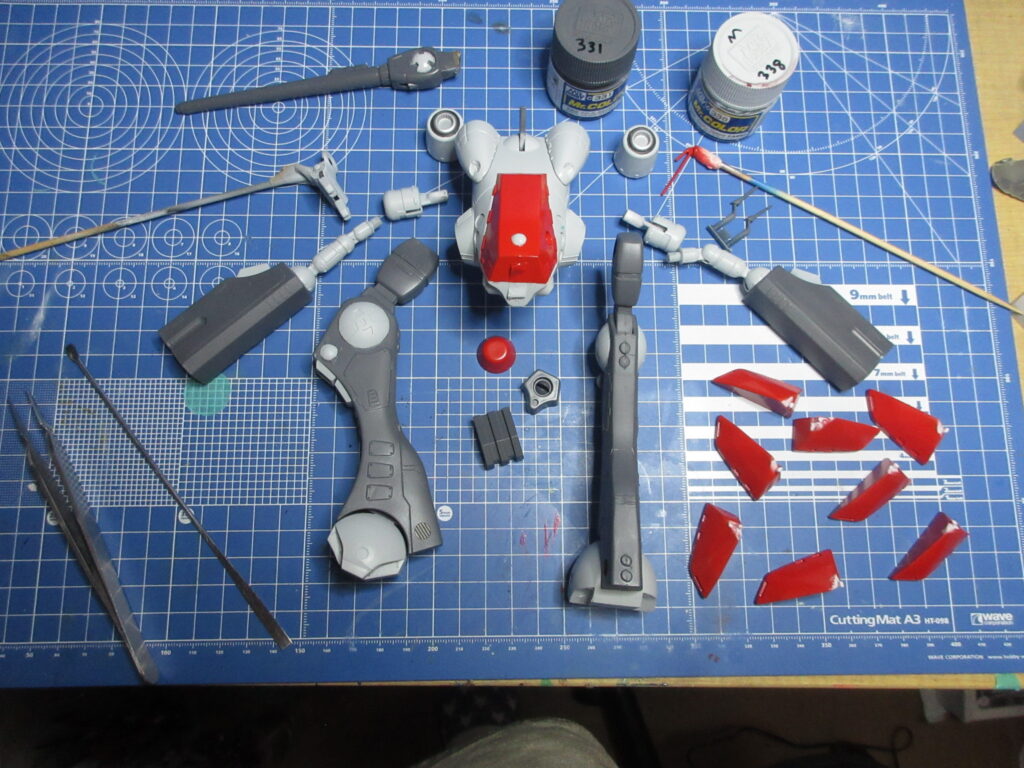
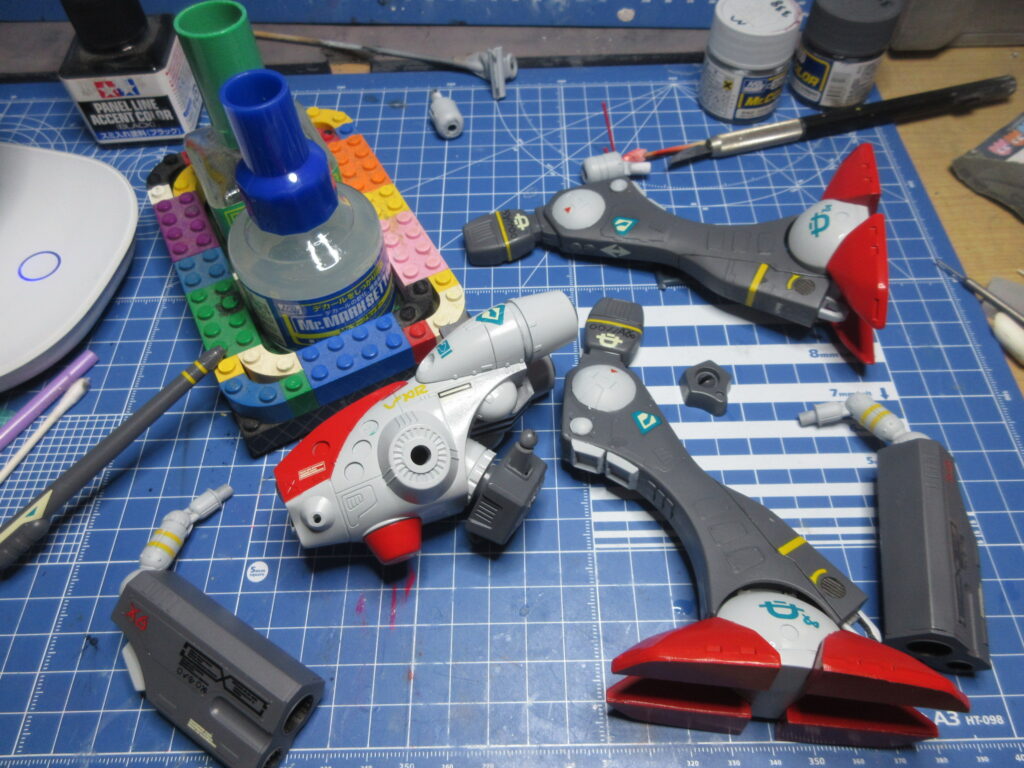
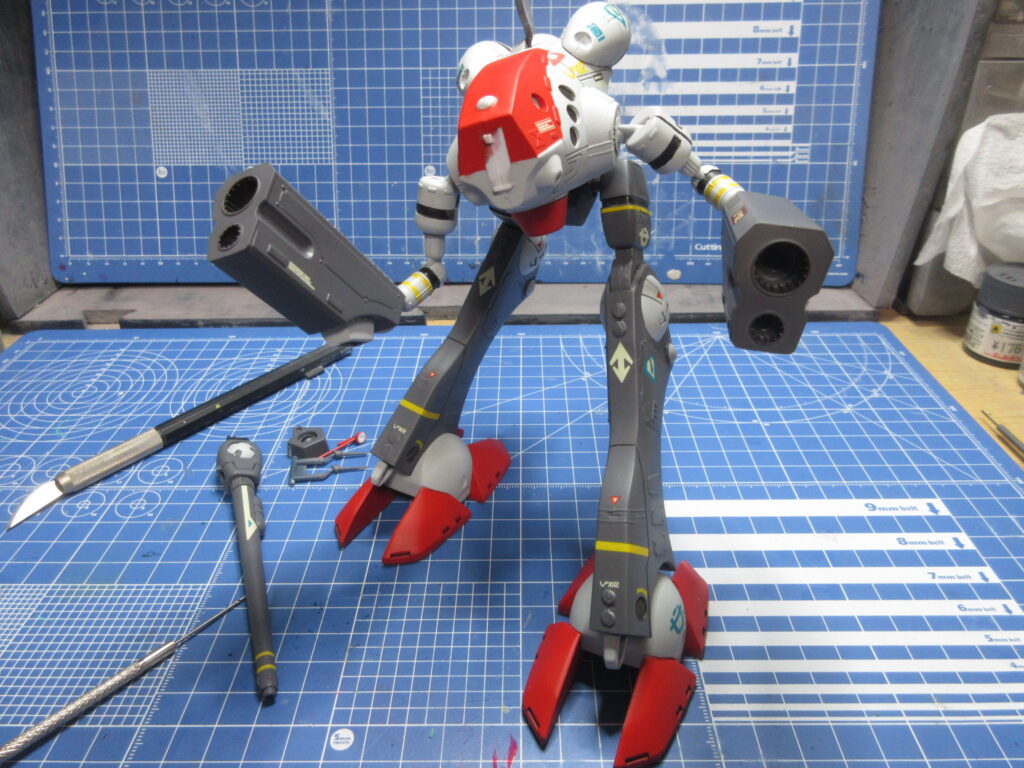
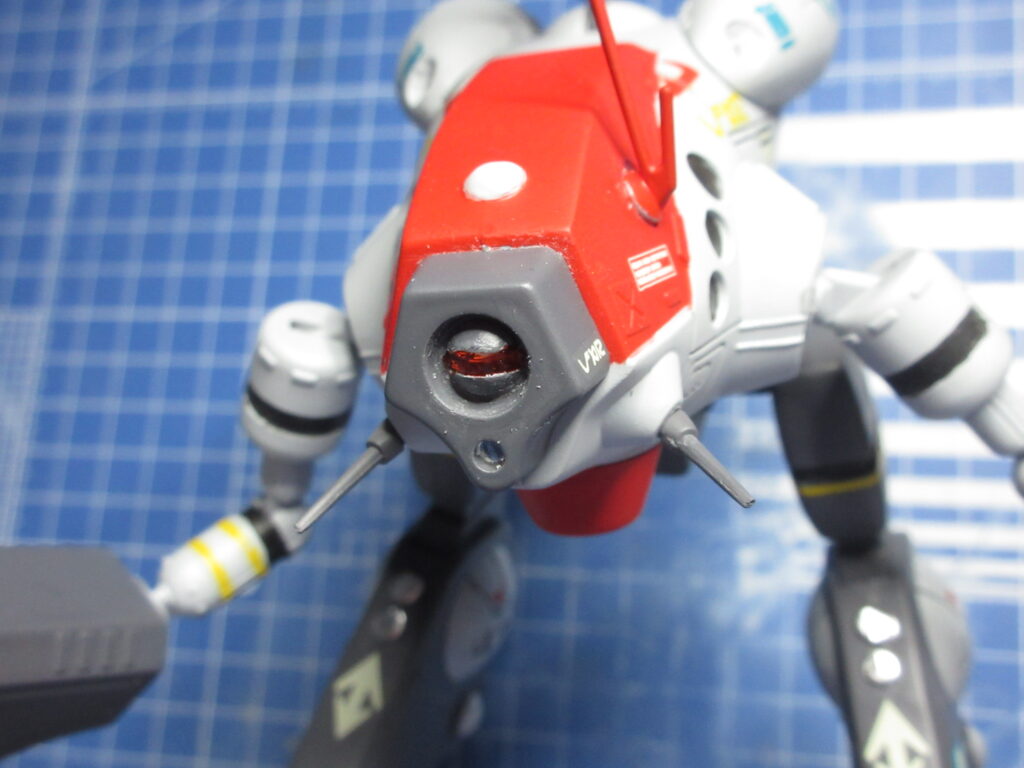
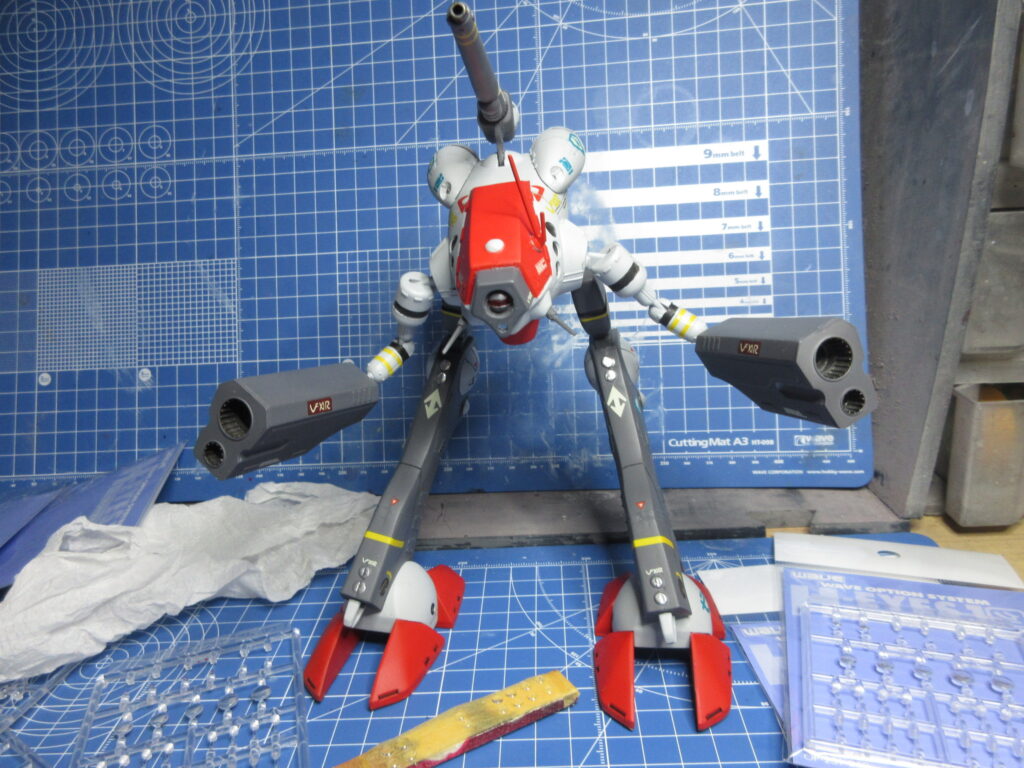
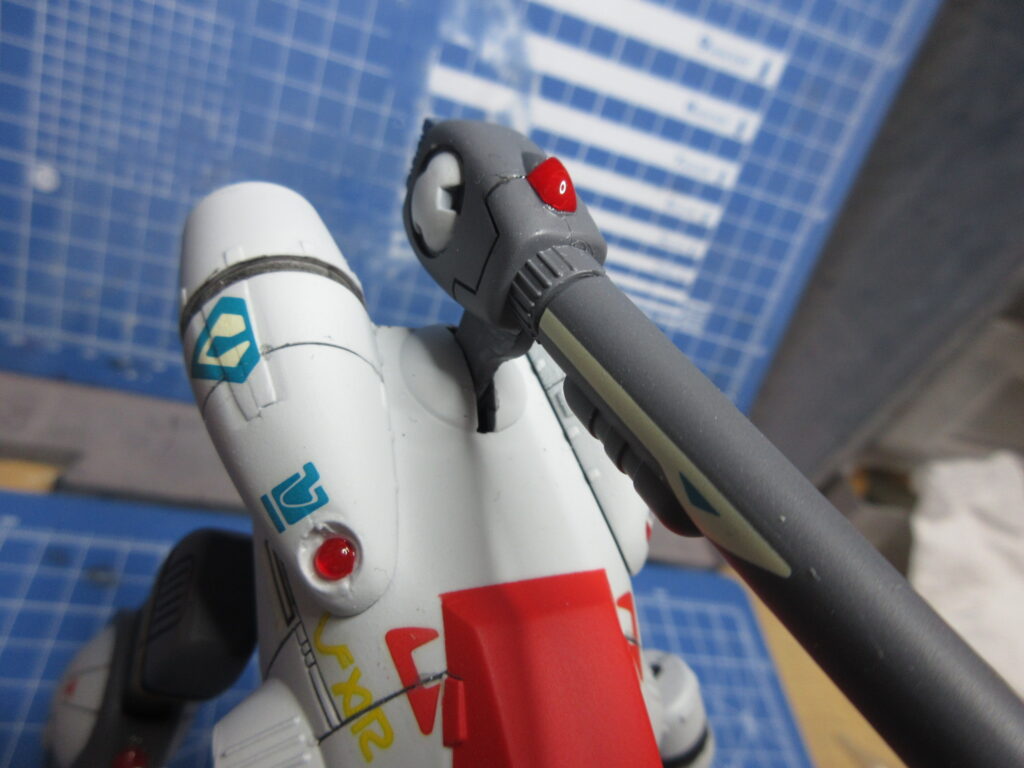
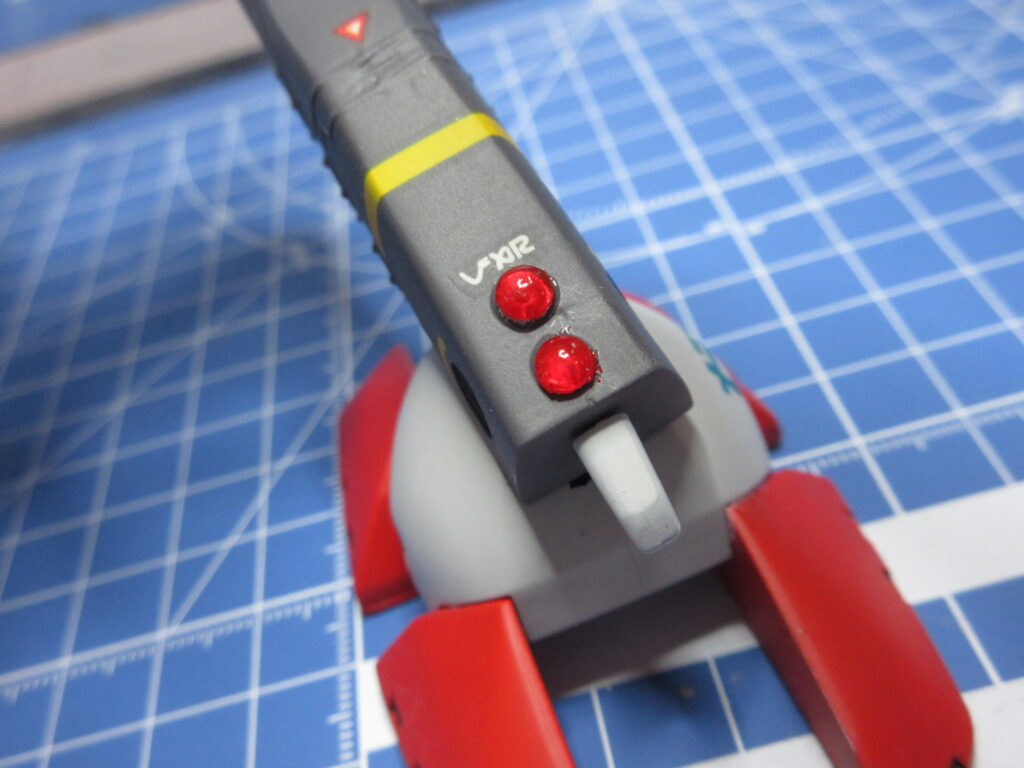
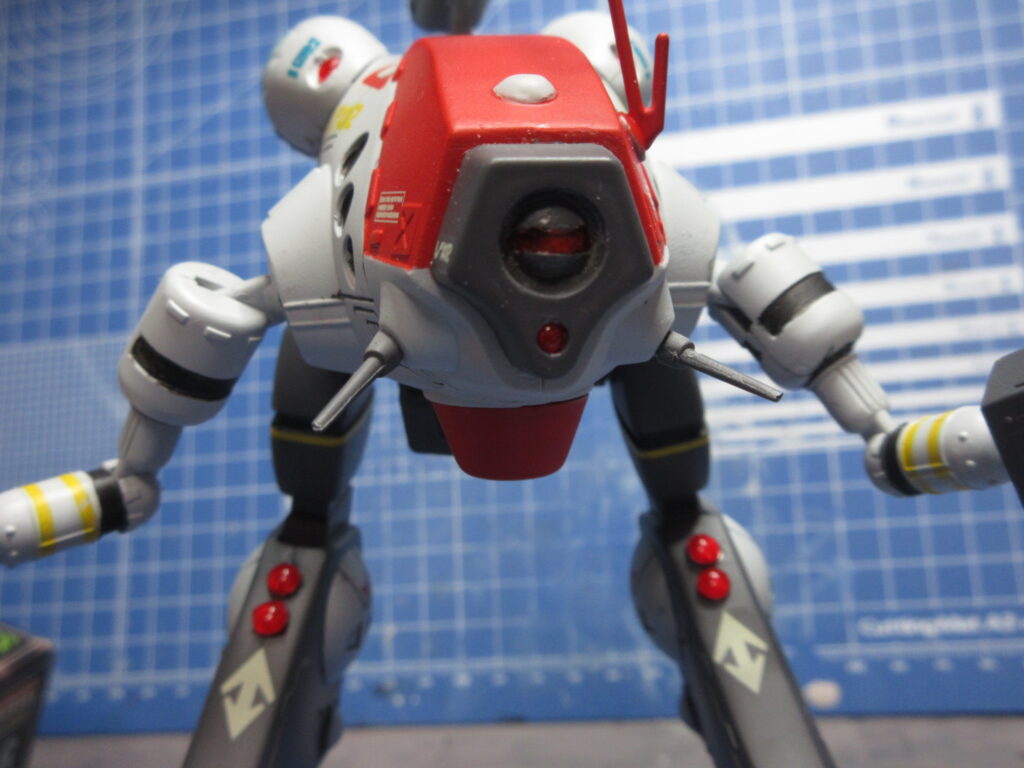
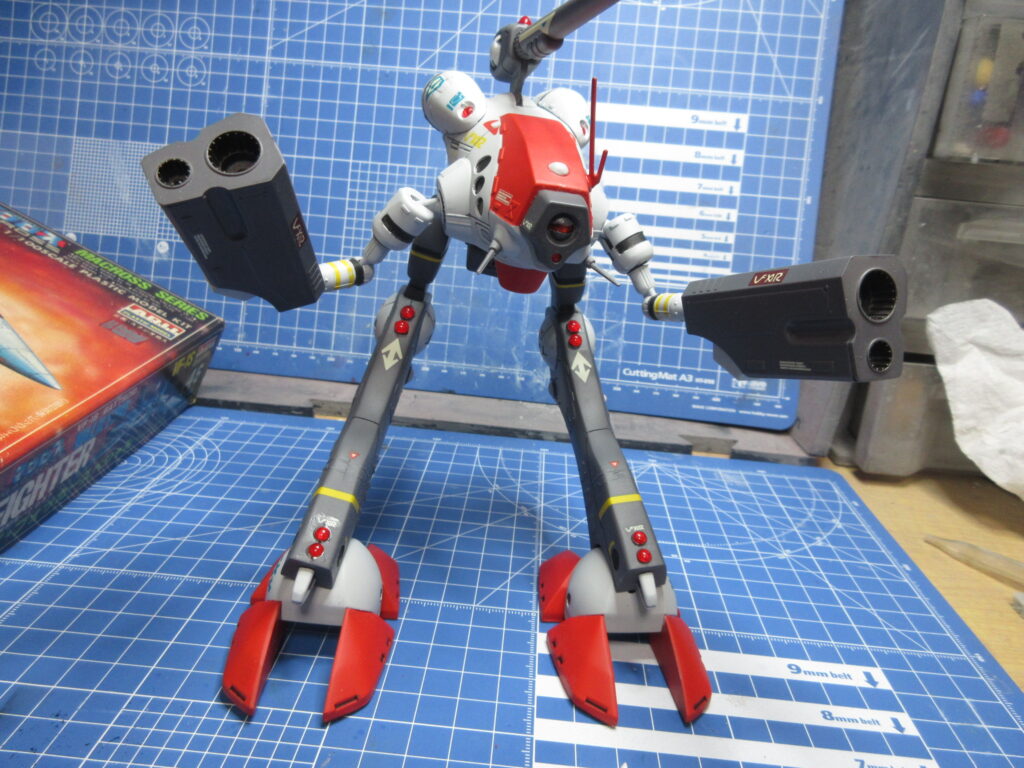
Decals complete! I only had one small mishap. It was with the small, red triangle on the inside of the right leg. I guess I didn’t dry it well enough, so it slid while drying. I just used masking tape to create a triangular shape and hand-brushed it with red acrylic paint. You won’t notice it unless you know where to look, I think.
After a flat clear coat, I could start putting the kit together. You can’t make it strike this pose the way it is built straight out-of-the-box! There are ball joints in the hips, pivoting pegs in the feet, and polycap sockets for the shoulders enables the Glaug to attain more dynamic poses.
I had taken a mold of the nose with Oyumaru plastic clay, cut out the mono-eye, insert the piece into the mold, and backfilled it with UV resin. I then painted the backside of the resin with Molotov chrome paint pen.
Pretty badass! Next was time to do other clear parts.
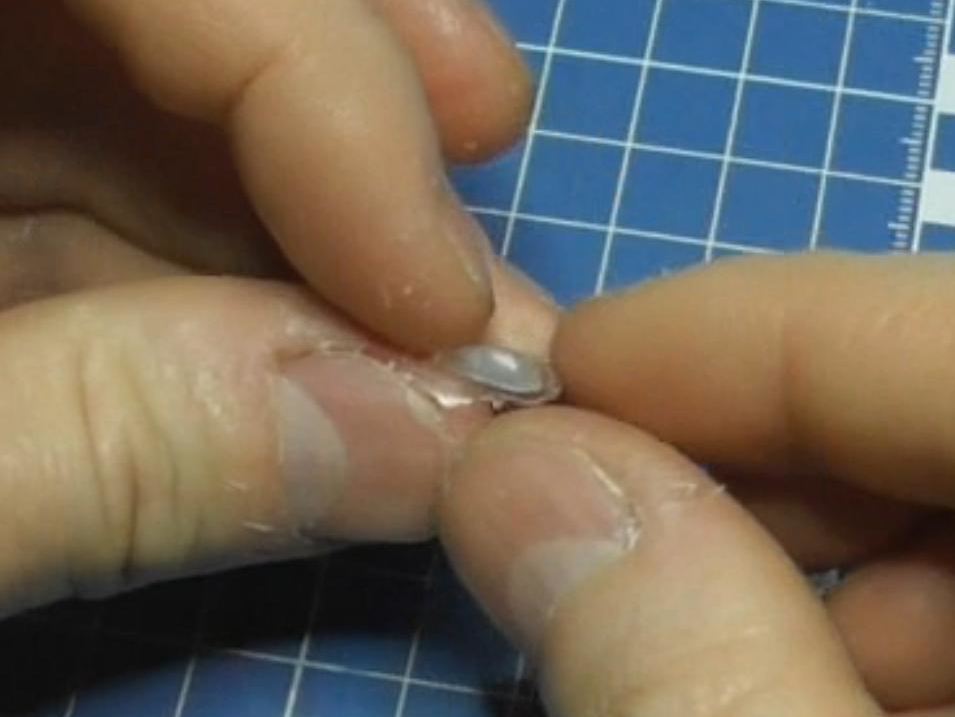
I’d taken a mold of the top cannon’s sensor with Oyumaru. I filled the mold with UV resin, cut off the back part, painted the underside and back with the chrome pen, then airbrushed the part with Mr. Color 47 Clear Red along with the H-Eyes lenses from Wave.
Nearly complete! Next I want to add a little bit of chipping.
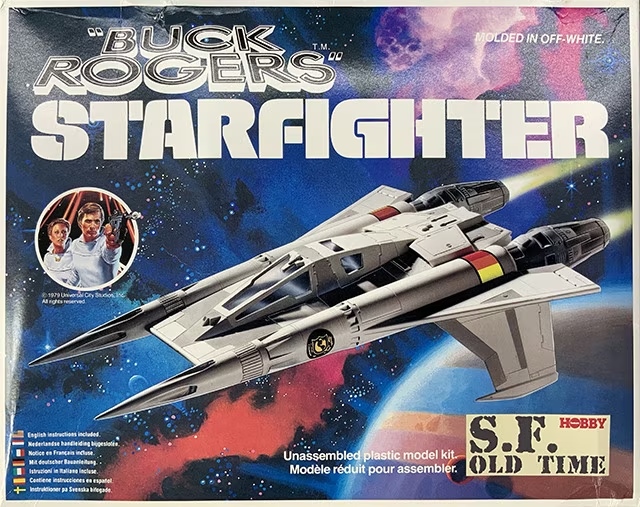
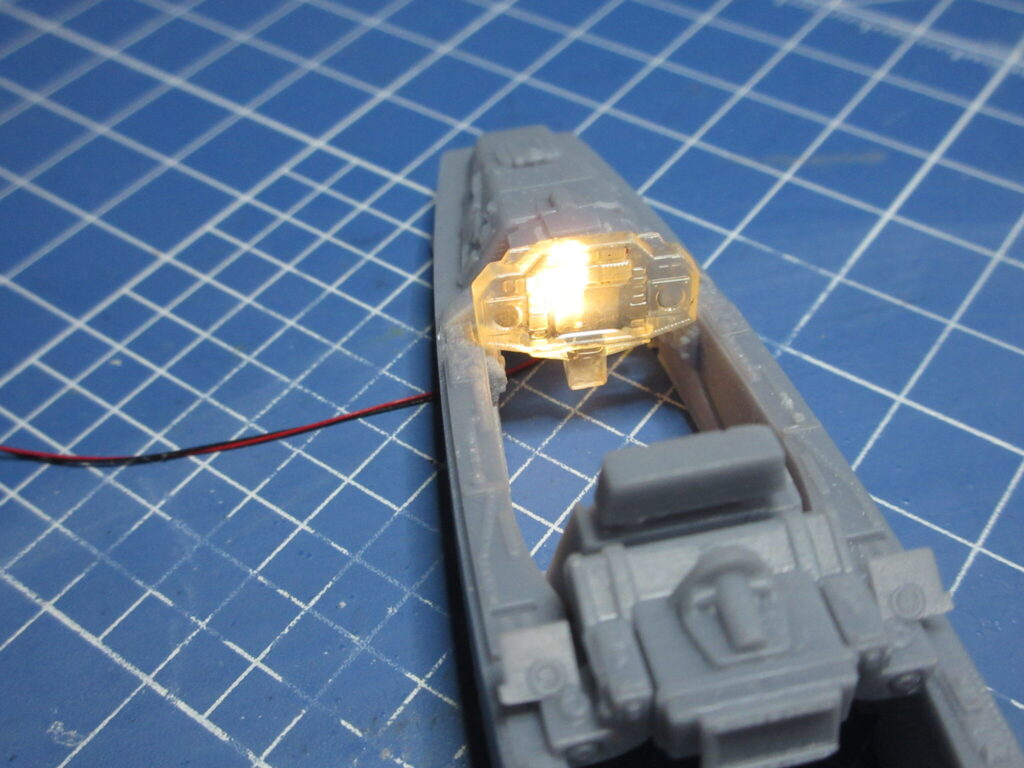
Here’s the project I began this summer. This is the ’80s reboxing of Monogram’s Buck Rogers Starfighter model kit from ’79. For its age, the detail is pretty good! The only thing that sucks about it is the cockpit tub and a lack of a pilot figure. I’m going to light this kit.
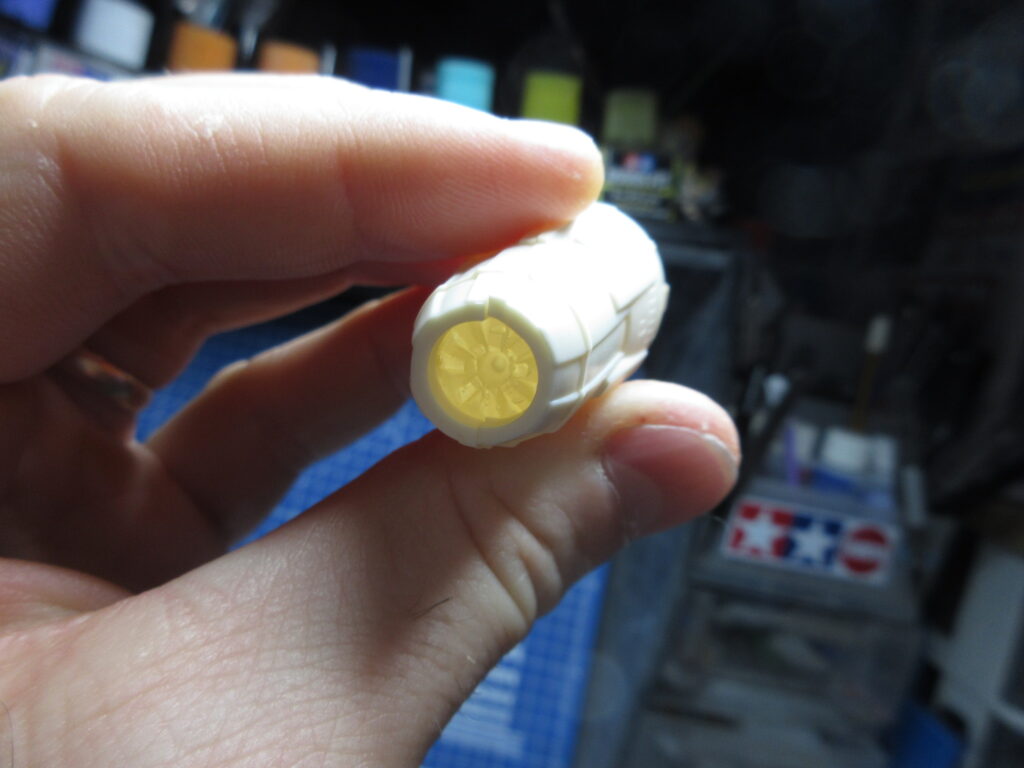
I used Oyumaru plastic clay to make molds of the engine insert discs and I cast them in clear UV resin.
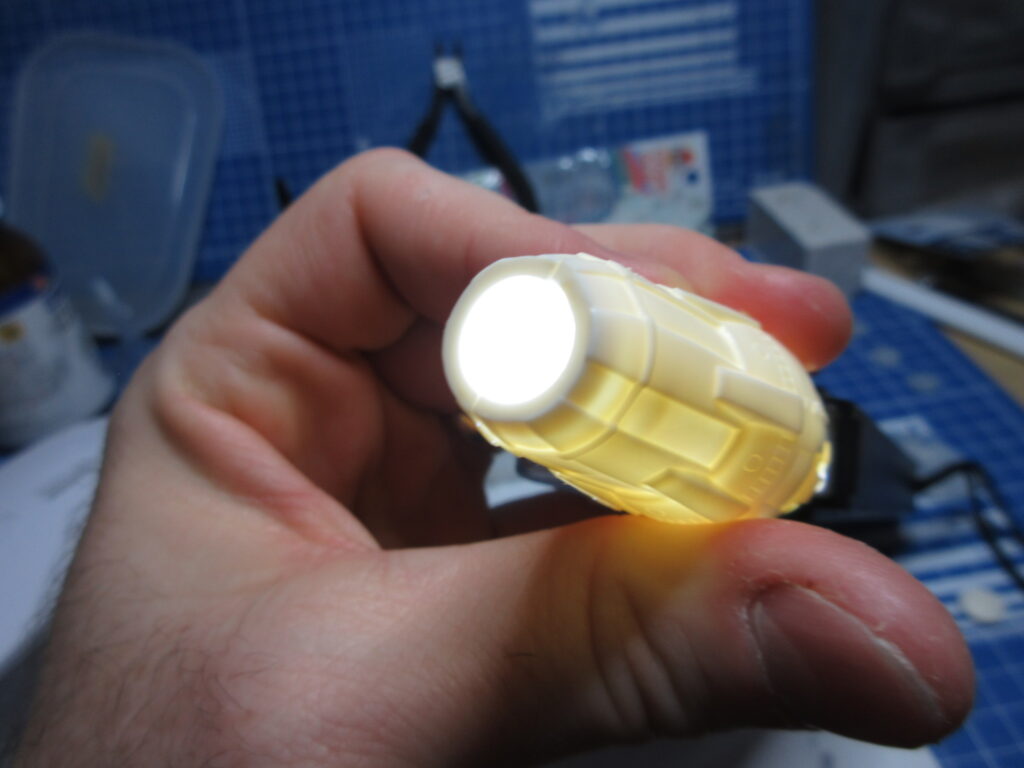
Here is a test by just holding a flashlight to the back end. Next I sprayed the inside of the engines with Modelkasten’s Shade Black light blocking paint.
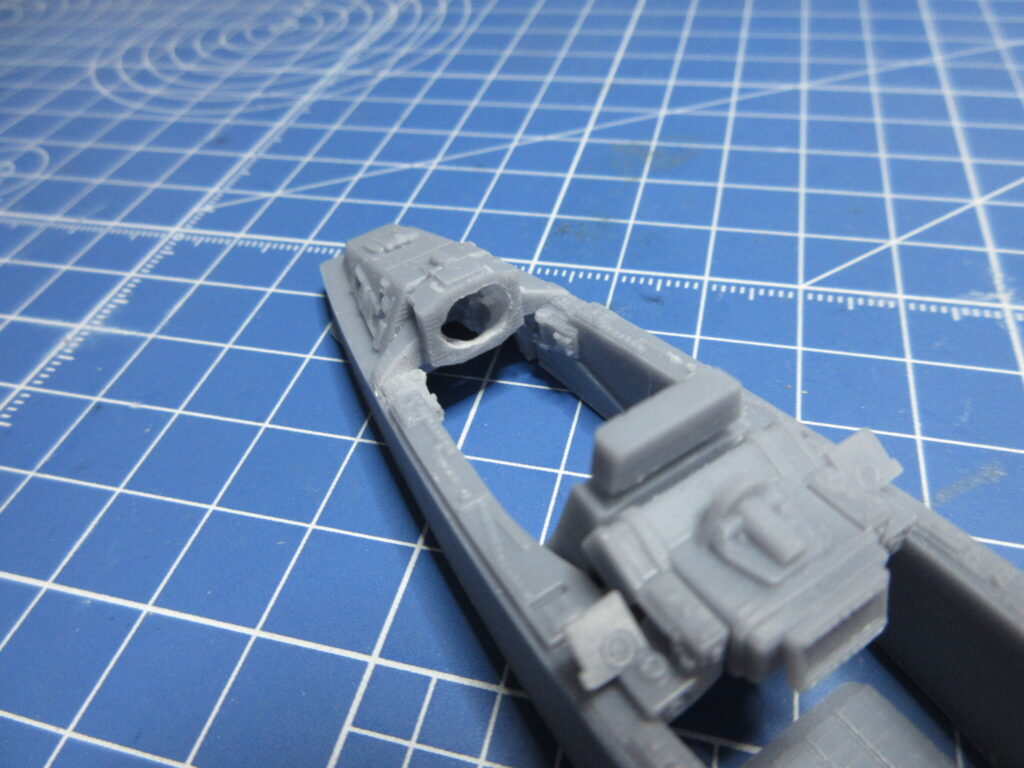
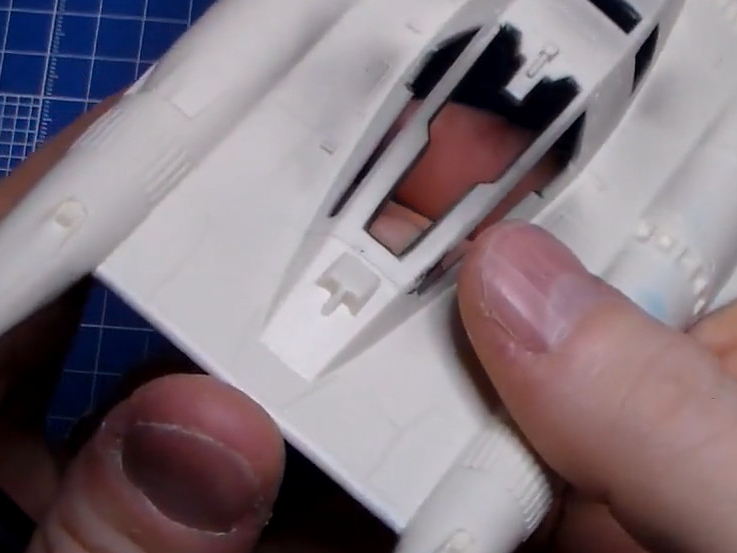
I had a guy I know on the Macross modeling forum 3D print a decent cockpit tub. I used my rotary tool to dig a hole out for lighting.
This is just a clumsy mock-up, but I put a 3528 warm white SMD into the hole. I think when the time comes, I’ll cram some translucent white Oyumaru into the hole to create a light channel and diffuse the lights. As for the two side screens, I don’ t think this is gonna cut it. I’ll probably have to add some smaller SMDs to light those.
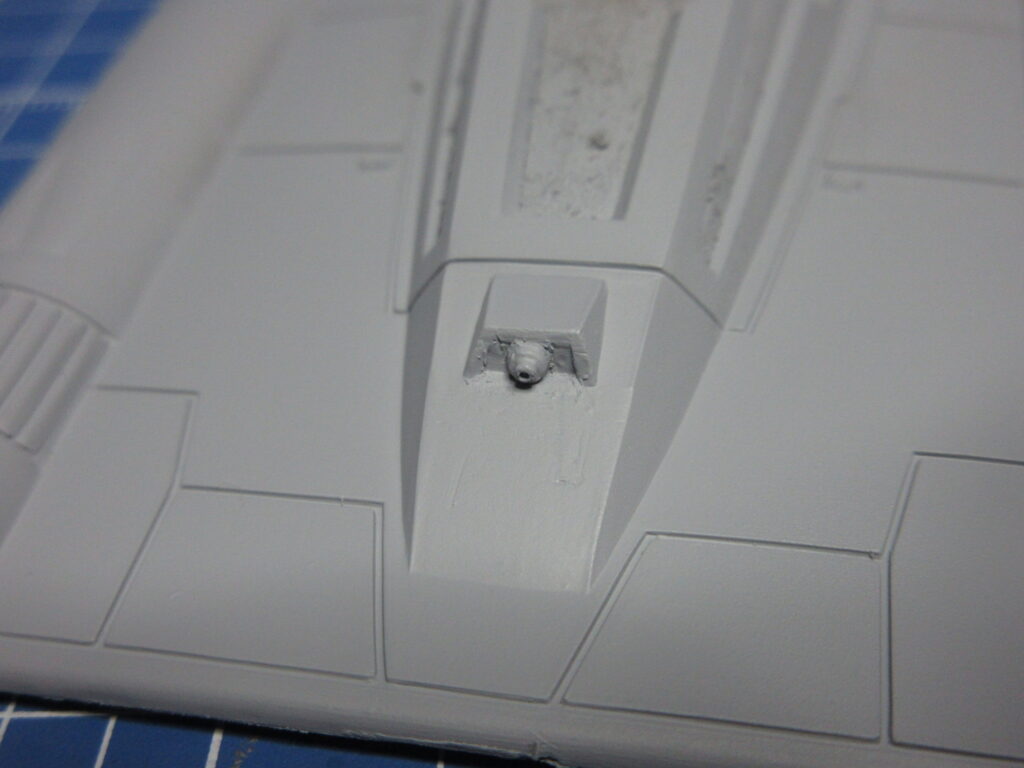
The module thingy on the front of the ship is not accurate. I cut it off and scraped it, then added a spare part from the old legacy Hasegawa F-15J model to represent how it’s supposed to look. Although looking at this up-close with a photograph, I see a lot of roughness that I cannot see with my 50 year old eyeballs. Looks like I will need to put my optivisors on and work on this some more.
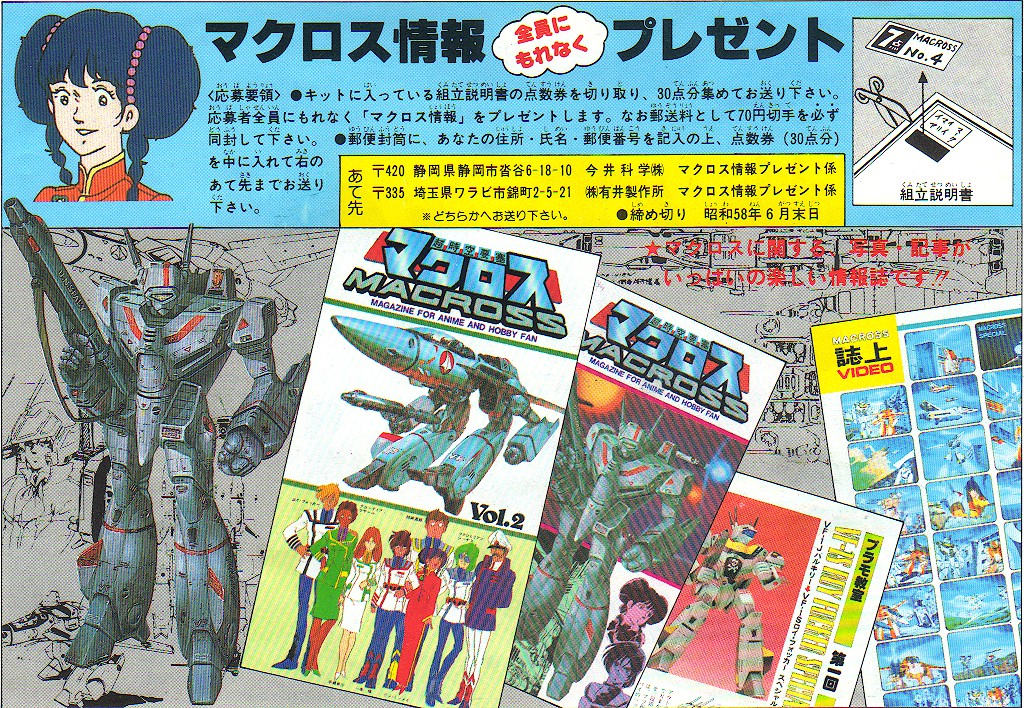
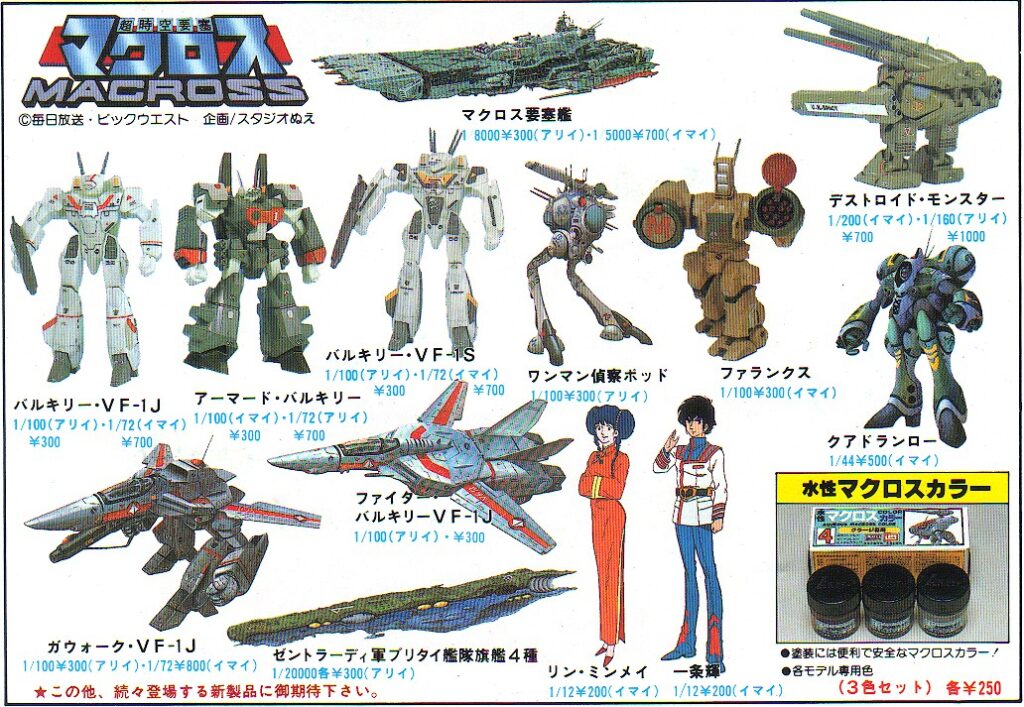
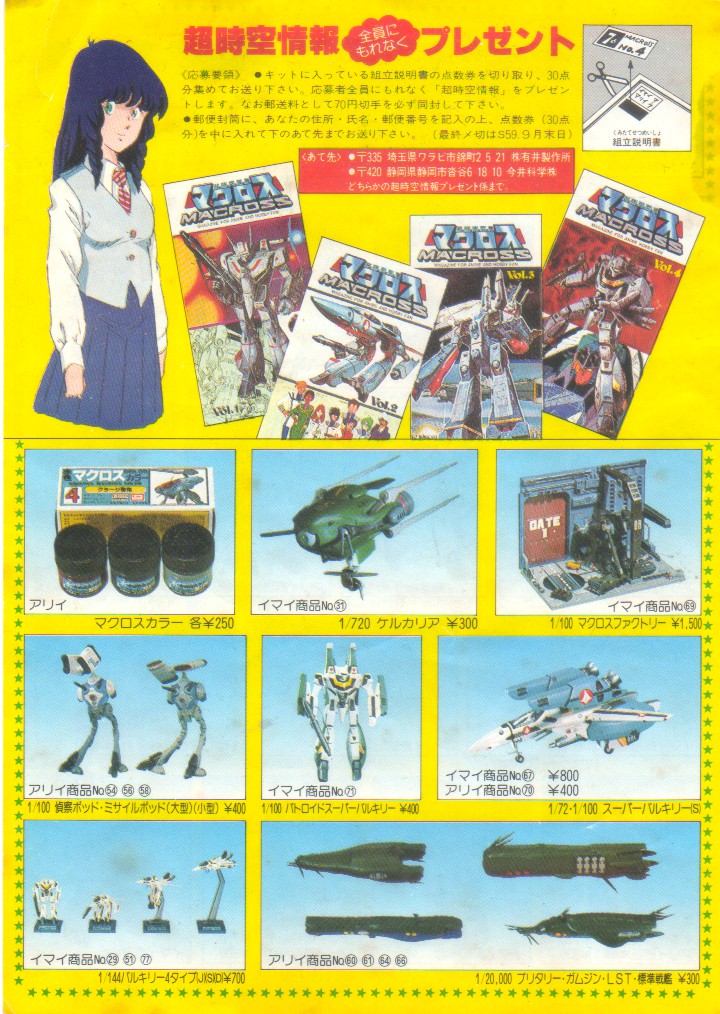
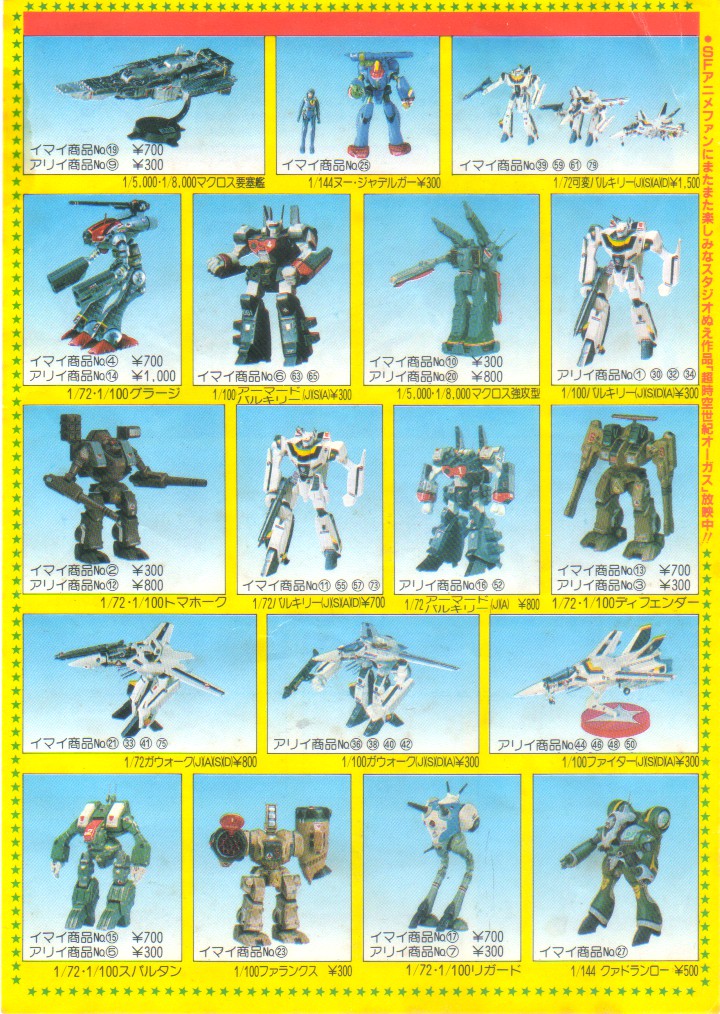
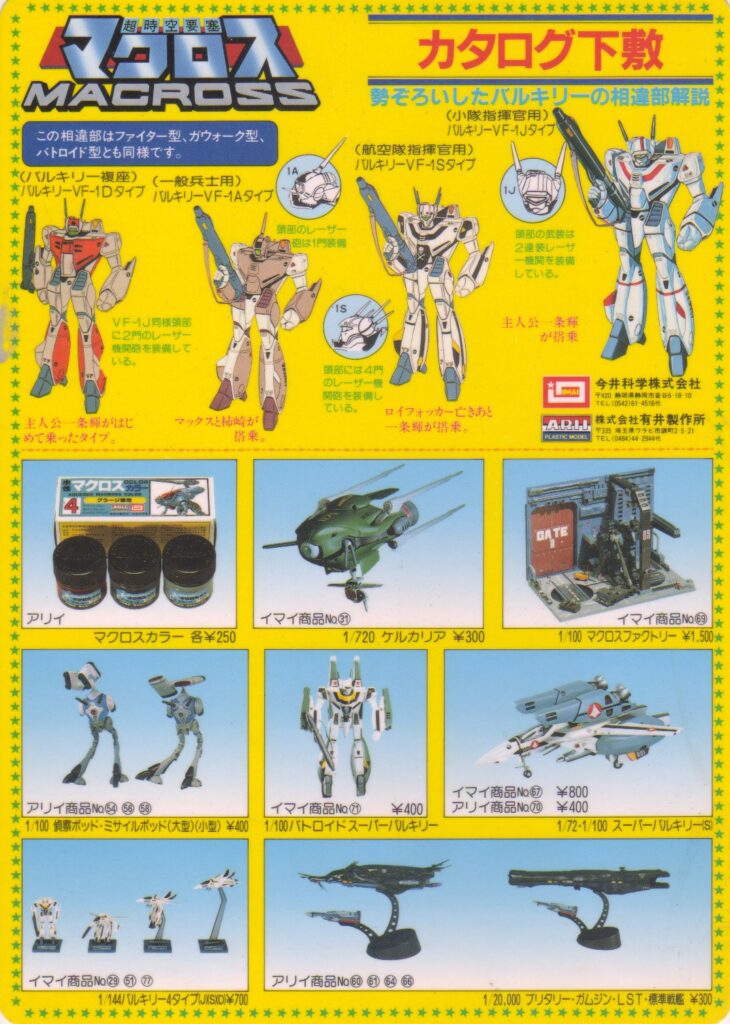
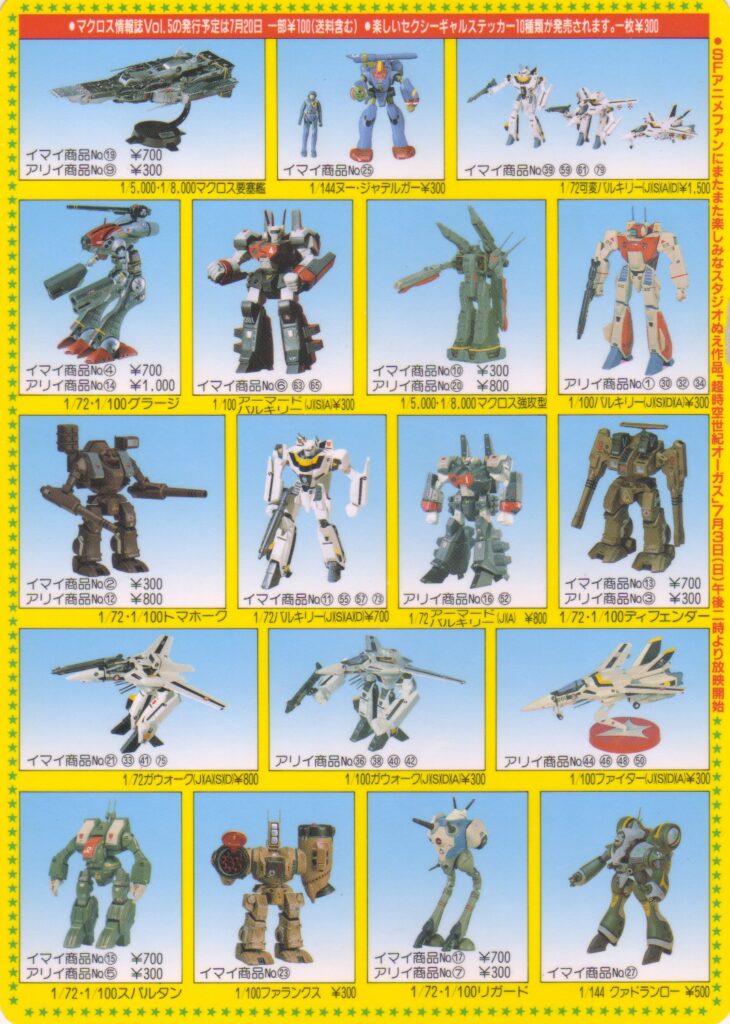
Imai and Arii had a cooperation in the ’80s with their Macross models and in their kits were included these neat promotional flyers. I’ve scanned the front and back of the ones I have.
frontbackfrontback
Below is a shitajiki (“pencil board”) which differentiates the VF-1A, VF-1D, VF-1J, and VF-1S Valkyrie varians as well as features the “Macross Color” paints by Revell. I’ve only encountered a bottle of Revell paints in Japan once and I have no idea if it is the same kind of paint that Revell makes today (which doesn’t impress me). Now that I mention it, I am surprised that with all of these anime-specific paints put out by Mr. Hobby and Gaia Notes, nobody has made a series of Macross paints.
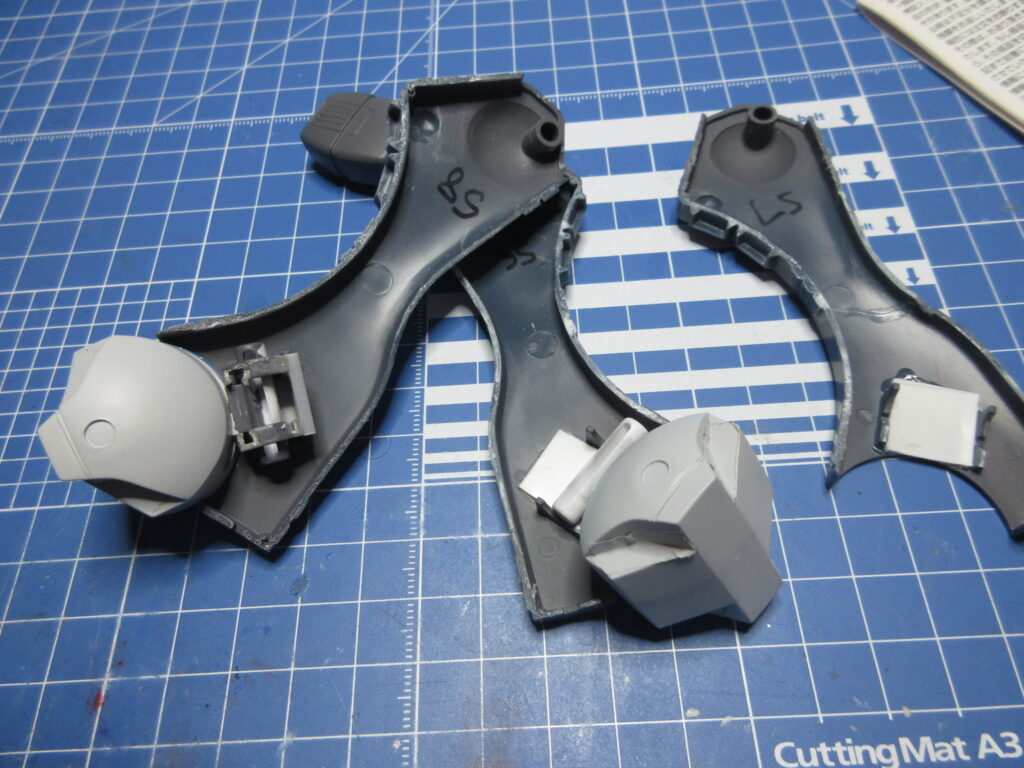
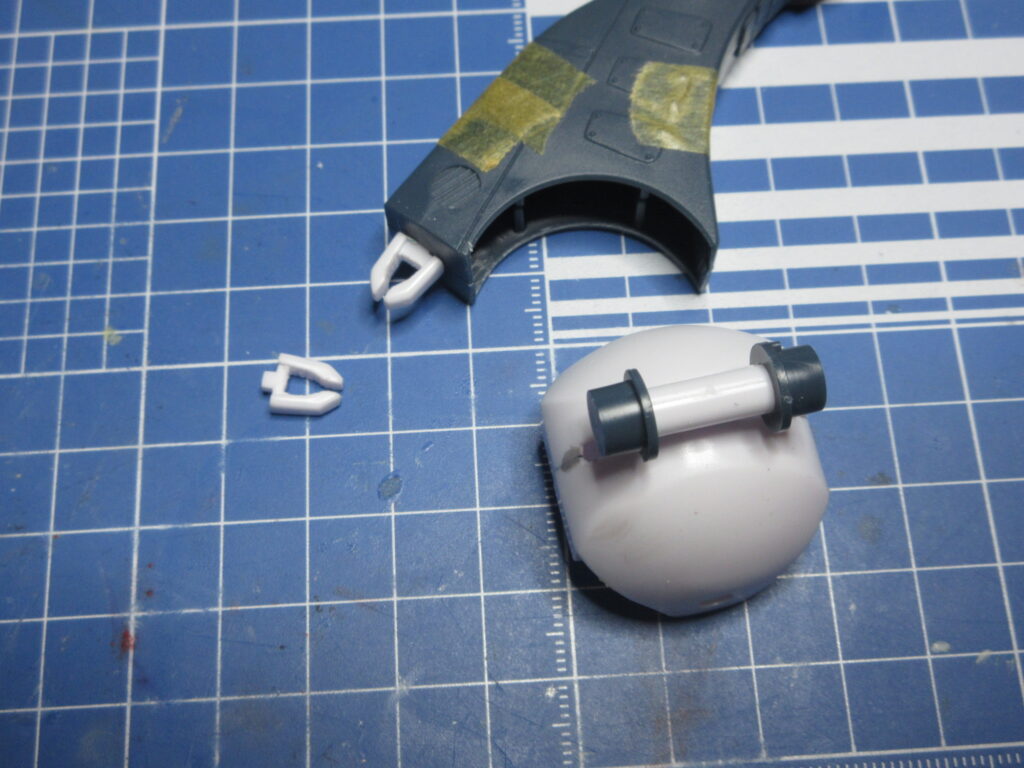
With the way the feet are out of the box, there isn’t a lot of lateral movement. The feet have these cylinders that plug into brackets and have end caps which keep them in place. No glue required, I guess. Well, the problem with that is that there isn’t much lateral movement with the feet this way. The end caps have locator tabs which correspond with the brackets, making the feet really straight. That’s not what I want if I’m to have the legs splayed apart. These old kits, when built straight out-of-box, generally build up to be Stiffy Stifferson. For more dramatic poses, such modifications are necessary!
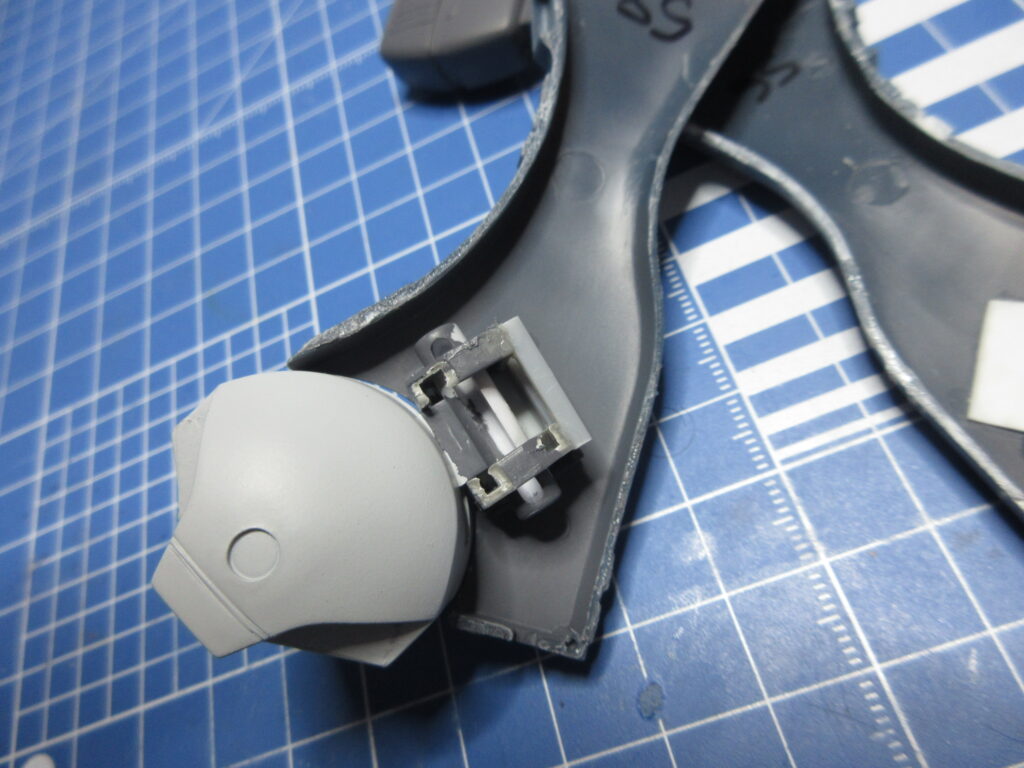
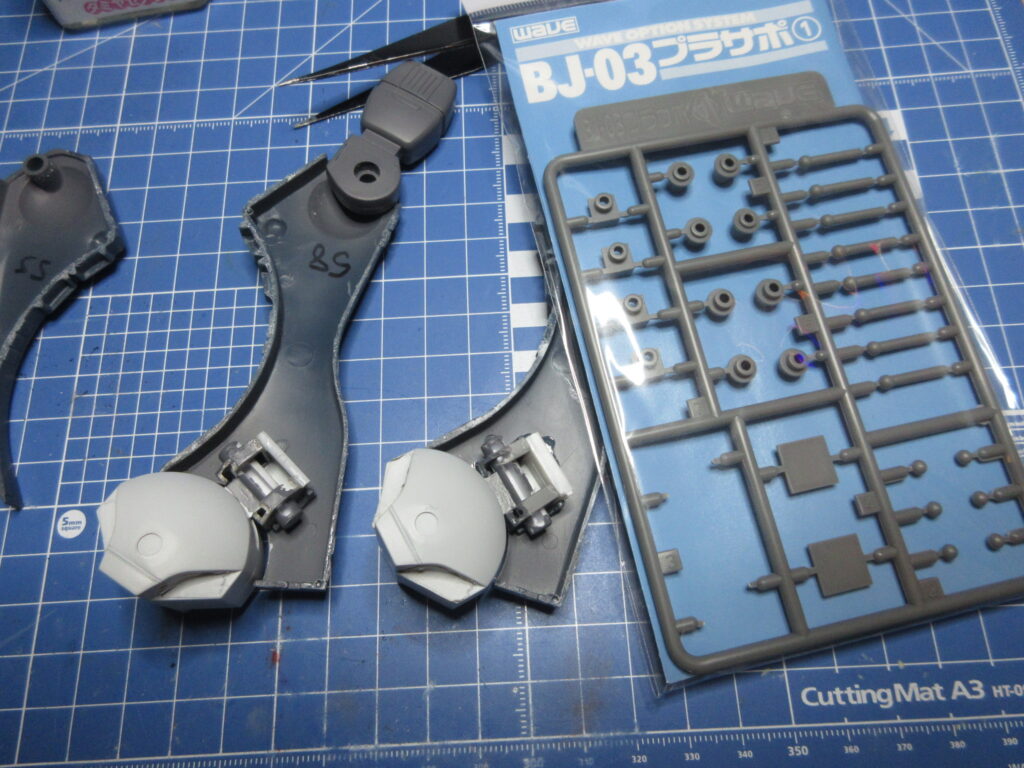
I noticed that these cylinders fit excellently into the 5mm hole sockets of the square parts of the BJ-03 Pla-Sapo (“plastic support”) sets by Wave. Above you can see how I snipped off the bottom of the brackets and placed the square parts a bit lower so that these cylinders can allow more lateral movement. Those end caps are now no longer required!
When the leg halves are put together, I noticed that there was an 11 mm gap between the brackets. The square parts are 10mm, so I used Tamiya .5mm plastic sheet between the brackets in order to create a snug 11mm width. (You’ll see the white sheet plastic glued into place in the pictures.)
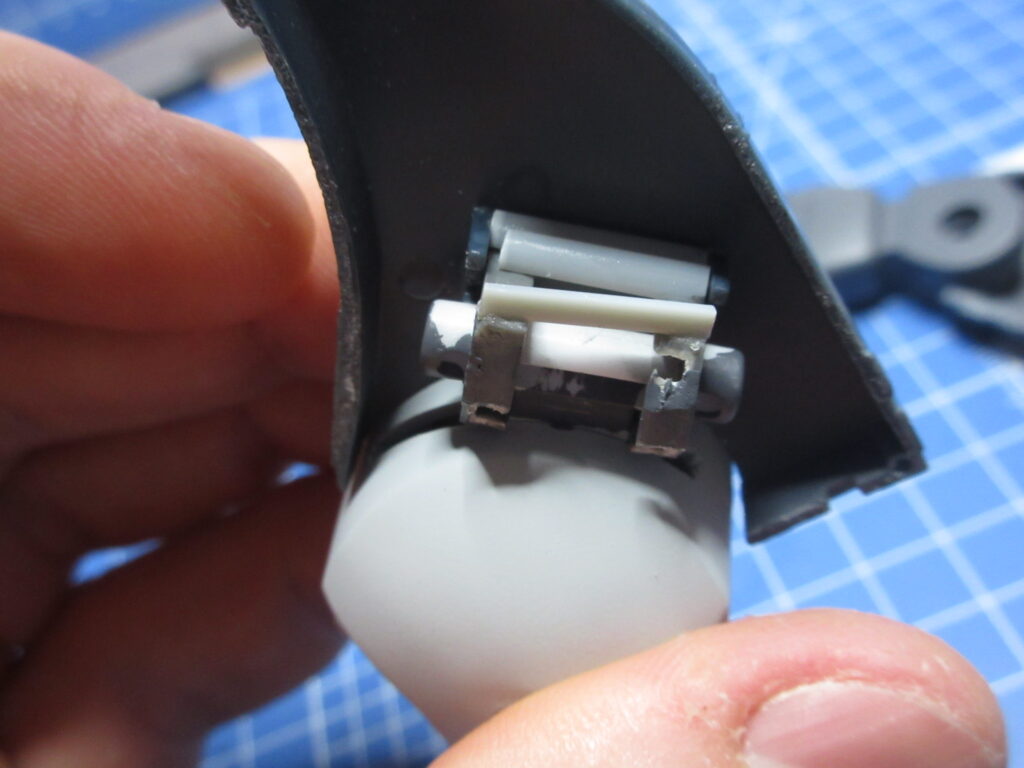
Oh but wait… the square shapes were preventing the feet from swinging side to side, so I cut off their corners. I used Wave 2mm plastic sticks to act as braces. I also hand-painted the parts gray so that they won’t be so noticeable.
It’s crude, but it works. I also had to cut off the top corner of the front square because apparently the legs are a bit tapered towards the front, I guess. I’m not sure.
So now both feet are complete. I used Tamiya 4mm square plastic rod to brace the other foot. From here, all I have to do is put glue in the right area and sandwich this work in between the two leg halves and be done. Now I can resume painting.
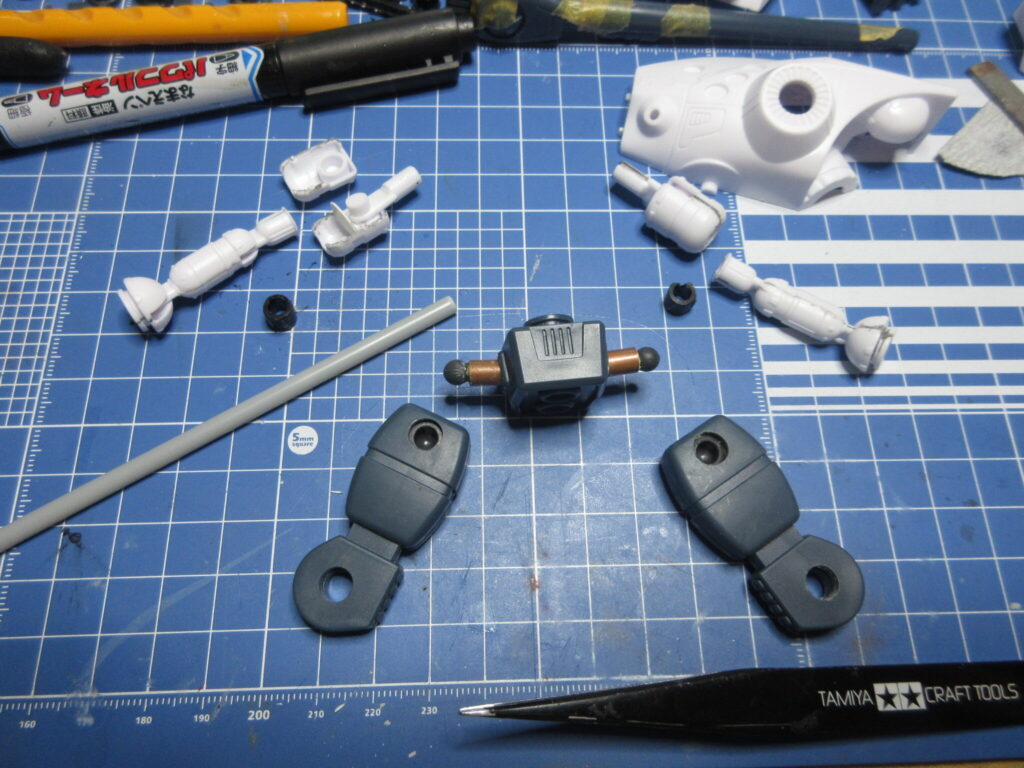
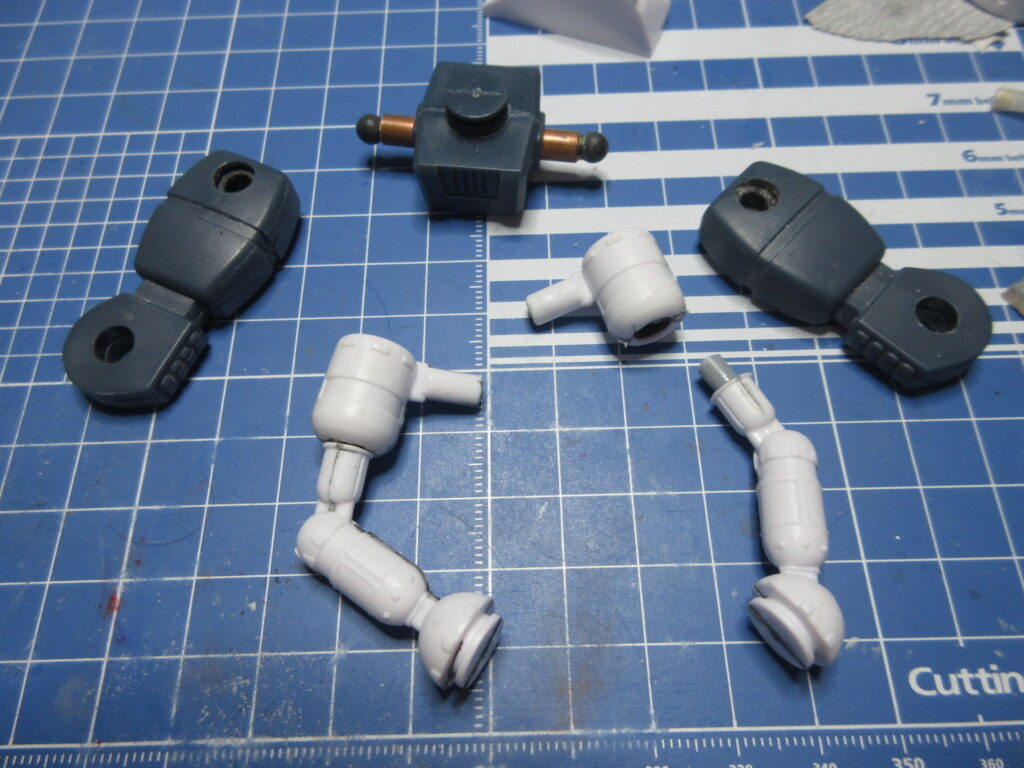
I mentioned in my first update that I was going to use ball joints for the arms. I realized that this would be a bad idea because those are arm pegs and putting ball joints on the tips would make the arms look too long. Instead, what I did was use my Tamiya saw blade to cut the arms at just below the shoulders. I then ran the extra thin cement onto the joints several times to loosen up the dried glue and then I was able to pop them apart with my knife. I used my contour tool to figure out that these shoulder parts will fit 9mm discs inside which I cut out from Tamiya pla plate. This will prevent epoxy putty from oozing into the articulated joint, I hope. The black polycaps are from some Bandai kit. I’ll need to use epoxy glue to secure them into place inside the shoulder parts. The Wave 4mm plastic rod you see fits rather nicely into the elbow joints and into the black polycaps.
After attaching the polycaps to the discs with epoxy glue, I then wrapped epoxy putty around the polycaps inside of the shoulder pieces to secure them into place. On the right you’ll see the plastic rod and on the left you’ll see the arm segments joined together. My Glaug now has a kung-fu grip!
The Glaug has these extending claws on its “toes,” but they are not opened claws. The example kit built for the instruction book just has the interior painted black to simulate the claws, but I wanted to open these parts up. I began by using my .5mm drill bit in my pinvise to drill out a series of smaller holes along the inside edge of where I wanted the parts to be emptied out, then used a 1mm bit for the bigger part in the middle. I then used my God Hand bit blades to punch out the inside area. From there, I just used my fine file to get inside and smooth it out.
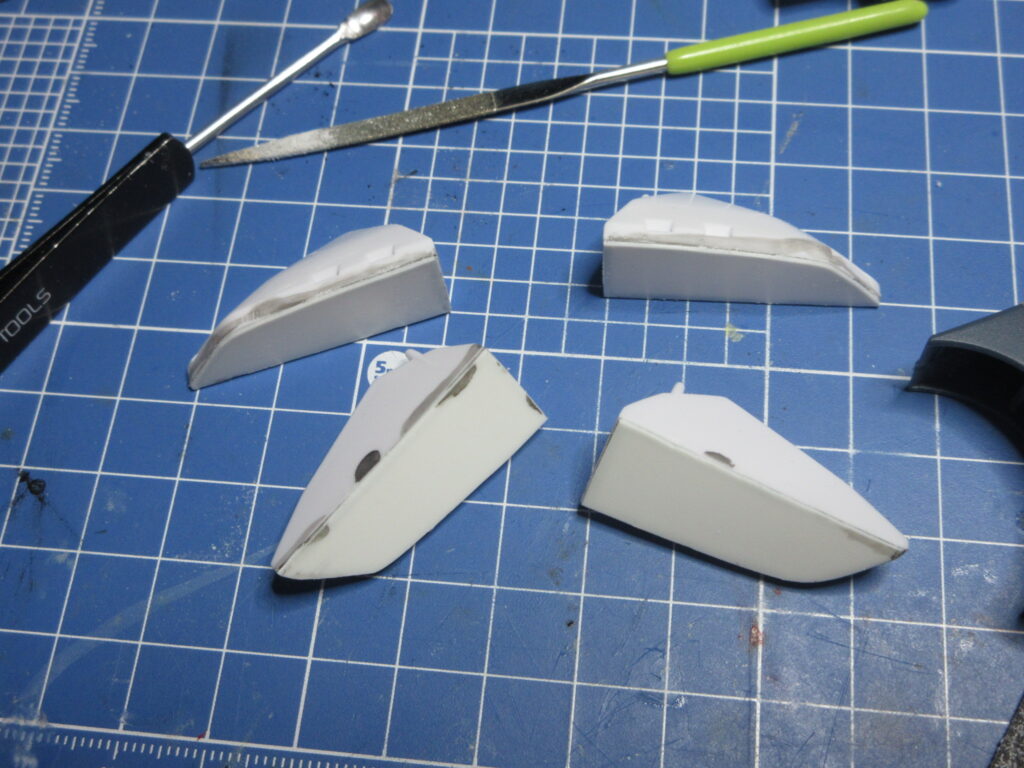
I also had to address the fact that there are no bottoms to the feet sections! They’re just hollow. I traced out the feet sections onto pla plate, cut them out, glued them onto the feet, and then trimmed, filed, and then sanded down excess. I won’t bother adding any textured detail to the underside of the feet, but at least they are no longer hollow.
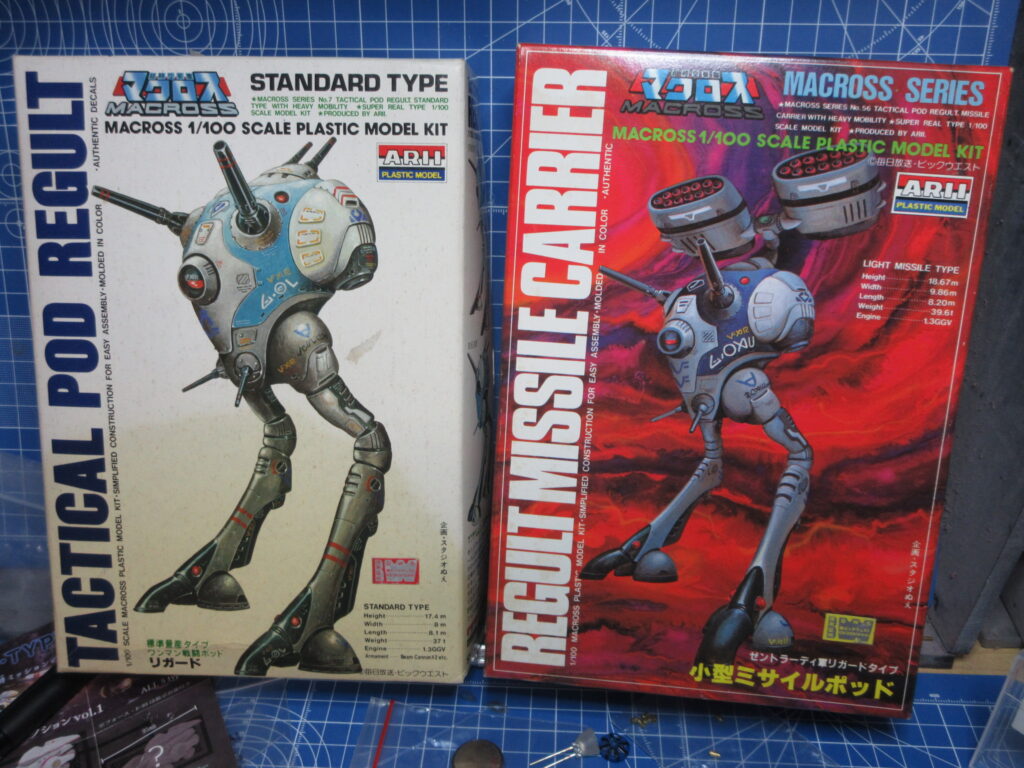
I bought these vintage Arii Macross model kits on YAJ this past week. The standard Regult on the left and the Light Missile Carrier on the right. I’ve already built the Heavy Missile Carrier and Scout Regults. These kits were not repopped for the Macross 15th Anniversary in ’97. In fact as far as I know, the only models Arii released for the 15th anniversary were the 1:100 Destroid and Valkyrie kits (and maybe the 1:170 Valkyrie kits).
The standard Regult was released first, and the “knee” joints aren’t so good. These parts were re-tooled for the scout and the two missile carriers, but the first one isn’t capable of bending into a sort of “fetal position” in standby mode like the others can. Despite their age, the decals for both kits seem like they are alright. Like the Regults I’ve already completed, I will use aftermarket parts by Wave and Kotobukiya to improve detail.
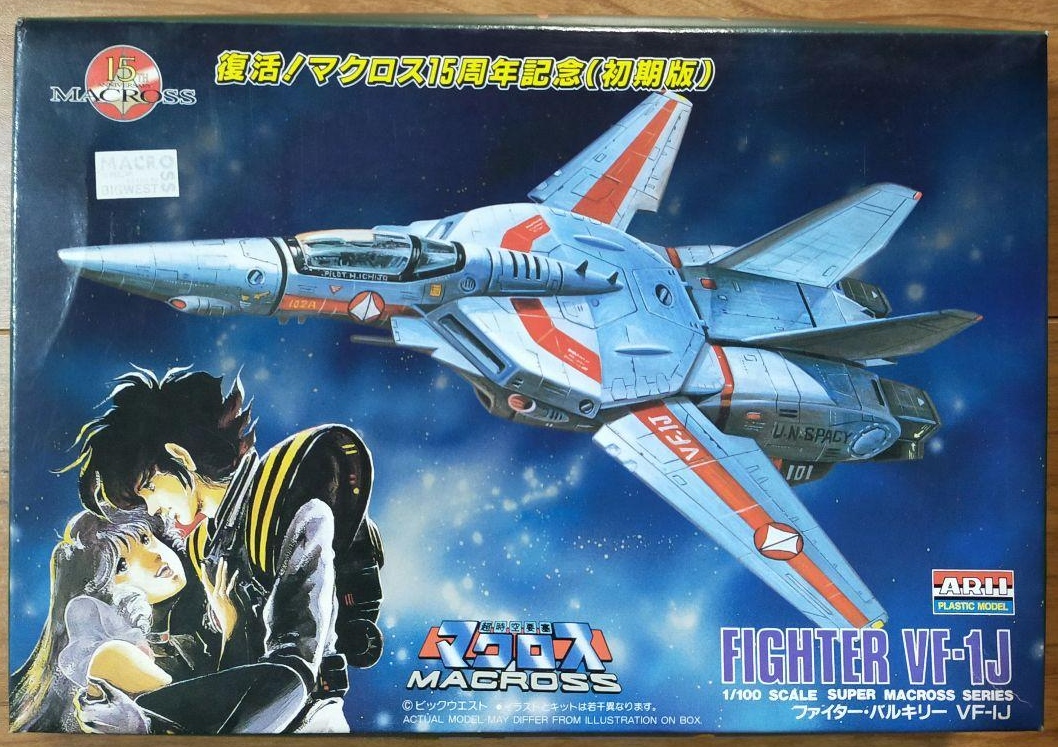
Wow, I’ve never seen this box cover before! This is the 15th anniversary 1:100 VF-1J kit by Arii. Of all the 15th anniversary boxes, I’ve never seen one featuring DYRL artwork. I came across this on Mercari and would be tempted to get it for the box art alone (well, that and because I have an impulsive mental problem), but I wouldn’t pay 4,300 yen for it. Still, the bags inside are unopened and the decals are in good condition. The figure inside is a mystery since the black bag it comes in is unopened. I’ll pass.
I remember when I first visited Japan in summer of 1998, I saw piles of these 15th anniversary Arii model kits. They were on a discount table at a department store in Matsumoto City and while I was happy to see Macross stuff prominently on display, at that time I had already given up on modeling a few years prior out of frustration and didn’t get back into the hobby until 2005.
So when I went to the Winter Wonder Festival in February, my friend Adrian who works for Big West told me that they have a stash of Macross models that model companies give them as free samples. He said that I was welcome to as many as I’d like, as long as I just pay for shipping cash on delivery.
I was hoping that I might be able to meet up with Adrian when I visited Yokohama a few weeks ago, but that wasn’t possible. Instead though, he told me that day that he’d take pictures of the contents of those three big boxes of Macross kits and give me first dibs on what I’d like. So I gave him a list of models for me and some friends of mine and on August 25th, I got a big-ass box of Macross neatness.
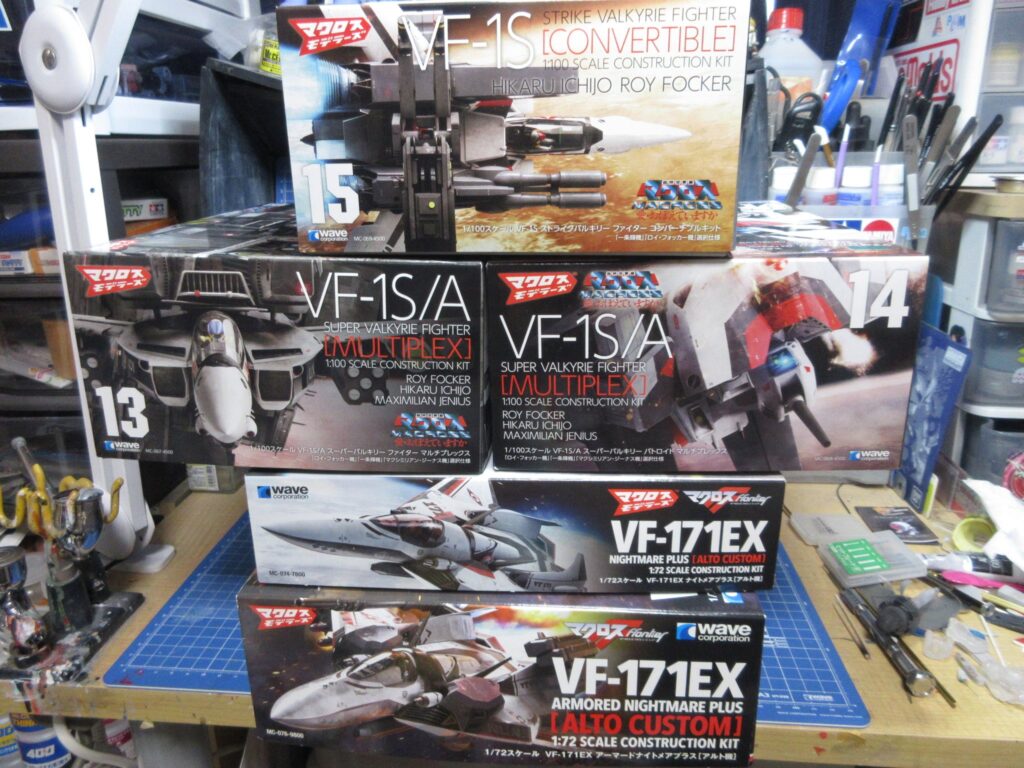
So all of these kits are by Wave. On top is the 1:100 VF-1S Strike Valkyrie. The next row down is the 1:100 VF-1S/A Super Valkyrie “Multiplex” (it can be built as the Valkyries flown by Roy, Hikaru, and Max) and VF-1S/A Super Valkyrie Battroid Multiplex. Under that is the 1:72 VF-171EX Nightmare Plus and under that is the VF-171EX Armored Nightmare Plus. I’ve never seen Macross Frontier, but the VF-171EX Nightmare is such an incredible fighter jet, and I now have both versions! When I first saw this Nightmare kit at the All-Japan Hobby Show, I really liked it but I figured that I’d never get this kit because it’s so expensive.
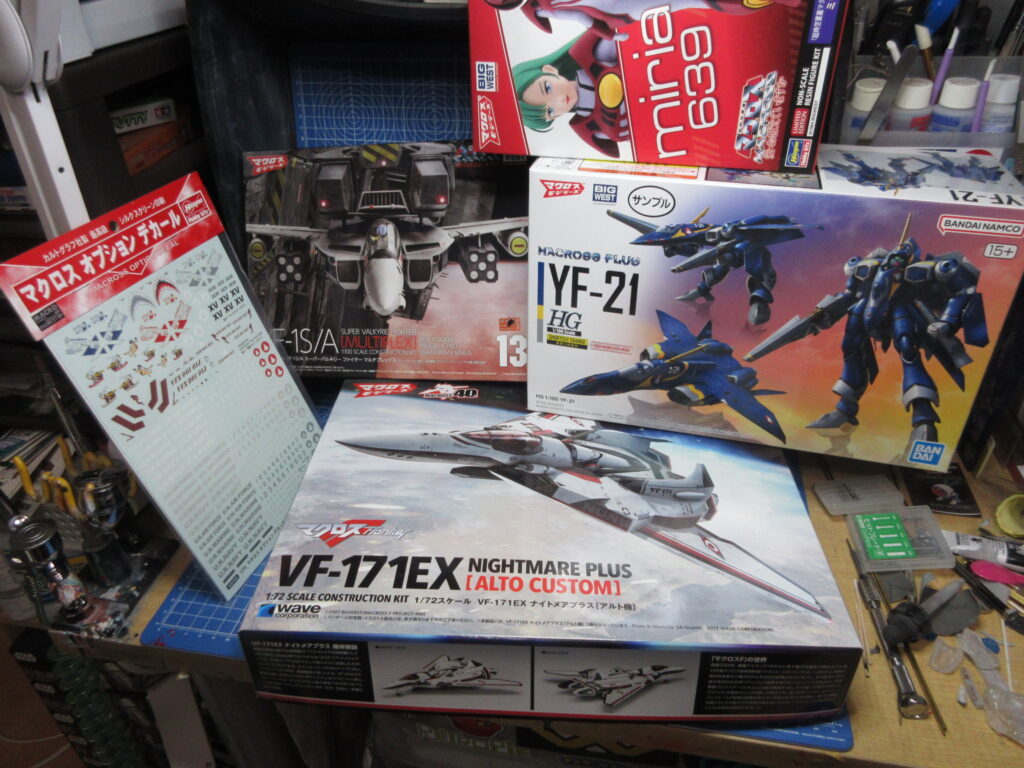
This is what I sent to my friend Gary in the USA. He got another of the VF-1S/A Multiplexes, a VF-171EX Nightmare kit as well, and Hasegawa’s Miria resin garage kit figure, Bandai’s 1:100 YF-21, and a Hasegawa decal sheet for 1:72 scale Valkyries.
I’m sure that the Big West employees are welcome to take what they like for themselves. These are kits that are leftover and I figure that since they’re just taking up space at their office, I did a favor by letting Adrian offload so many onto me!
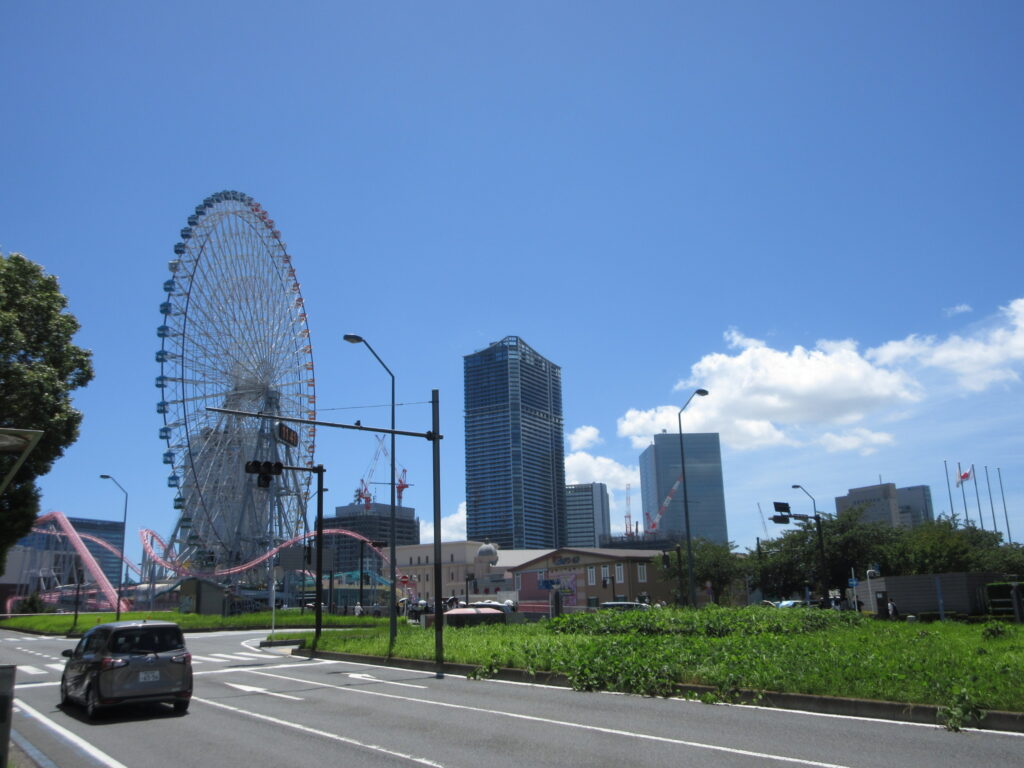
I had 9 days off during the summer, from 8th to the 16th. There were a couple of open campus events at colleges my daughter Ulan is interested in attending in the Tokyo area. For the first weekend, we drove to Yokohama. The car navi took us through the Tokyo area. I’ve always been scared of driving Tokyo’s Shutokou (首都高) expressway system in Tokyo because it’s complicated like a spider web, like concentric circles with spokes. I made one mistake and took an exit instead of merging onto an interchange ramp. The car navi recalculated how to get back onto the expressway. We ended up drive past the imperial palace and Tokyo Station in the Ginza area before getting back on.
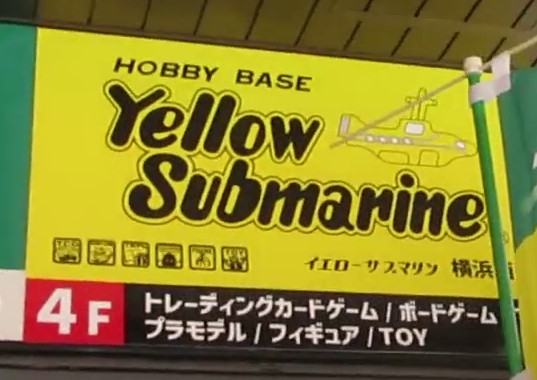
In Yokohama, we parked the car in a big parking garage in the Minato Mirai 21 area. Mayu and Ulan went to the college campus nearby while I took the subway up to Yokohama Station. I went to Yellow Submarine, a hobby store. There are actually two locations, but the first one is just card games and Warhammer stuff. At the second location I bought some neat supplies.
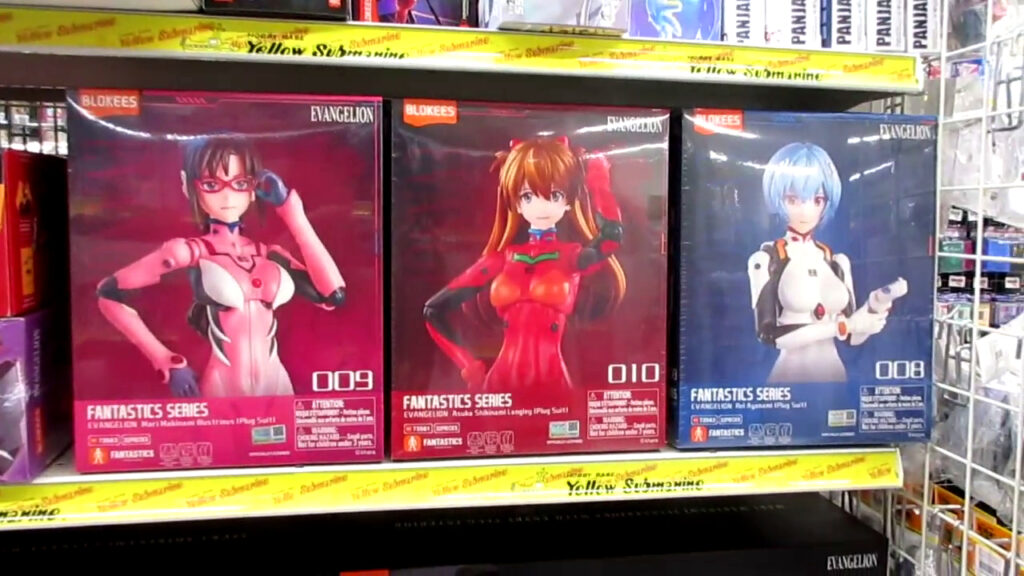
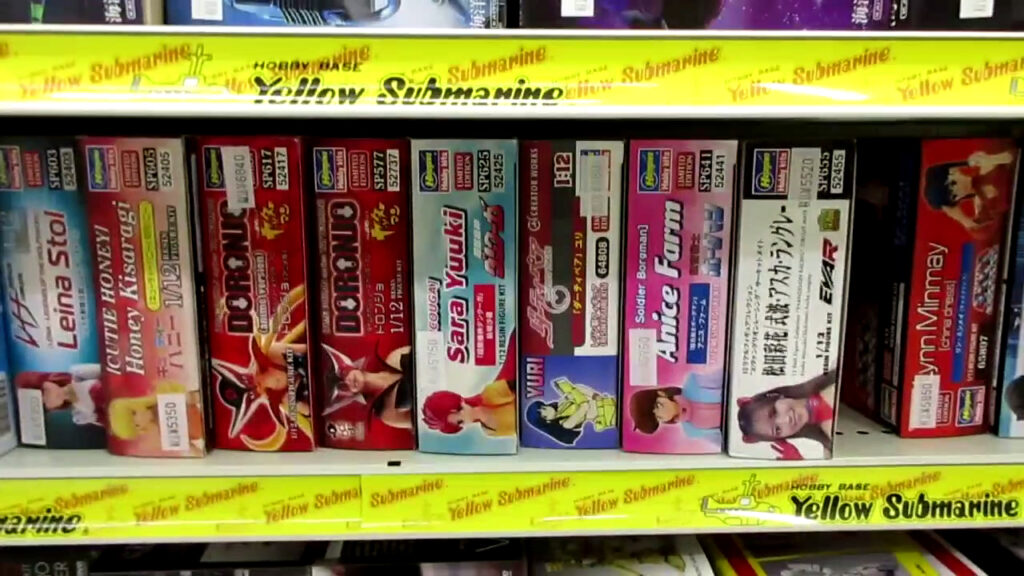
I saw these Evangelion figure model kits by Blokees for the first time. They also had several Hasegawa resin anime figure garage kits. (Click the pictures for close-up views.)
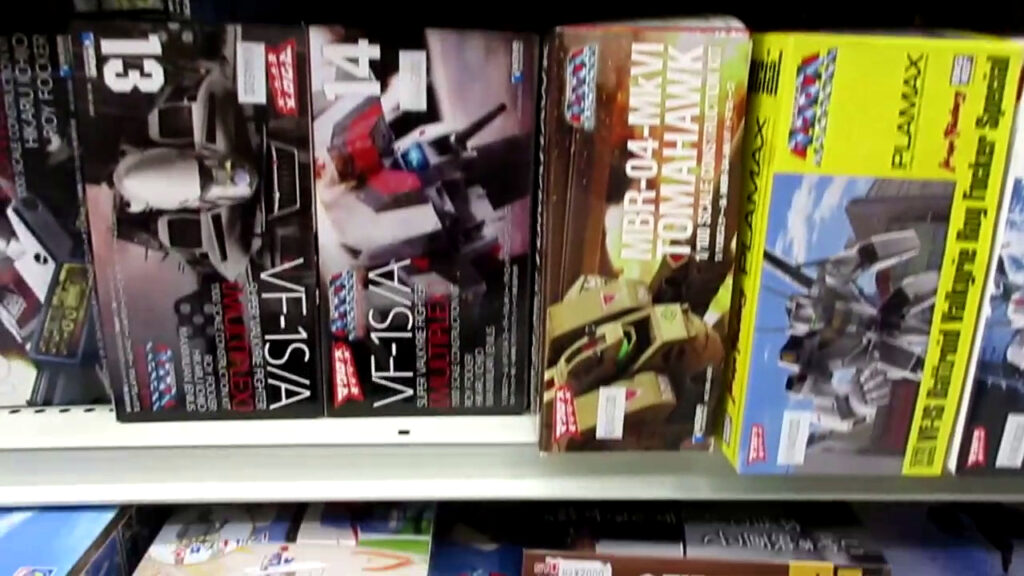
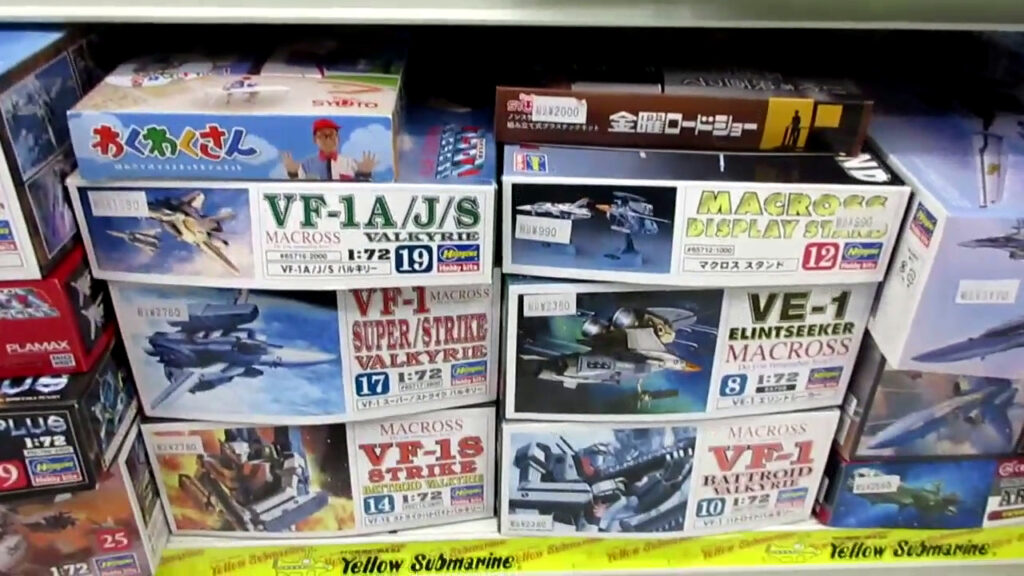
Lots of Macross model kits there too!
I went to a pizza place called Shakey’s. They had a buffet for lunch, so it was all-you-can-eat food and all-you-can-drink booze. I had macaroni and cheese with plenty of pizza slices, plus some beers and gin and sodas. Pretty nice.
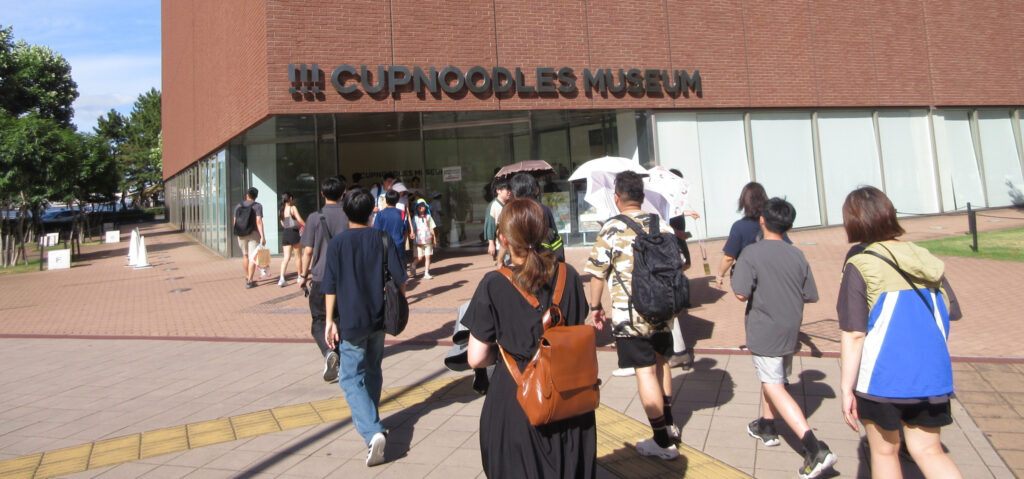
When I met back up with the two lunatics, we went to the Cup Noodle museum. That was pretty interesting. Admission is only about 500 yen.
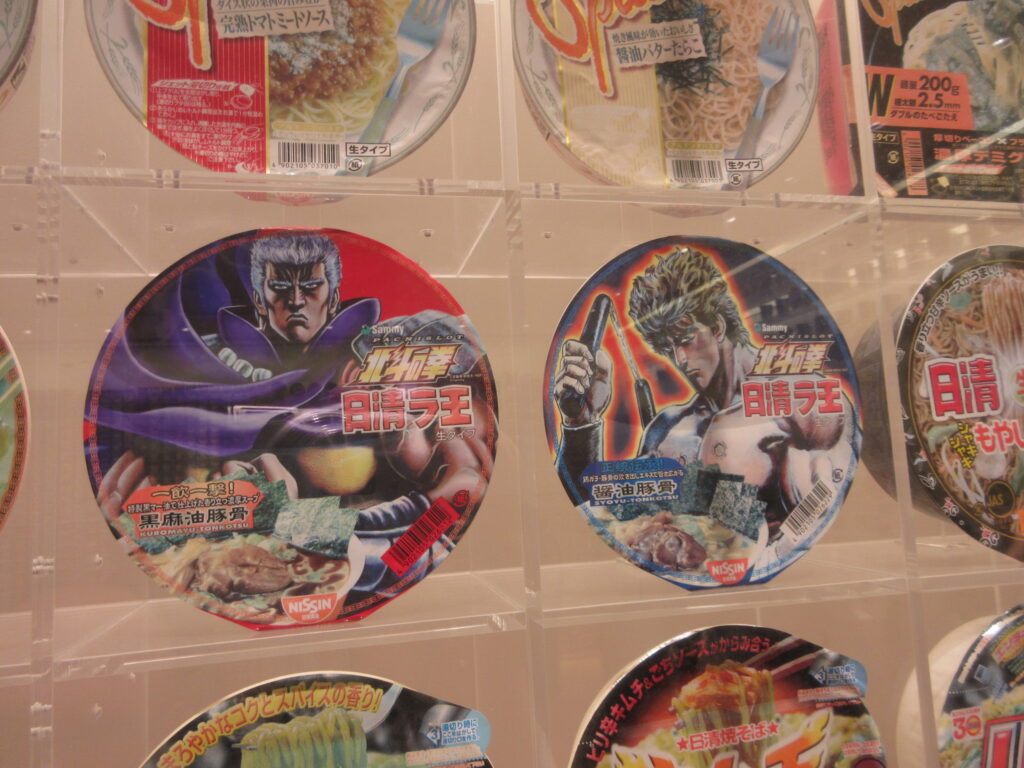
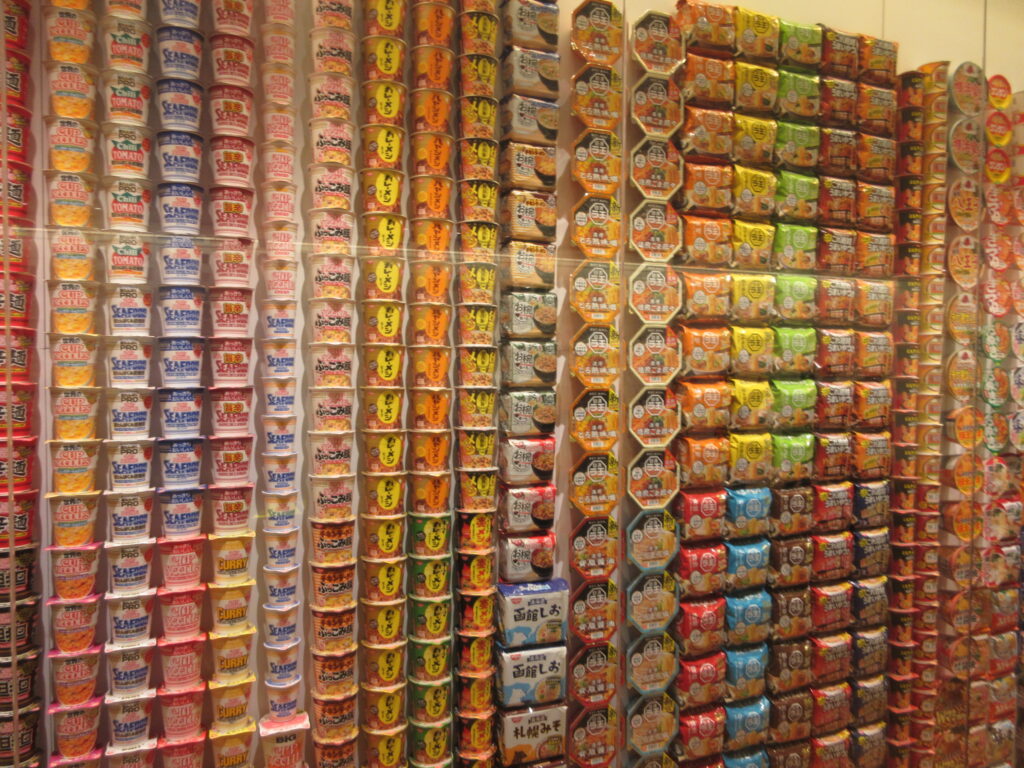
There are walls of noodle products, featuring so many limited edition versions. Here are some Hokuto no Ken (Fist of the North Star) cup ramen products.
After this, you watch an animated documentary about Momofuku Ando, the inventor of instant ramen. He went from being a down-on-his-luck inventor to becoming world-famous. I didn’t know this, but Chicken Ramen was his first invention. He created instant ramen by frying the noodles (and I assume freeze drying them). Later while visiting America, he got the suggestion from Americans to put the instant ramen into a cup because they put it into cups and eat it with forks. Thus, Cup Noodle was invented. Before he died, he invented space ramen for astronauts to enjoy.
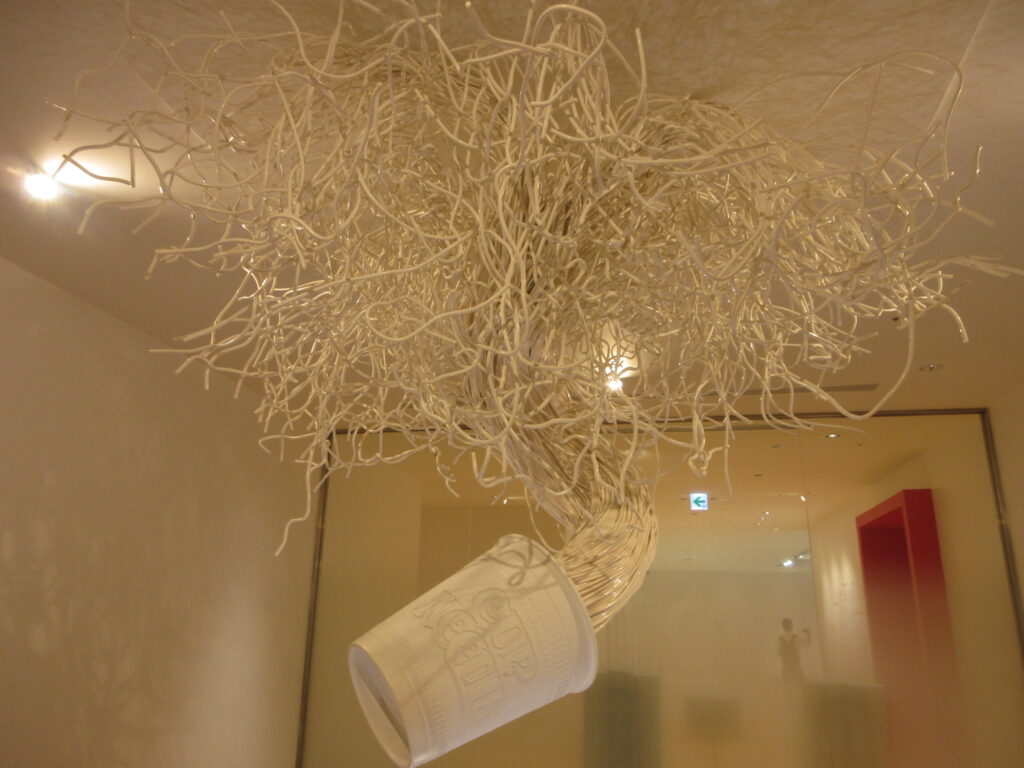
Ramen-inspired modern art. Pretty wild.
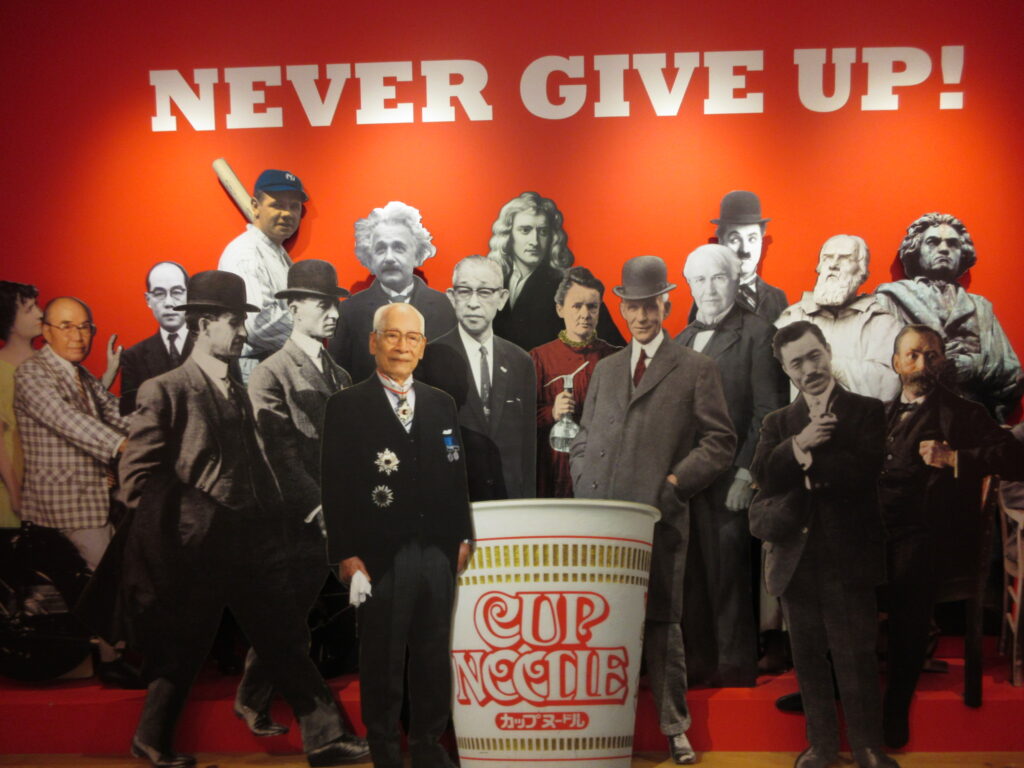
So here is Mr. Ando, pictured with geniuses like Plato, Beethoven, Charlie Chaplain (?), that SOB Thomas Edison, and Albert Einstein. OK, so where is Nikolai Tesla? They have that rotten bastard Edison but no Tesla? Ridonk.
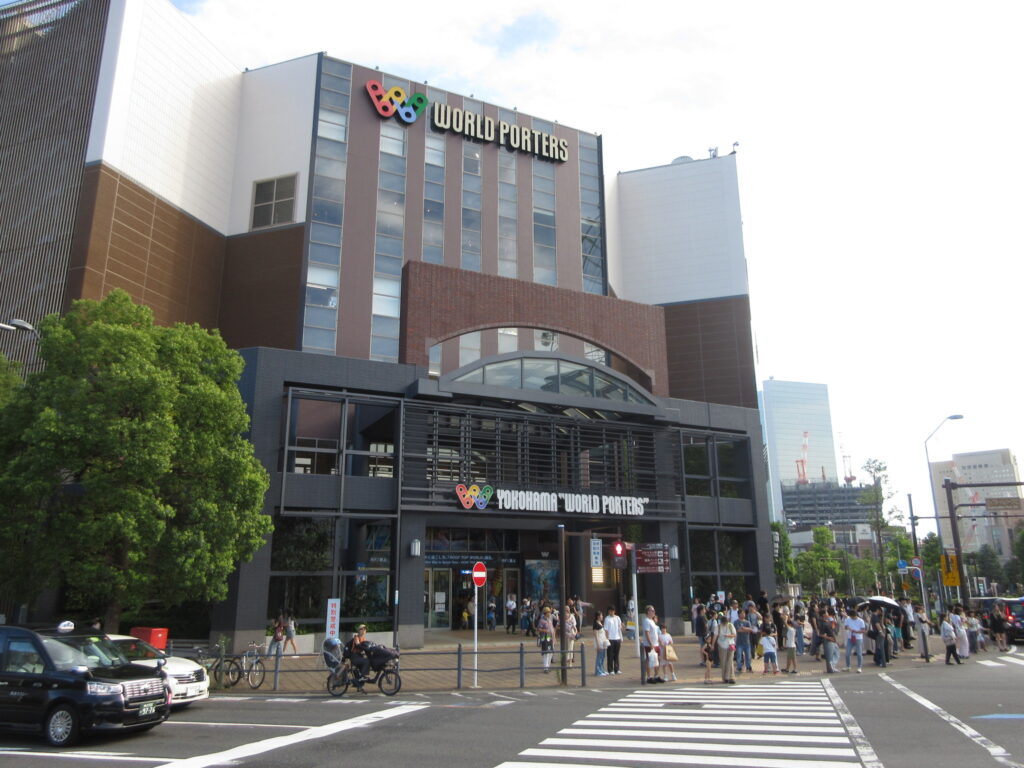
After that, we went across the street to Yokohama World Porters. When I first visited World Porters 26 years ago, the first floor was a giant import foods grocery store. It’s now a multinational food court with Indian curry, Vietnamese pho, and so on. I had a Hawaiian style avocado hamburger.
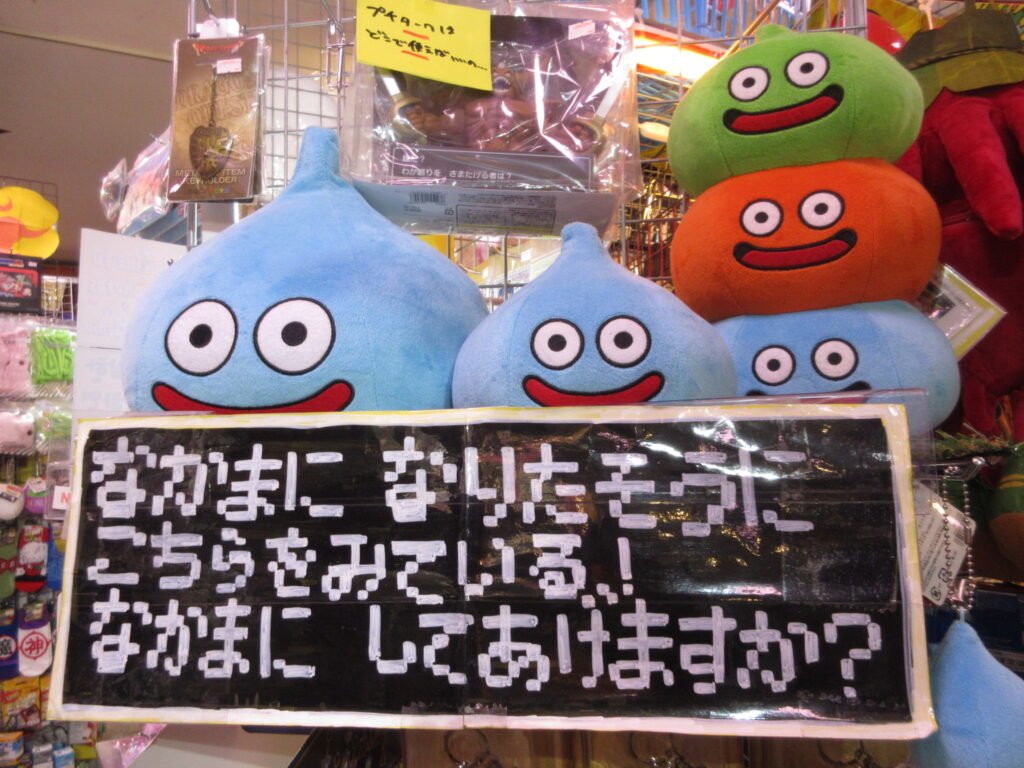
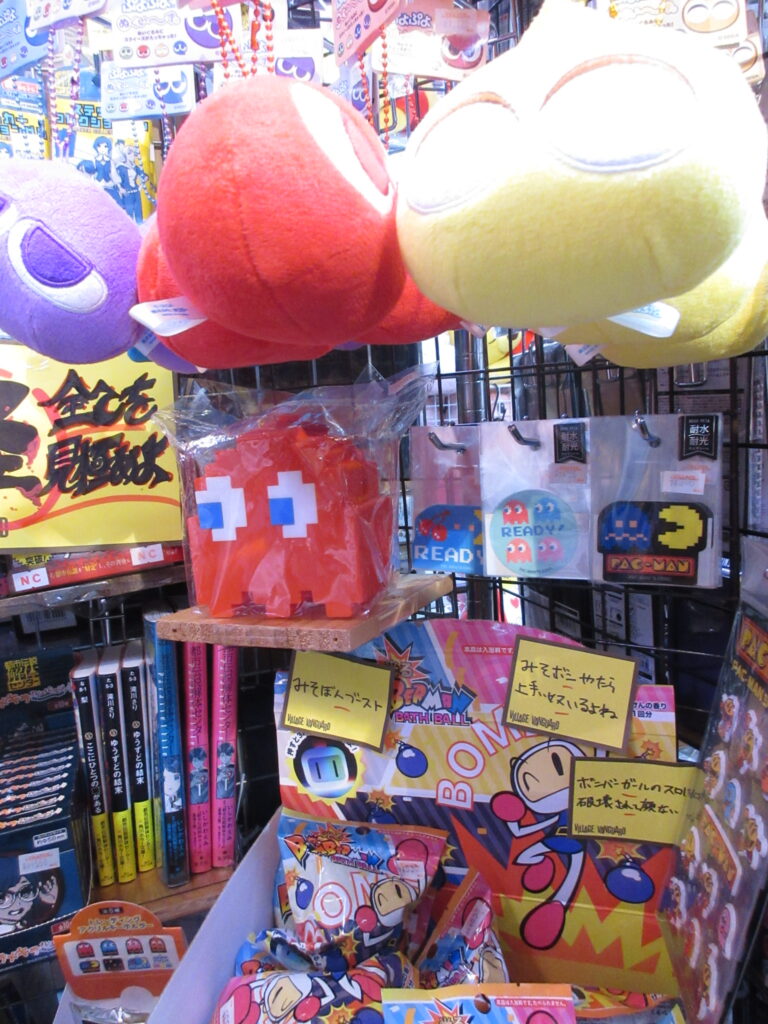
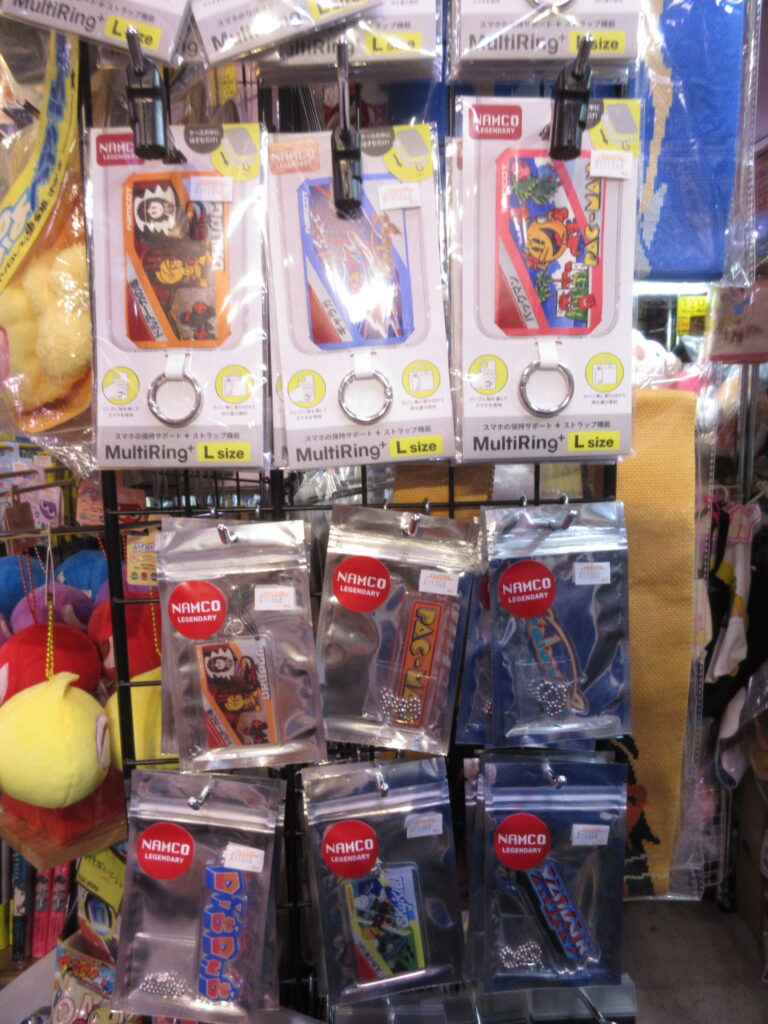
The floors upstairs consist of a typical shopping mall. There’s a Village Vanguard there! (I madea post about Village Vanguard on my Greg’s Life section.) Look at the neat video game stuff! And as always, there are handmade displays made by employees. Thus, each of these stores have their own unique displays. I bought a Pac-Man keychain for my car.
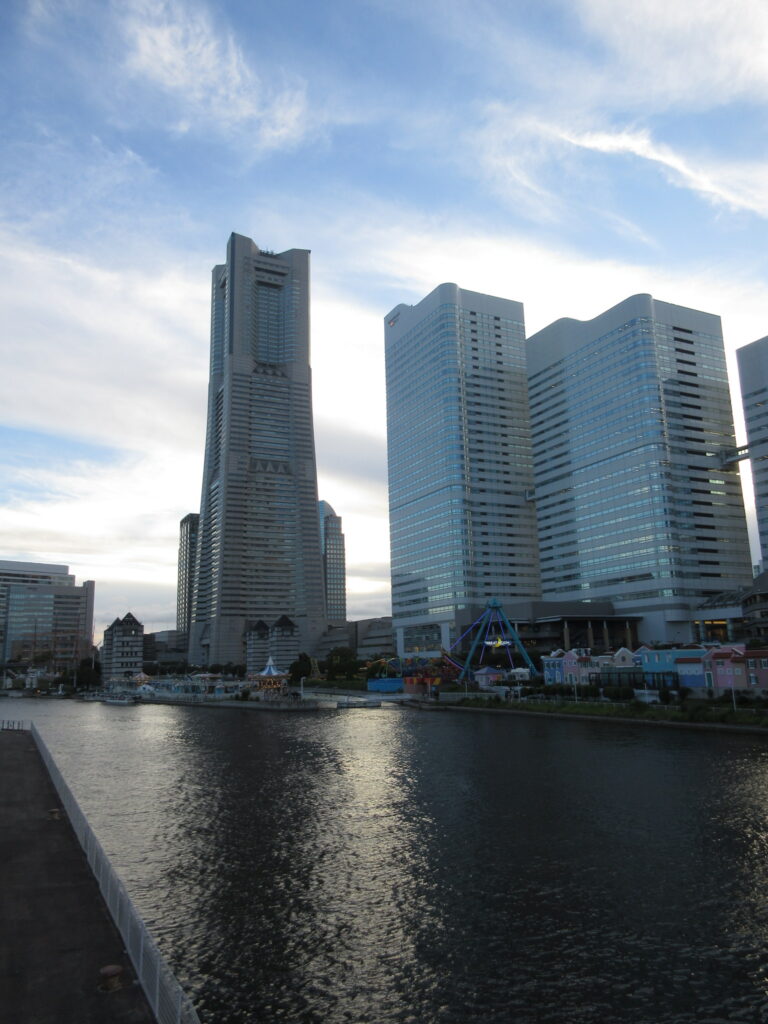
So after shopping and eating, we decided to head home. Here is Landmark Tower, standing tall in the early evening sky. It was a nice day.
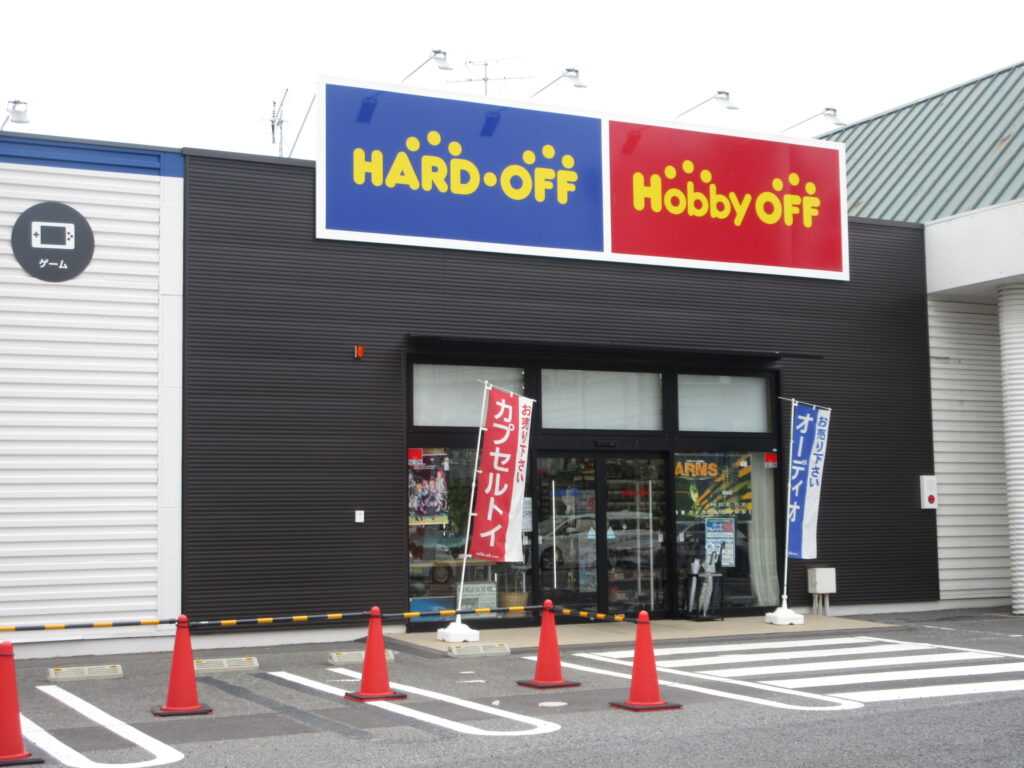
We went on a drive down to Souka City in Saitama Prefecture on Sunday. While the two ladies had their thing to do, I checked out a couple of Hard Off/Hobby Off locations. The street I was driving on said that Ueno was just 13km ahead, so I really was right on the border of Tokyo. I’ve never driven to Tokyo before and the expressway system is a bit confusing in the middle of the city, but at least it was a straight drive along the Kan-etsu Expressway to Souka.
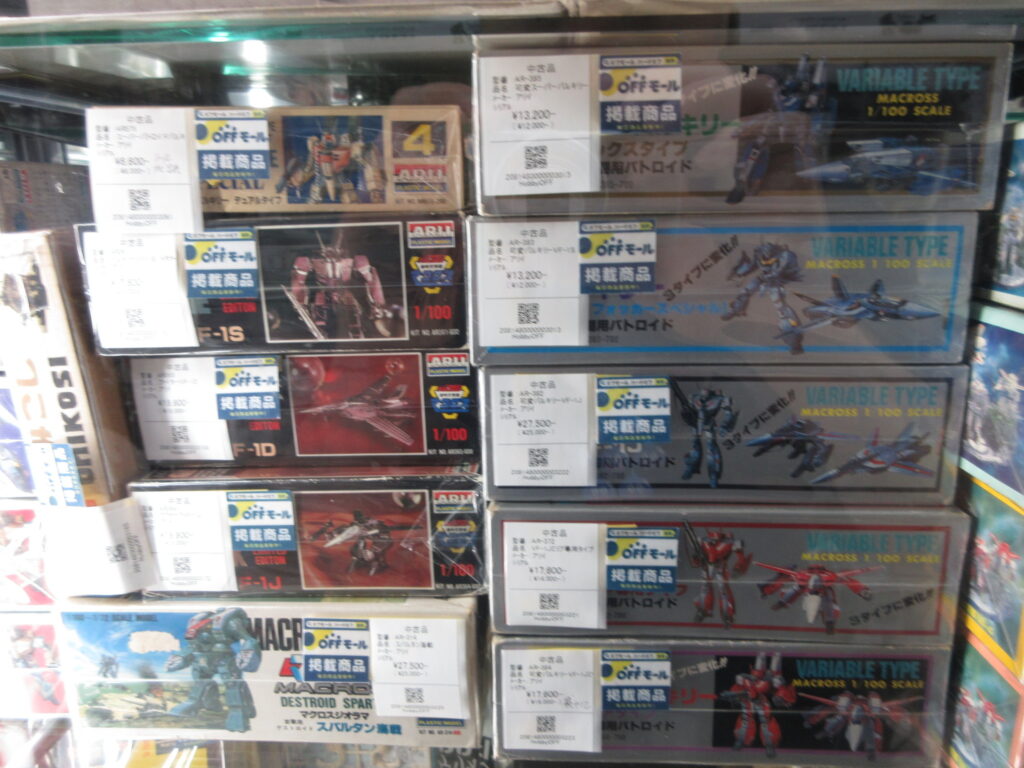
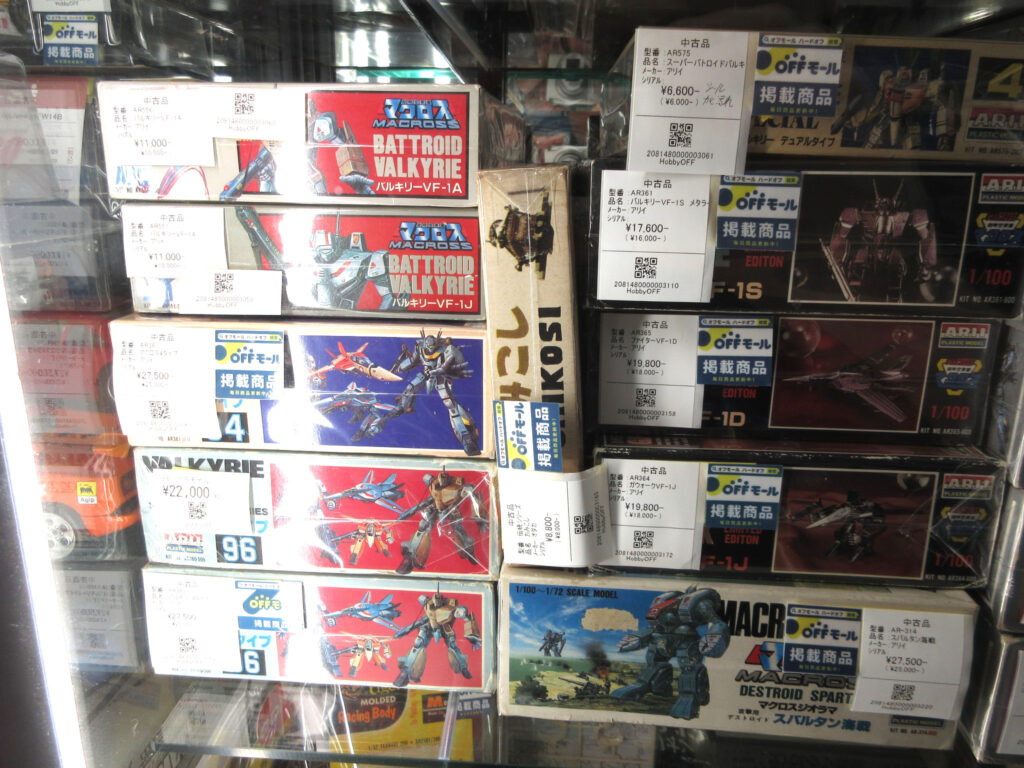
The first place I went to had these expensive Arii Macross kits. The stickers on these say 掲載商品 (keisai shouhin) which means an advertised product. That Spartan for 27,500 yen confuses me… That’s an Imai kit, right? It says it’s 1/72 scale, which would make it by Imai because Arii made the 1/100 version, but the white price tag says that it’s Arii. It’s also a “Macross diorama” kit. The stack on the right are 1/100 variable Valkyrie kits. I didn’t know they go for so much these days.
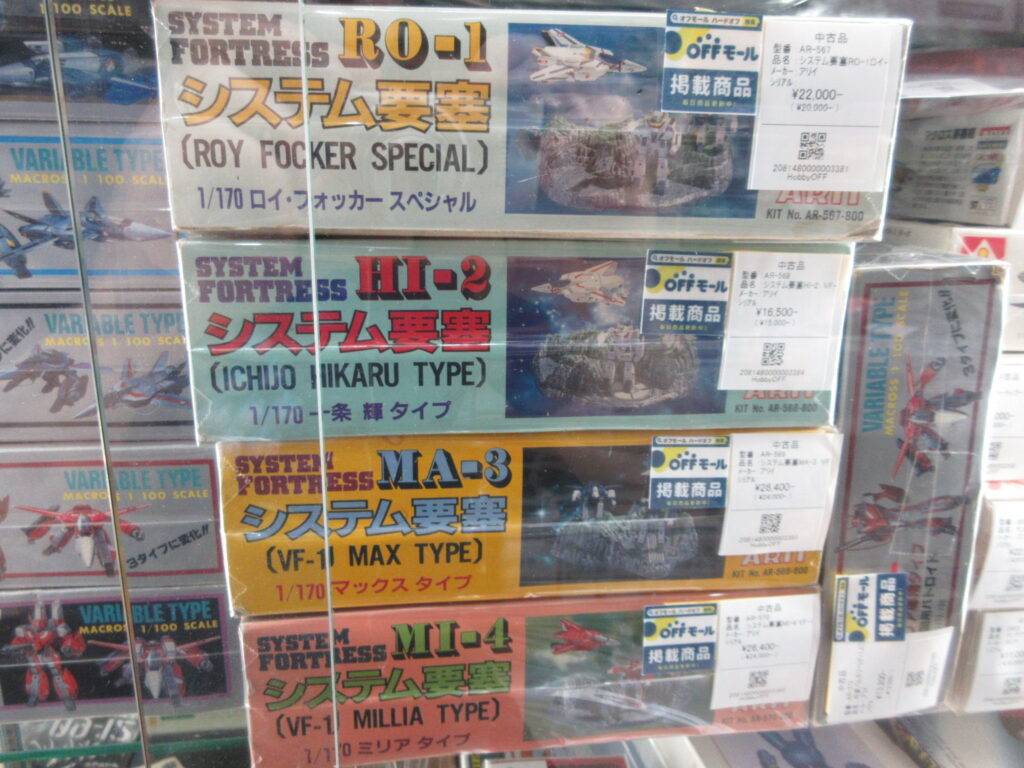
More obscure Macross kits. “System Fortress” diorama kits. Weird.
I proceeded on to another store location, and it wasn’t very far away.
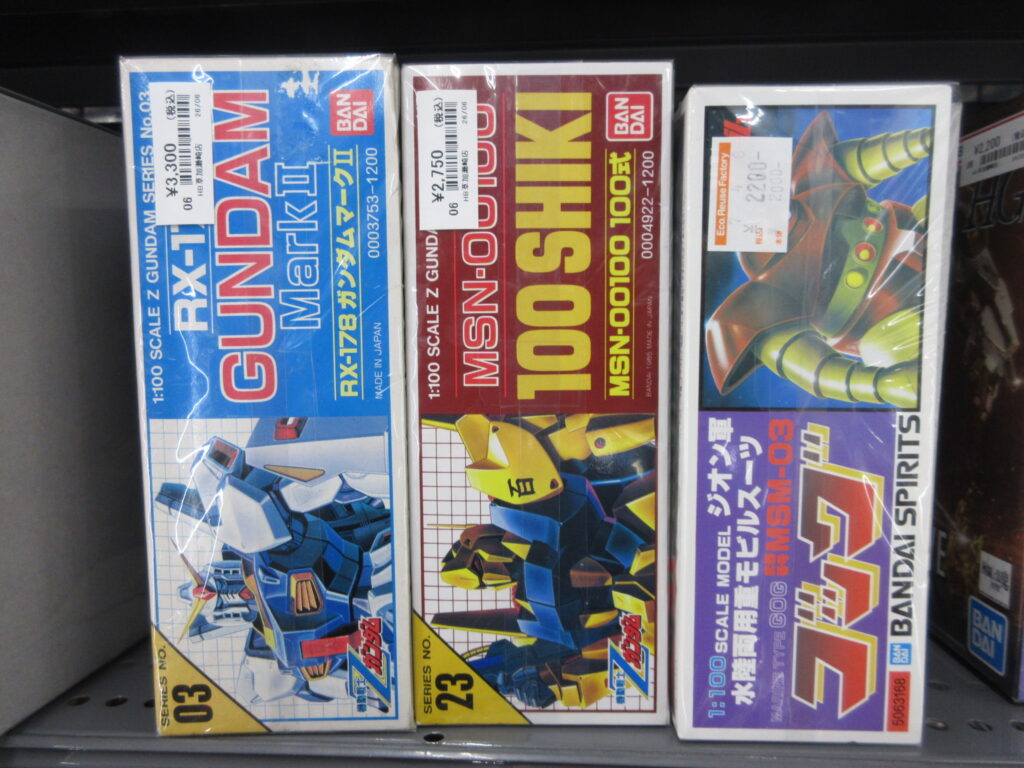
Lots of legacy Gundam kits from the ’80s at this location.
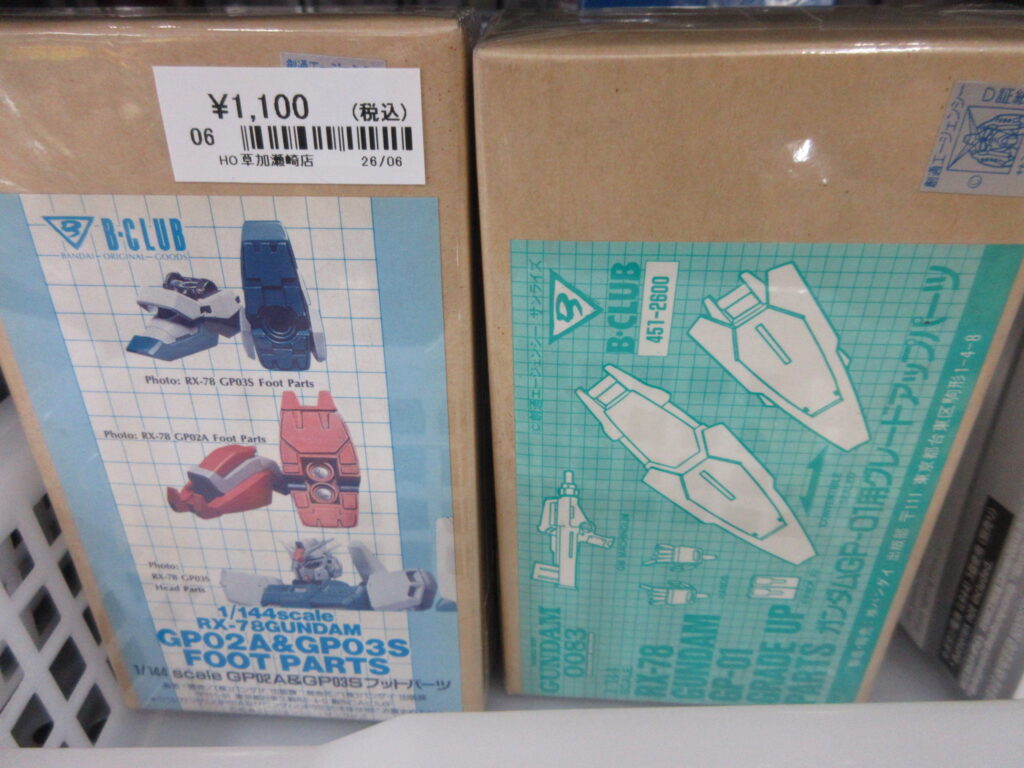
Here are B-Club resin aftermarket detail parts for 0083 kits. I ended up not really finding anything of interest. I stumbled upon a Surugaya by chance, but there wasn’t anything particularly interesting there either. Lastly I went to the Book Off Super Bazaar in that town, but it was boring.