
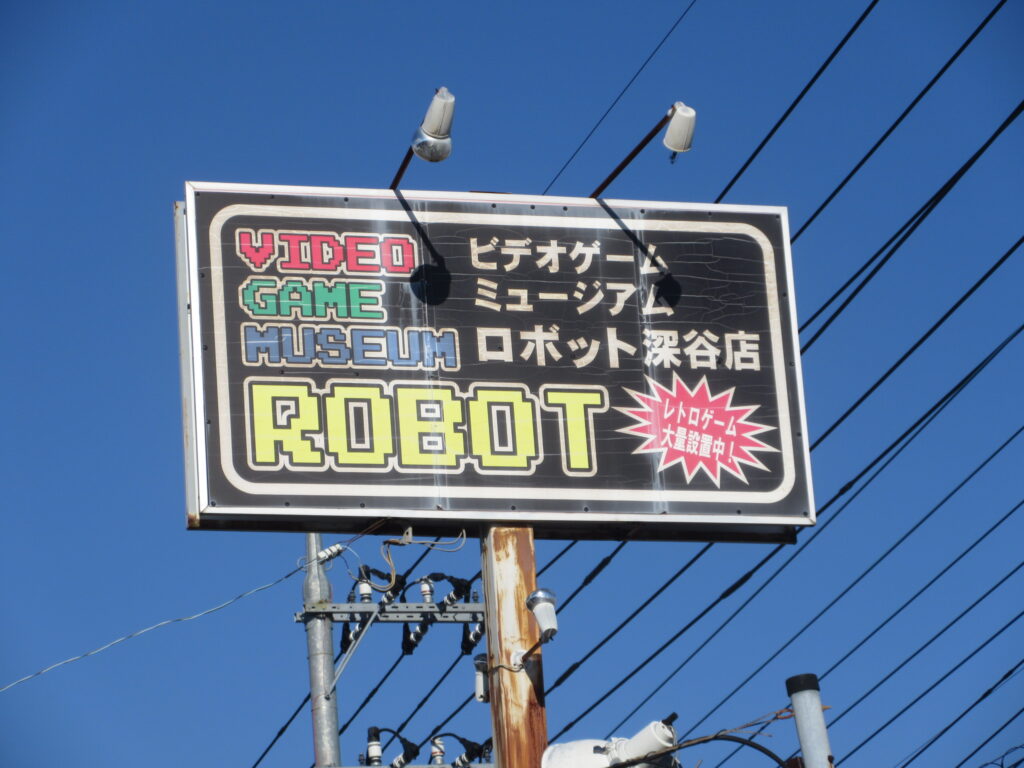
Retrogaming at Video Game Museum Robot in Fukaya, Saitama Prefecture

It’s Halloween today. I drove to Video Game Museum Robot in Fukaya, Saitama Prefecture with my friend Adrian to play some retro games.
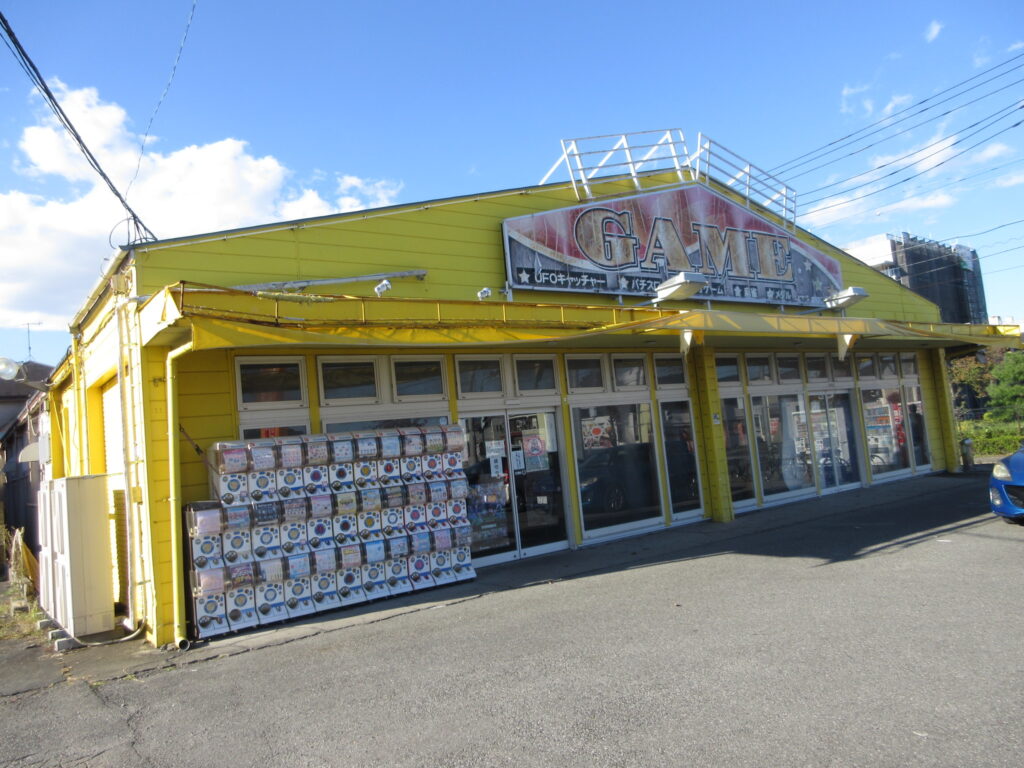
The place looks like a dump from the outside, but that adds to the charm. You might just drive right by without realizing that it’s a treasure trove of retrogaming.
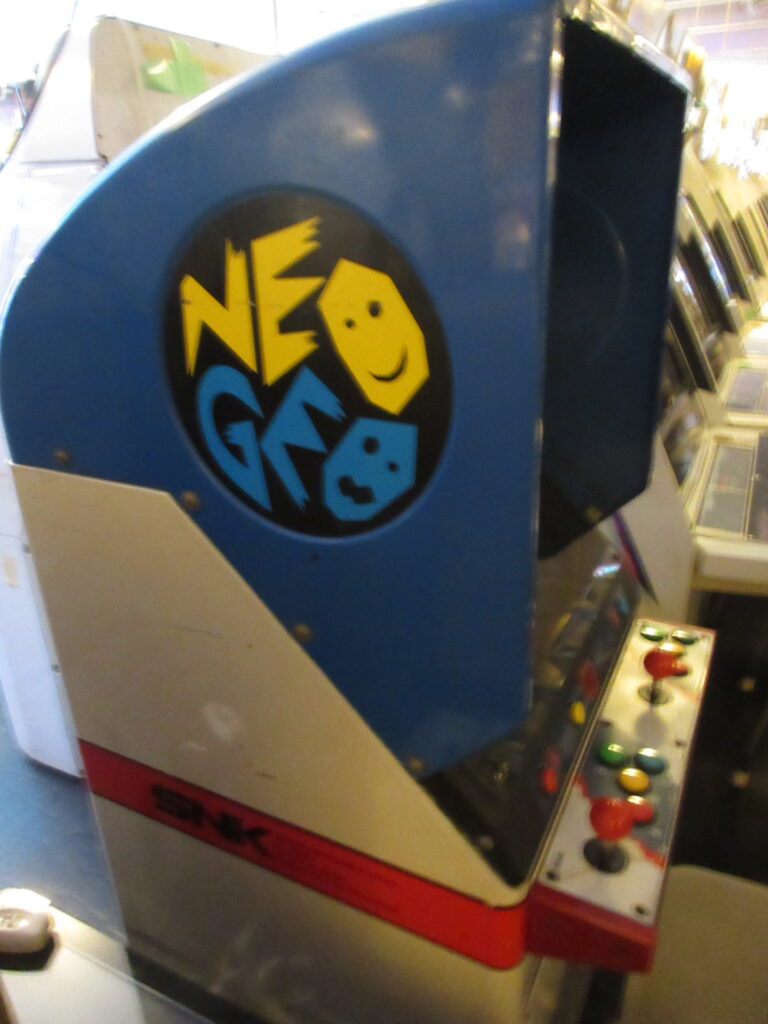
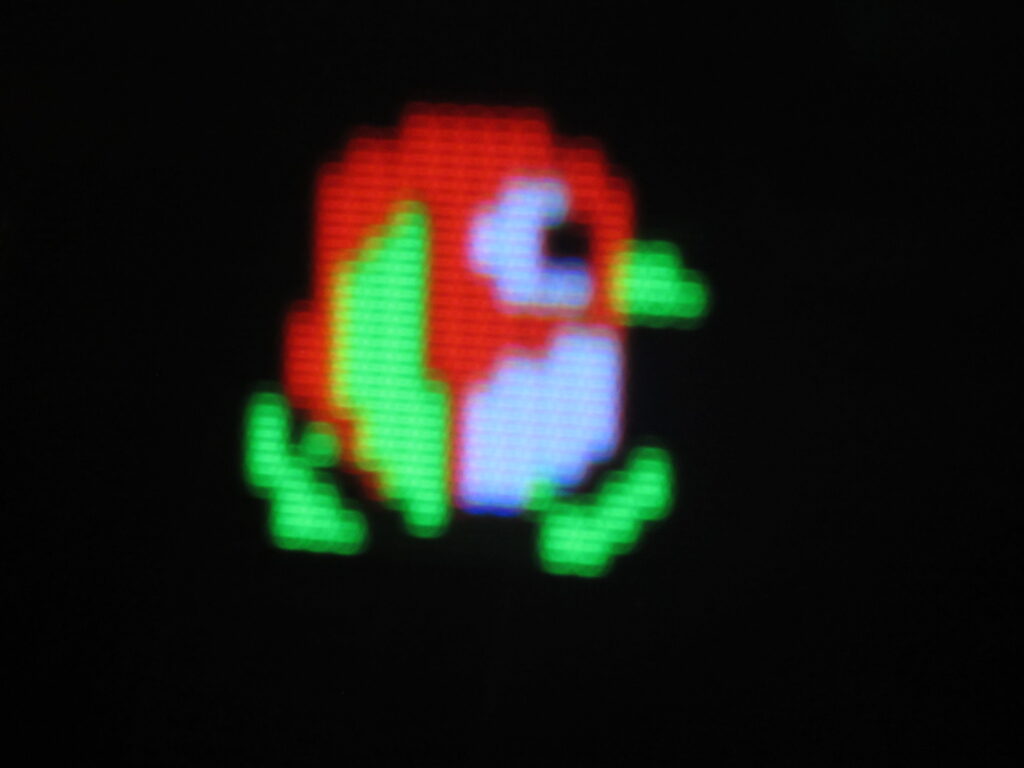
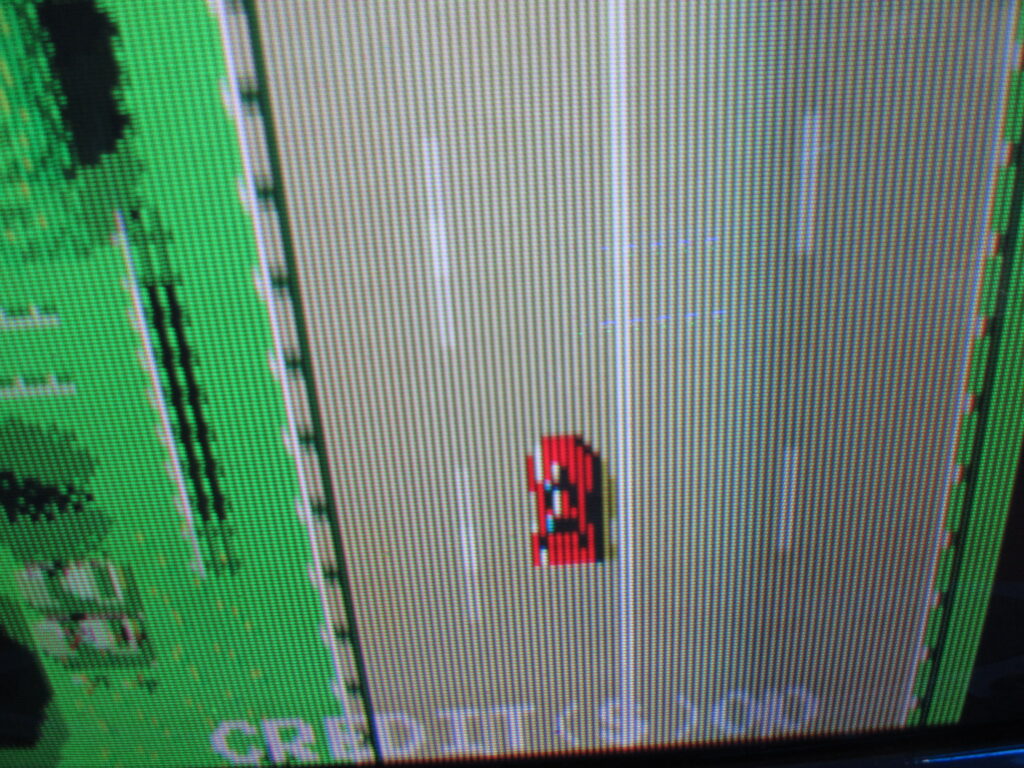
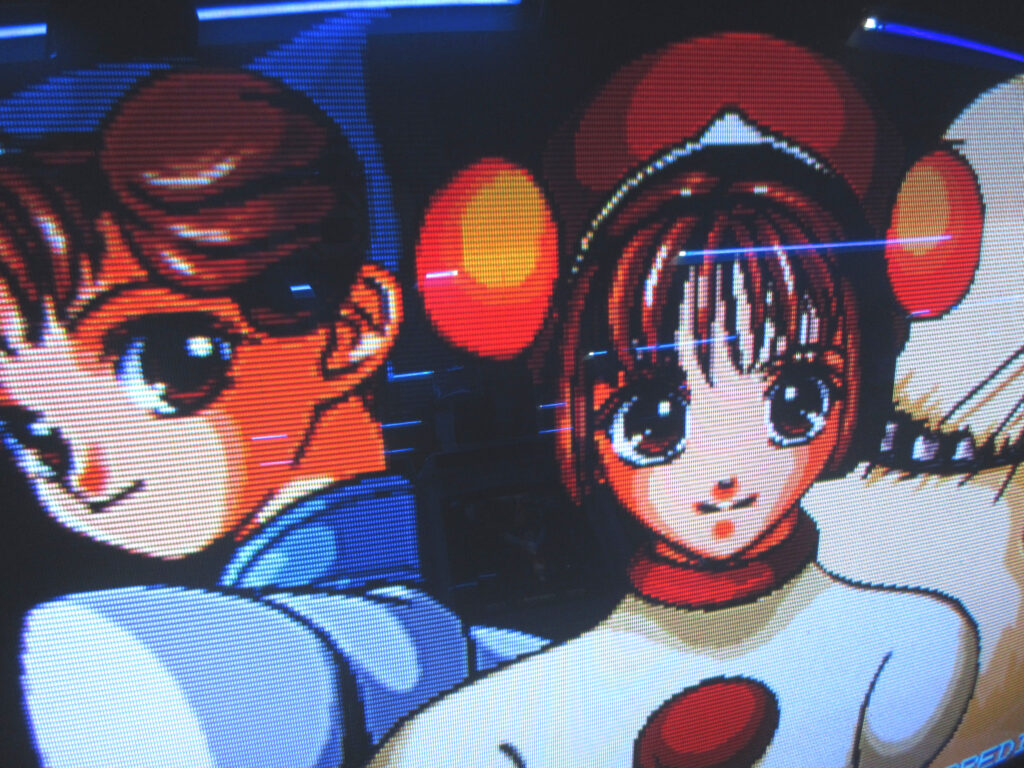
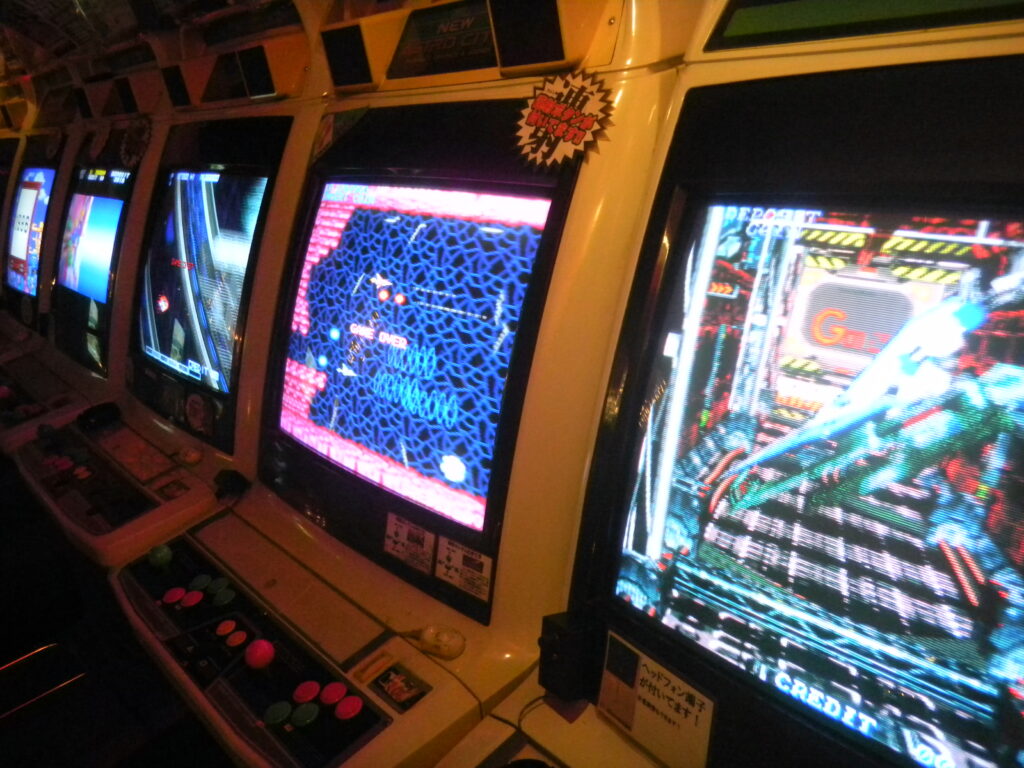
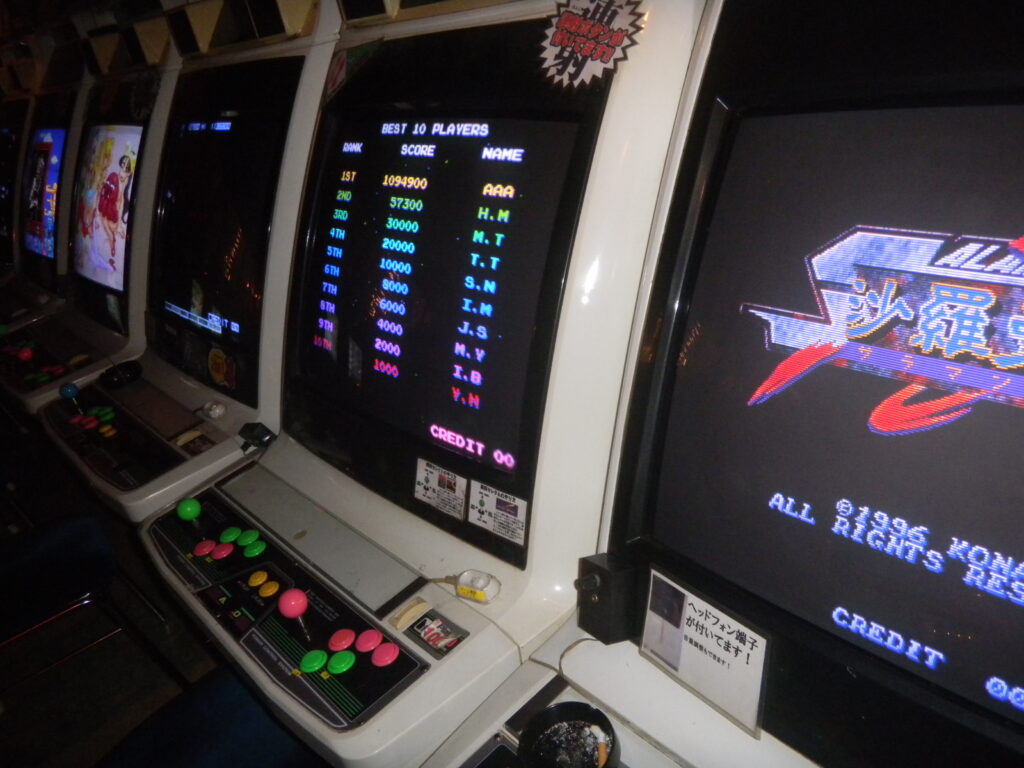
The arcade is mostly Sega cabinets: Astro City, New Astro City, and Blast City cabinets. They have this one which I believe is a Neo 19 cabinet. When we walked in, I was expecting to see row after row of glowing game screens. One thing that irritates me about Western gamers is that everyone erroneously calls every Japanese arcade cabinet a “candy cab.” I think this comes from that Neo Geo forum in the mid 2000’s and everyone just copies that. There is indeed a Neo Geo Candy, but there are many other names by various manufacturers such as the aforementioned Sega Astro City and so on, the Taito Egret, Konami Windy, Namco Cyber Lead, and many others. It’s an example of “trademark genericide,” such as when people call every tissue “Kleenex,” every cotton swab a “Q-Tip,” or like in the Philippines every toothpaste is called “Colgate.”

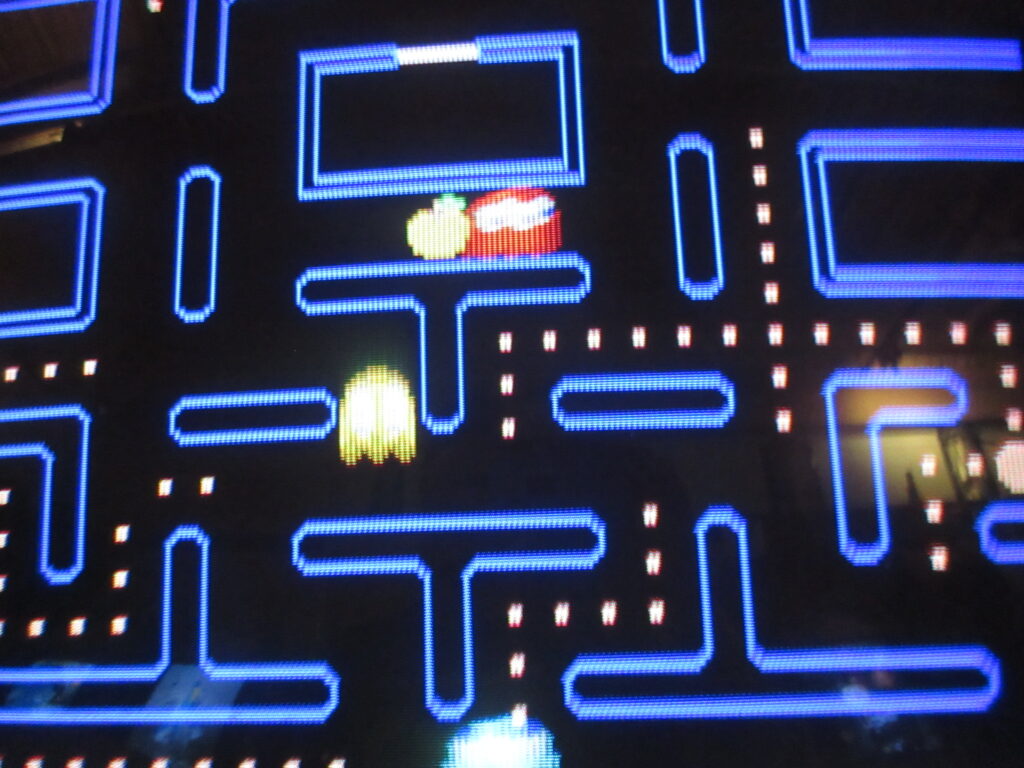
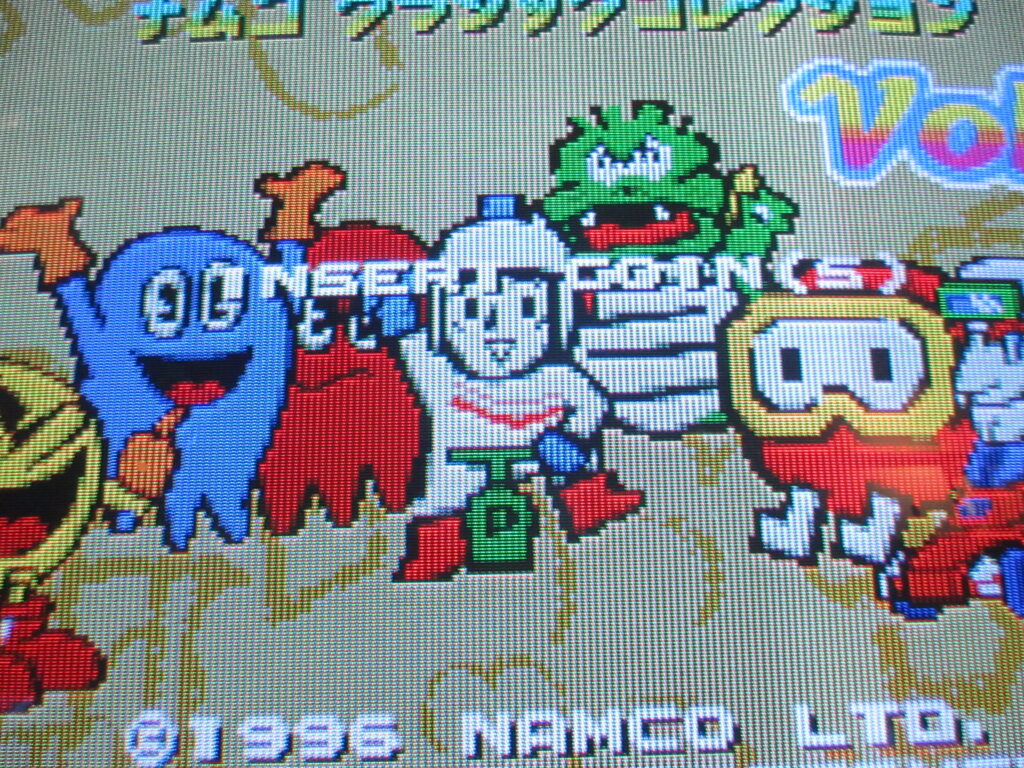
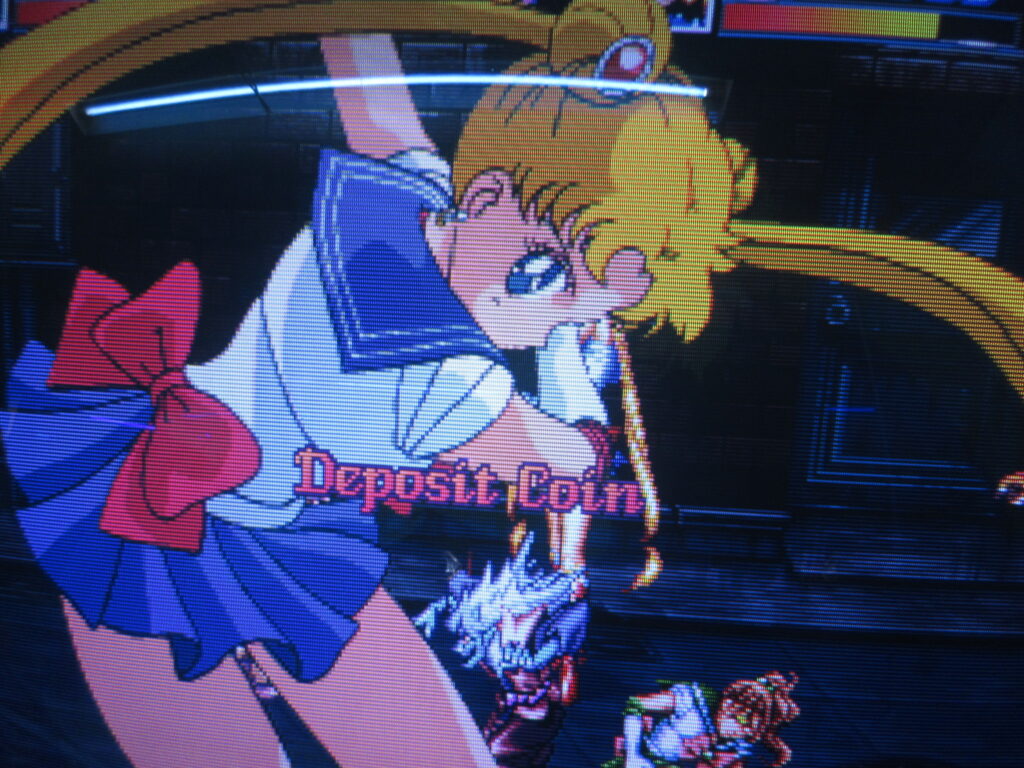
So when we went inside at first, it surprised me to see that aside from the newer games in the front near the door, nearly all of these retro game cabinets were shut off. To play them, you have to switch them on. This really threw me off at first because for a moment I was wondering if most of them were out of order. Then I saw the signs printed in Japanese asking customers to shut the cabinets off after using. They had switches dangling on the top right corner. Apparently this is both an effort to conserve energy and to prevent screen burn-in. Some of the screens were in better shape than others. I wonder how many customers they lose when people just poke inside, see that all the machines are off, and just leave?

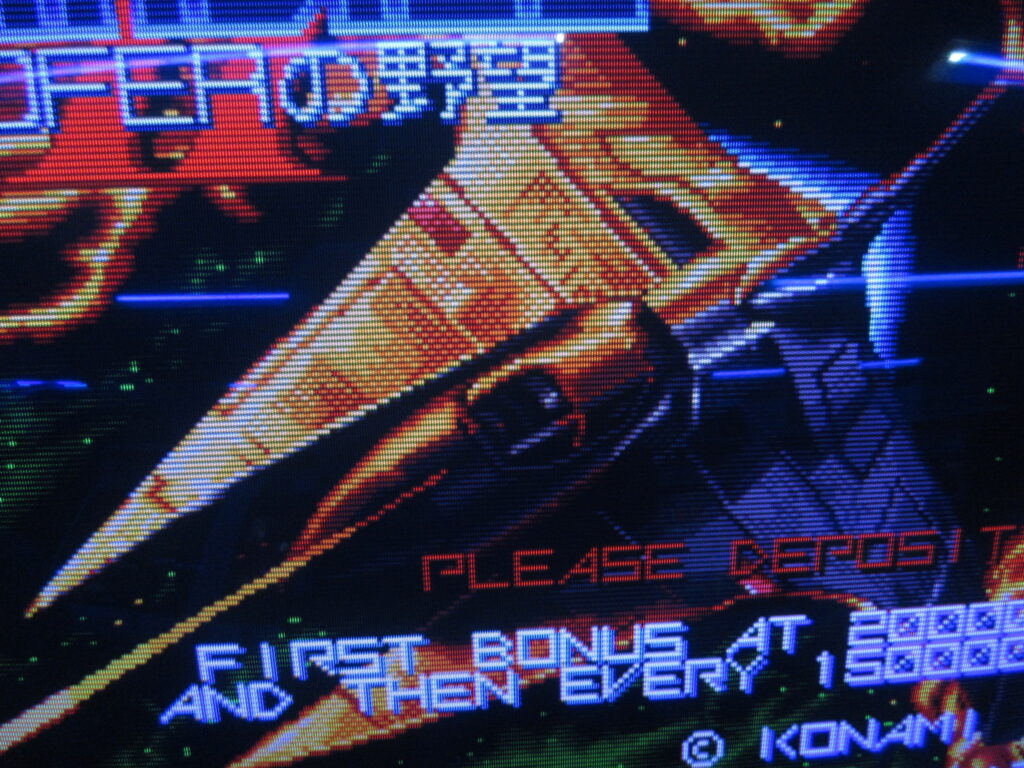
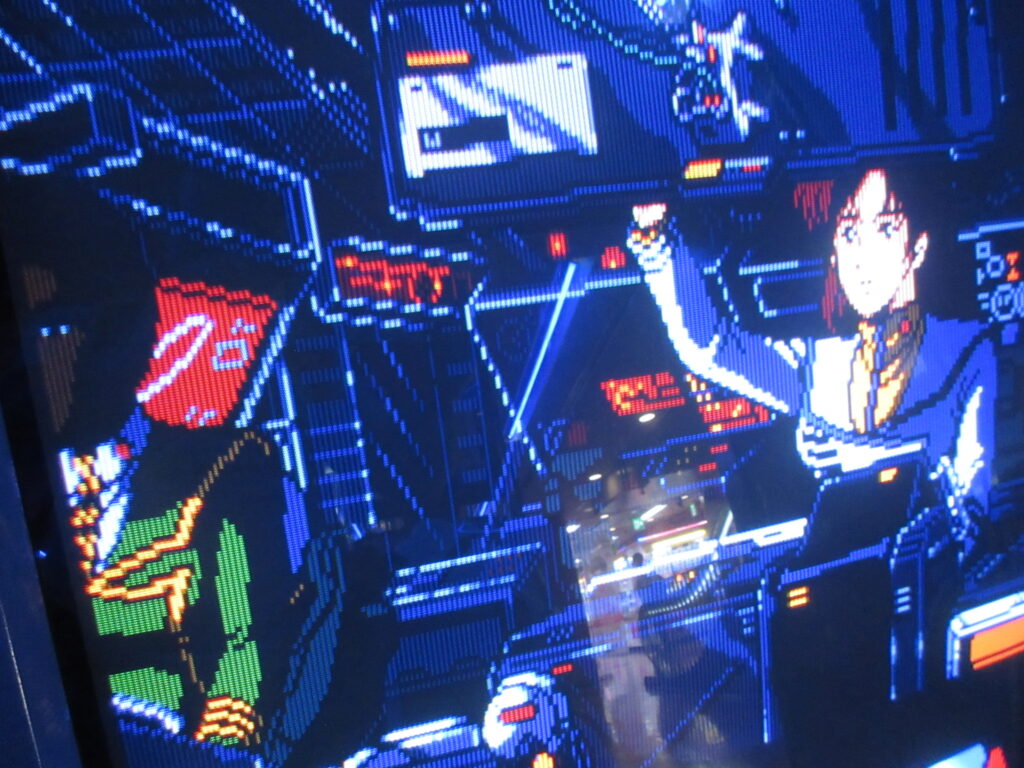
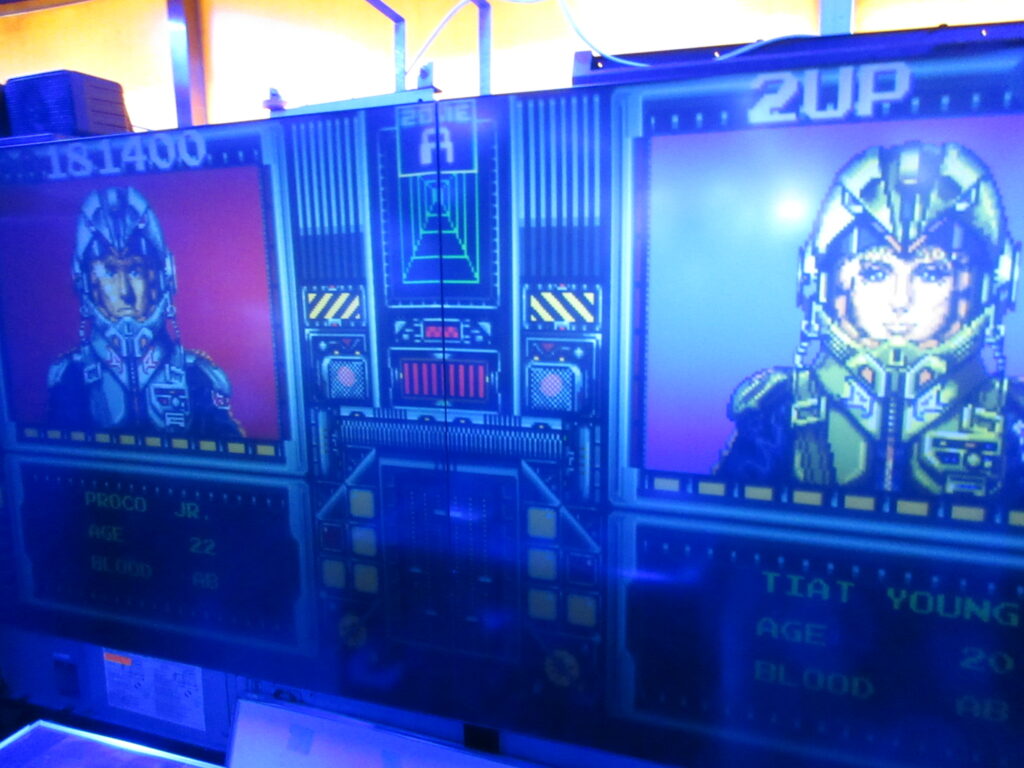
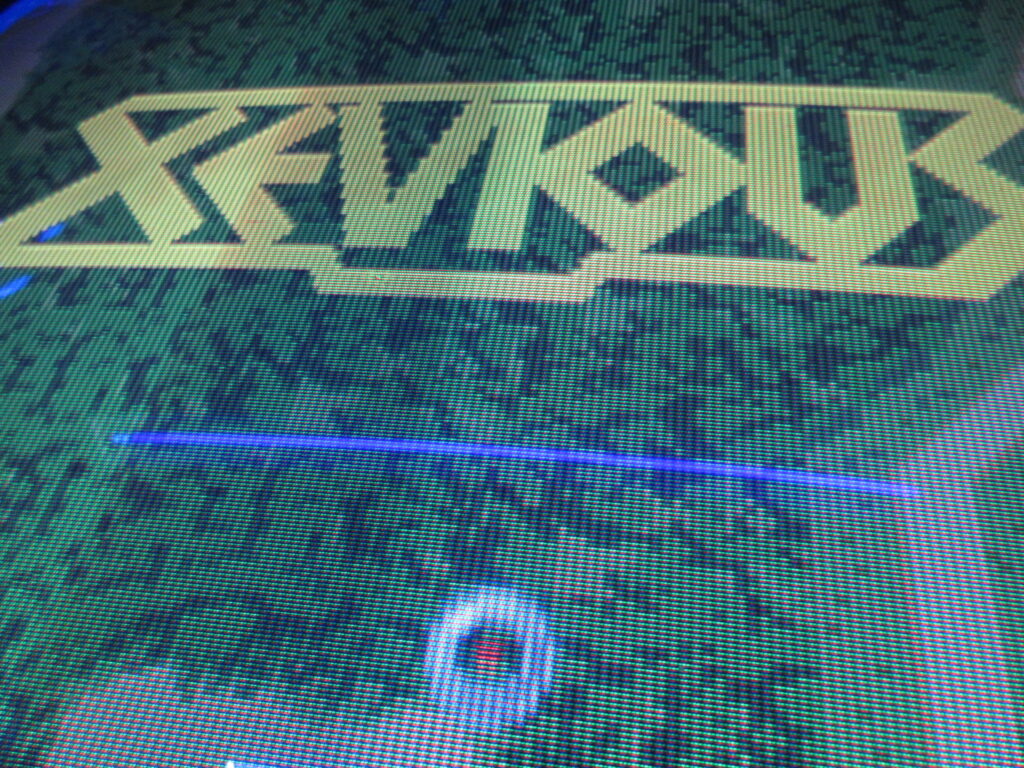
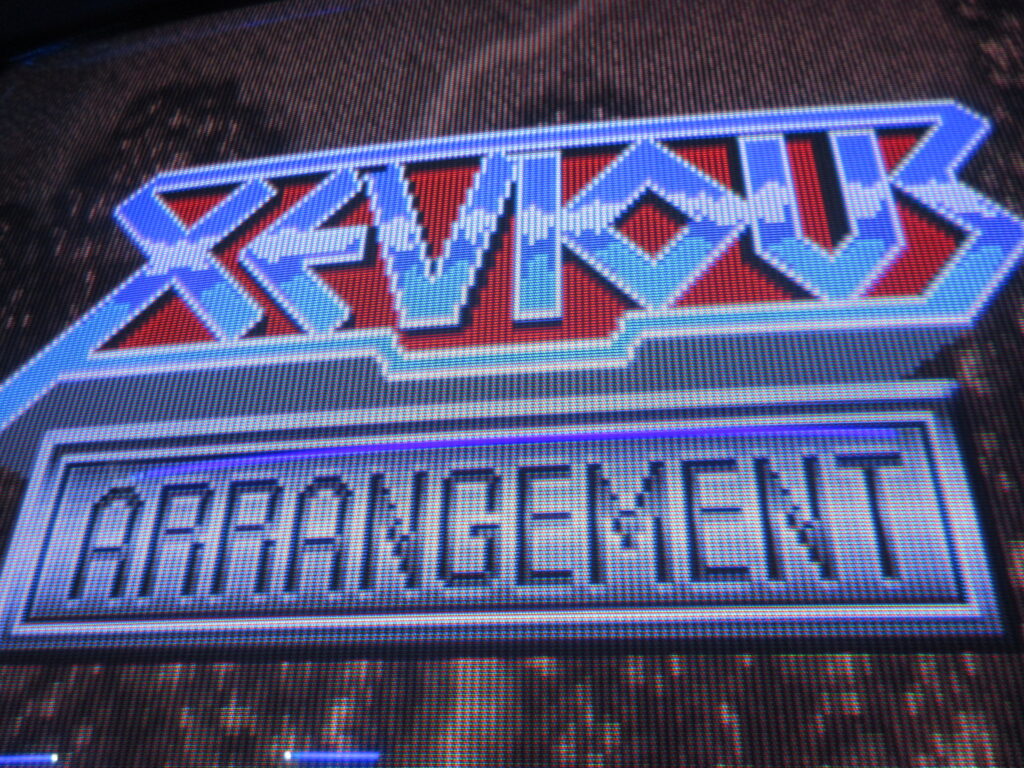
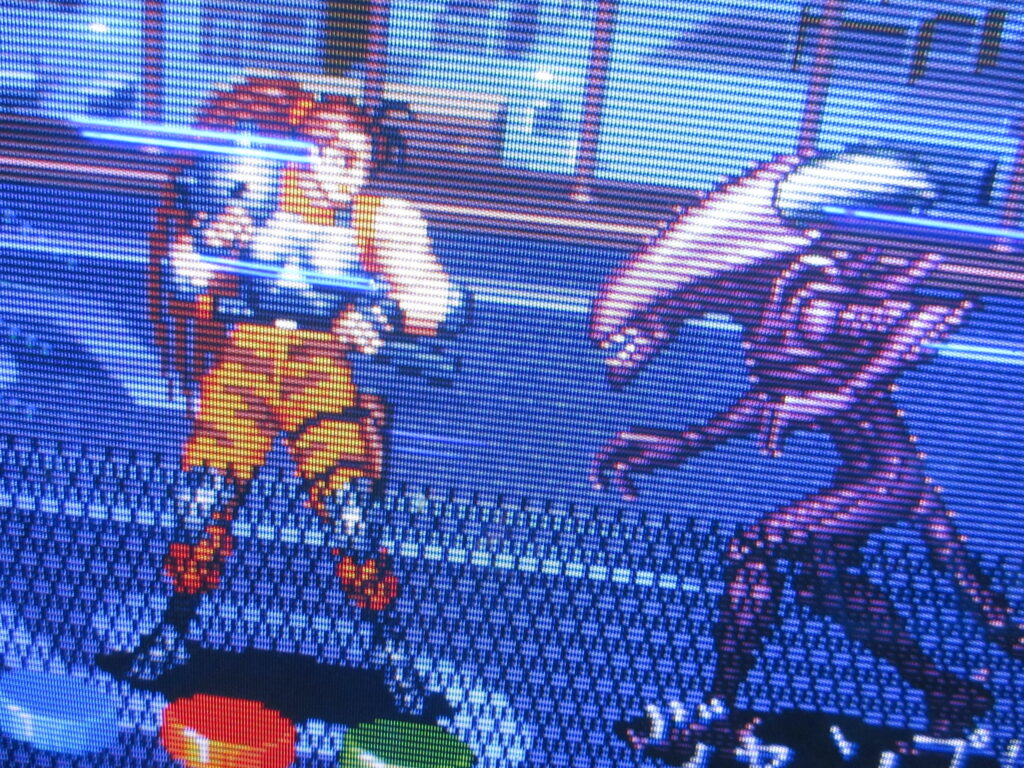
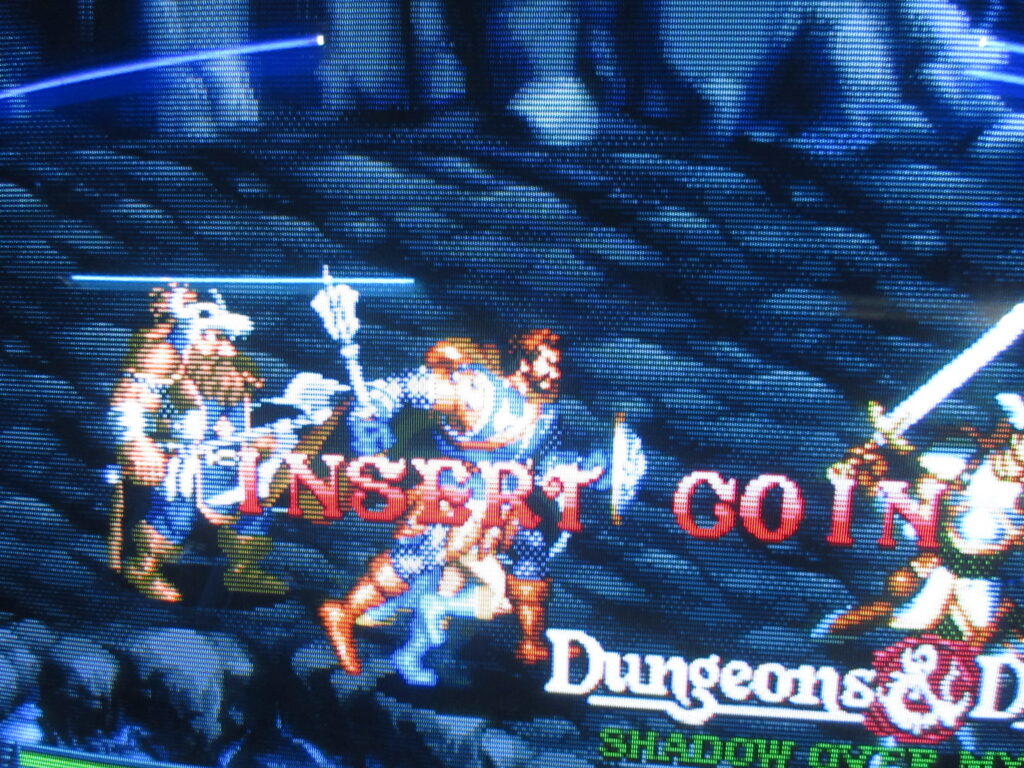
The first game we tried was Capcom’s Dungeon and Dragons, and the first player’s two main buttons weren’t working. So I was afraid that the place was a dump. But the rest of the games turned out to be fine. It certainly isn’t on par with Taito’s HEY arcade in Akihabara, but we still had fun. Since D&D was a disappointment, we moved on to playing Gradius.
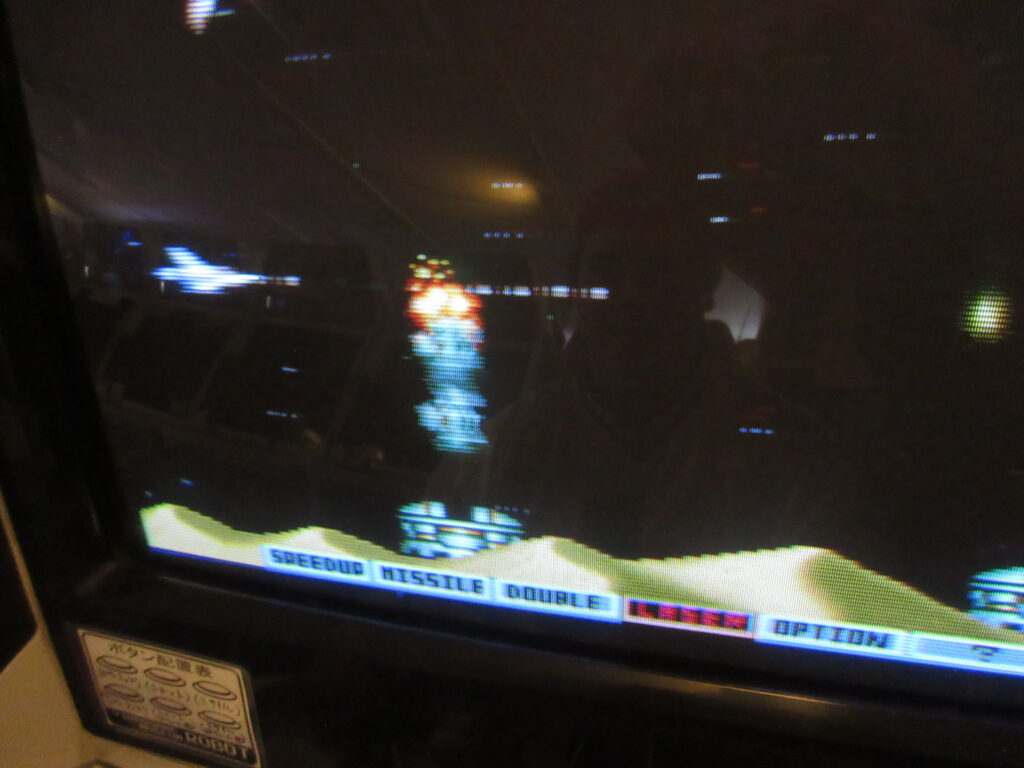
Adrian had never played a Gradius game before. He wasn’t used to the powerup system.

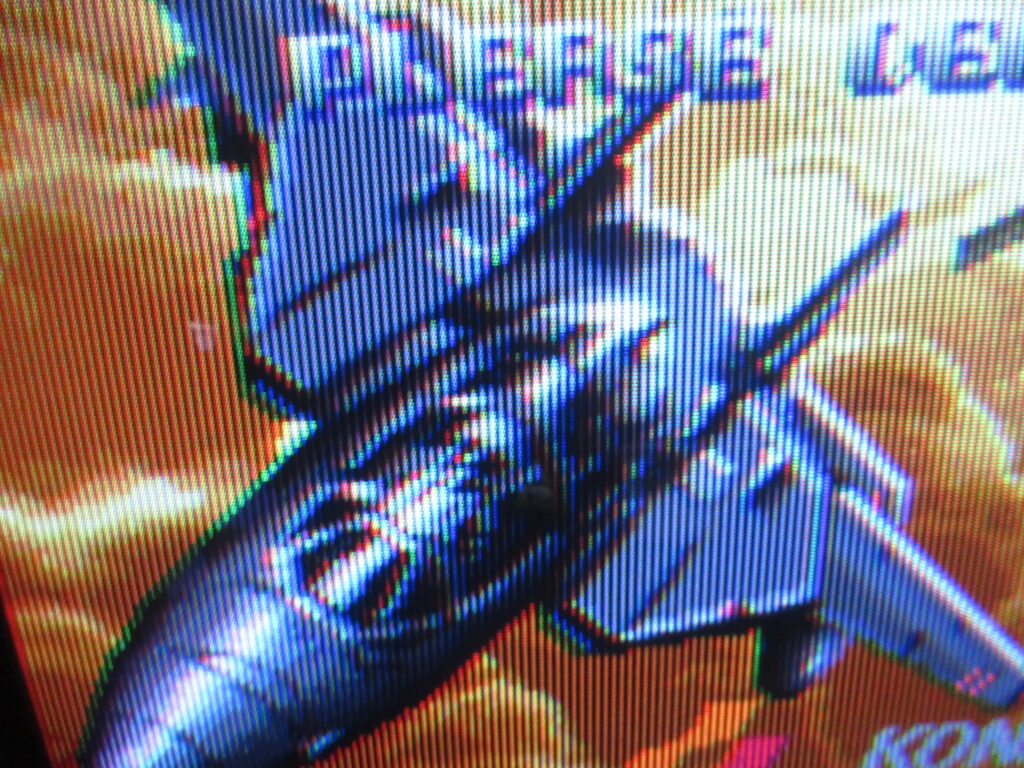
Under Defeat is one of my prized Dreamcast possessions. I think this was the first time I ever saw this game in an arcade. Maybe I have seen it before but overlooked it.
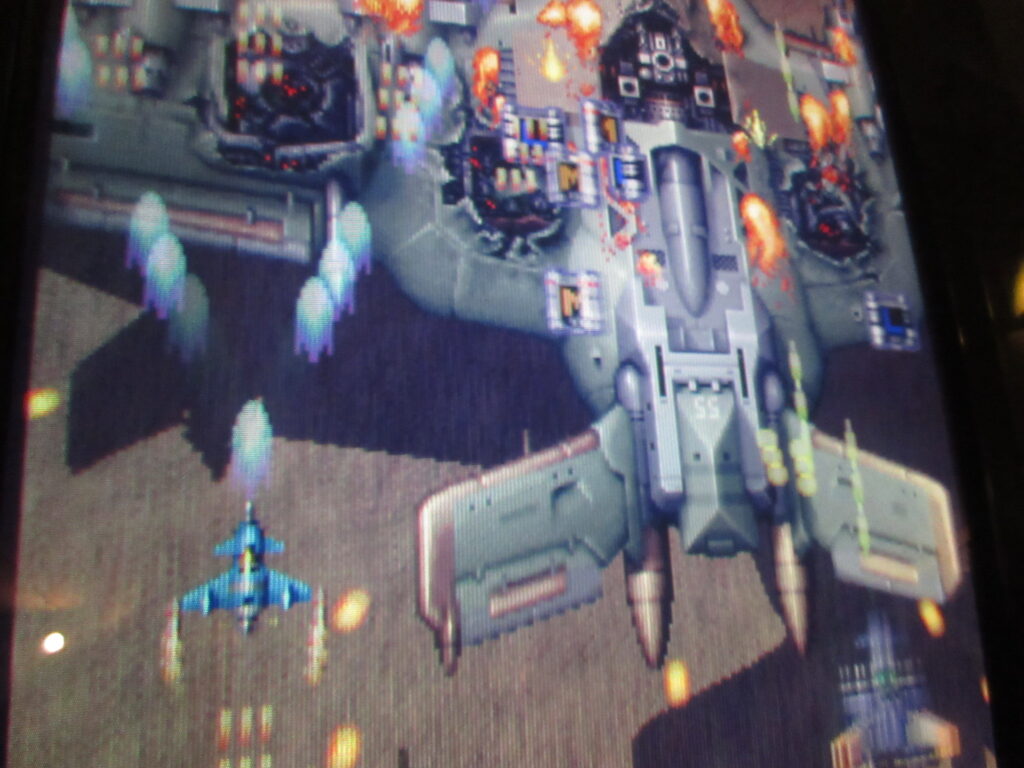
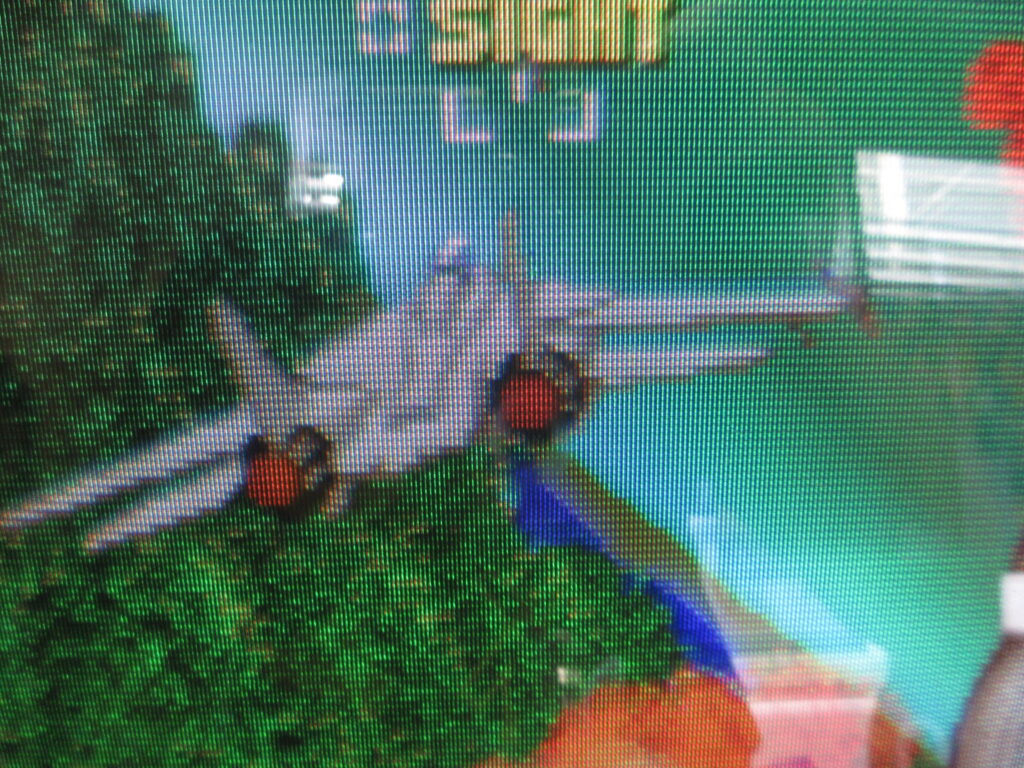
Adrian grew up playing Raiden Fighters Jet at an arcade in Los Angeles in the ’90s.
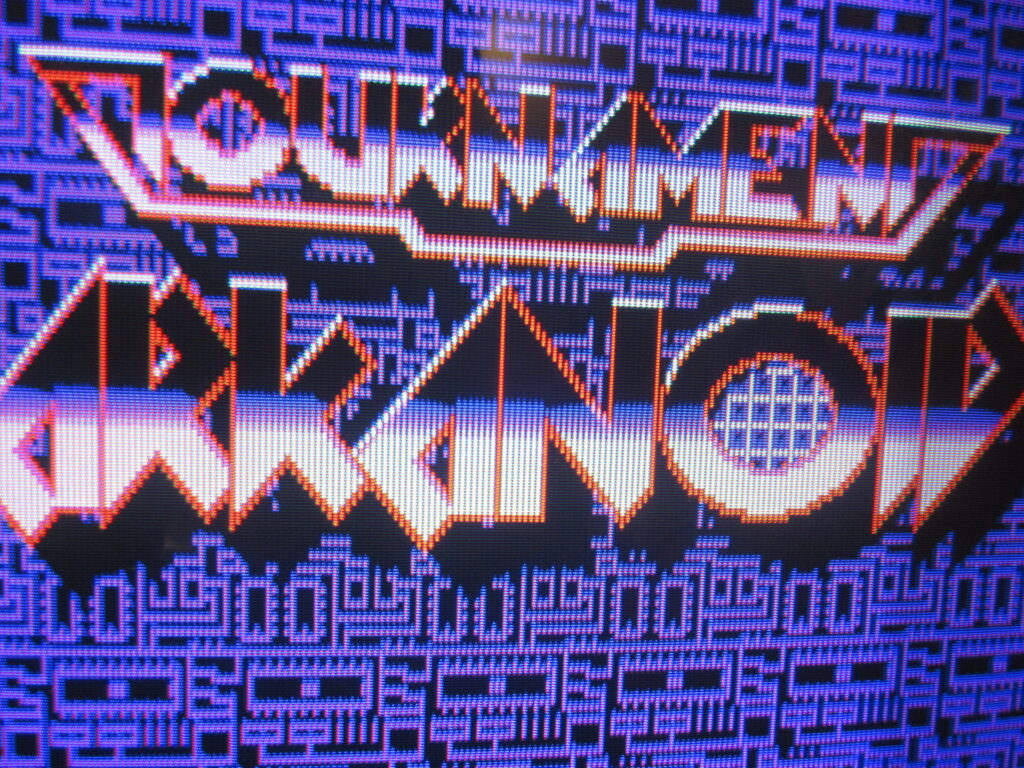
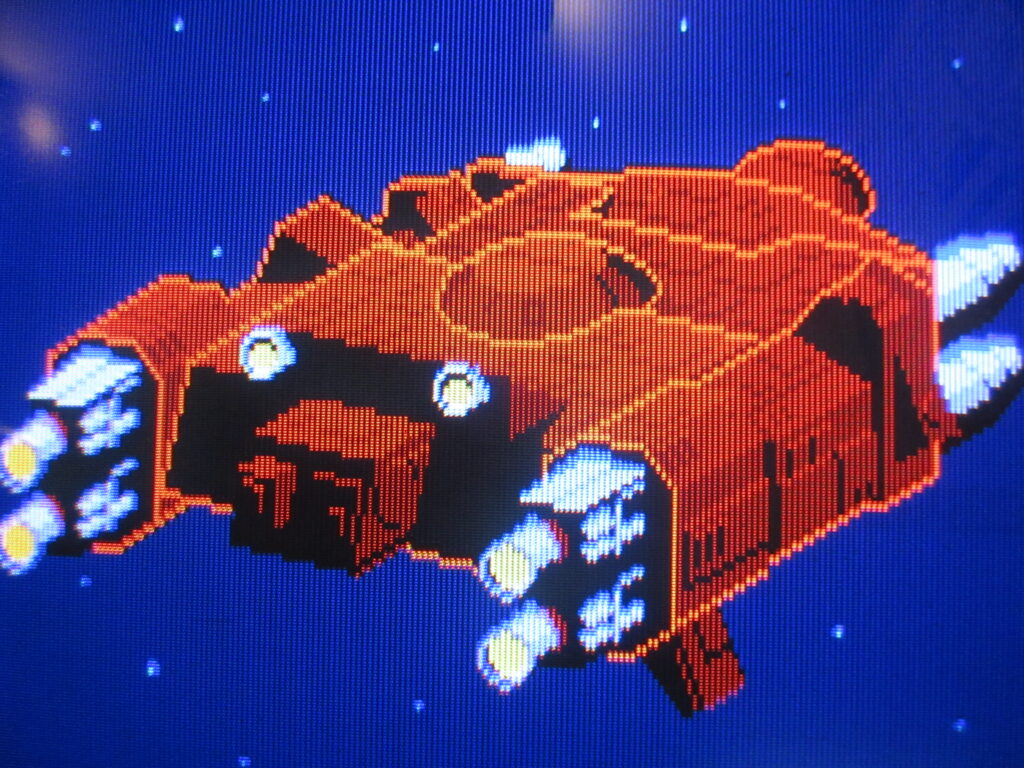
YES! I got to play Arkanoid with a wonderful knob controller! This PCB is the North American version imported from the USA, a Taito game licensed to Romstar.


I played some Mushihimesama Futari next to Arkanoid.
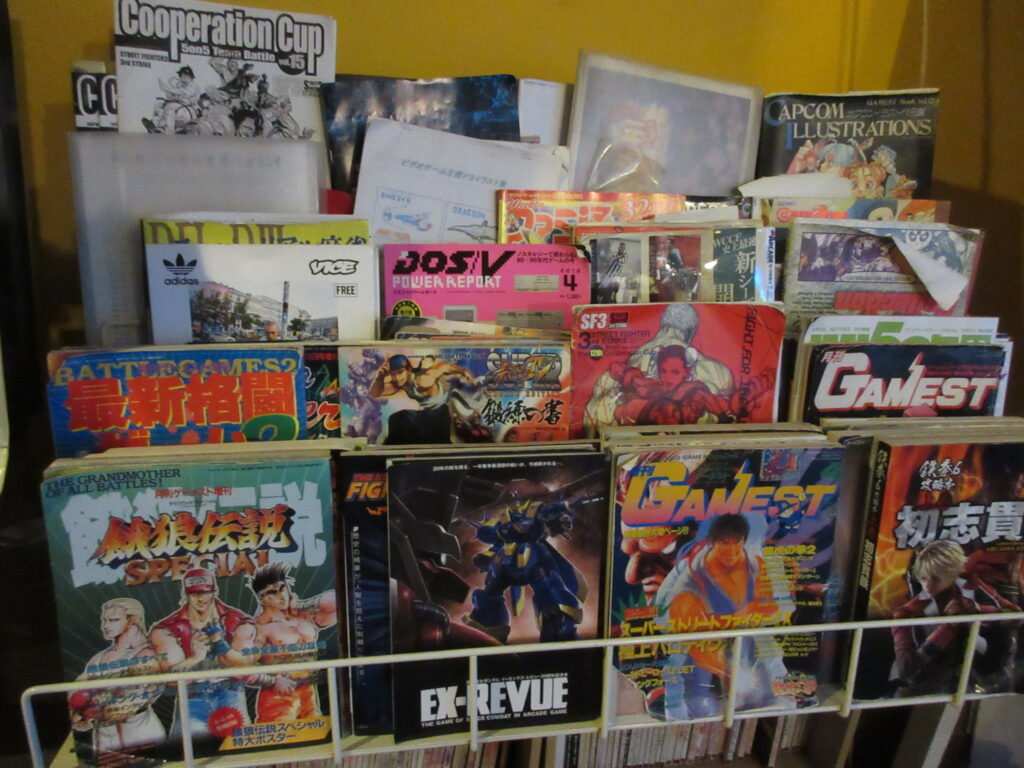
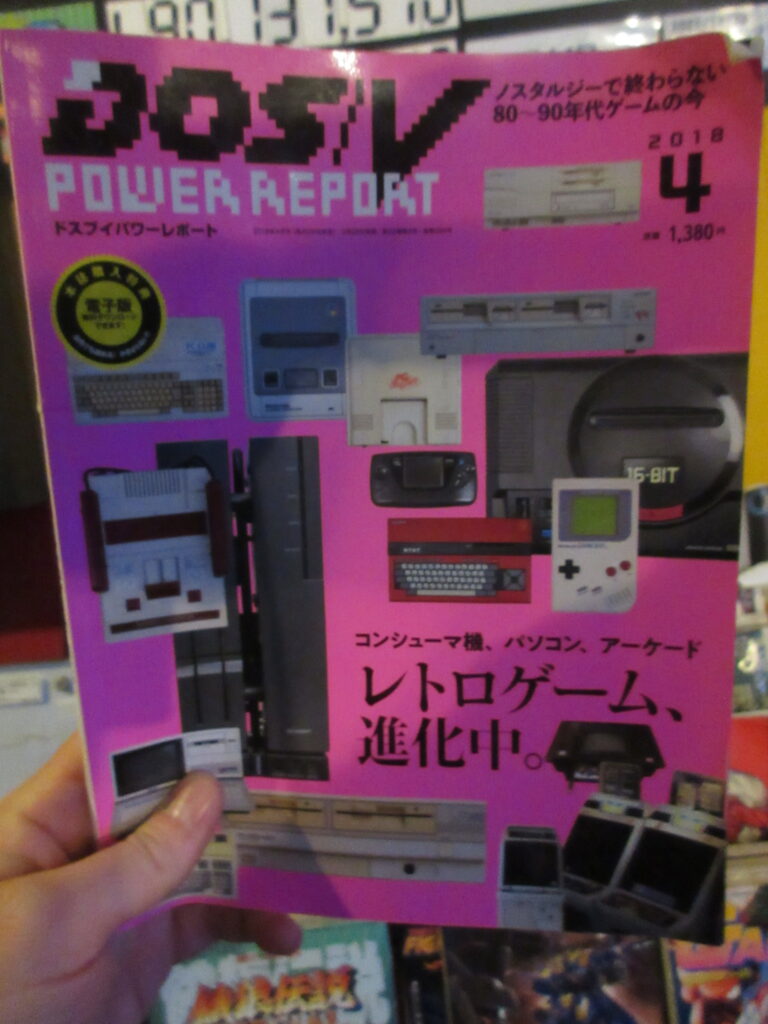
They have an excellent selection of retro game magazines to peruse! I wish I had more time to look at them more. DOS/V was the Japanese version of DOS for Japanese PCs up until Windows 95 took over in the ’90s. I thought for a moment that this was an old magazine, but it’s from April 2018.
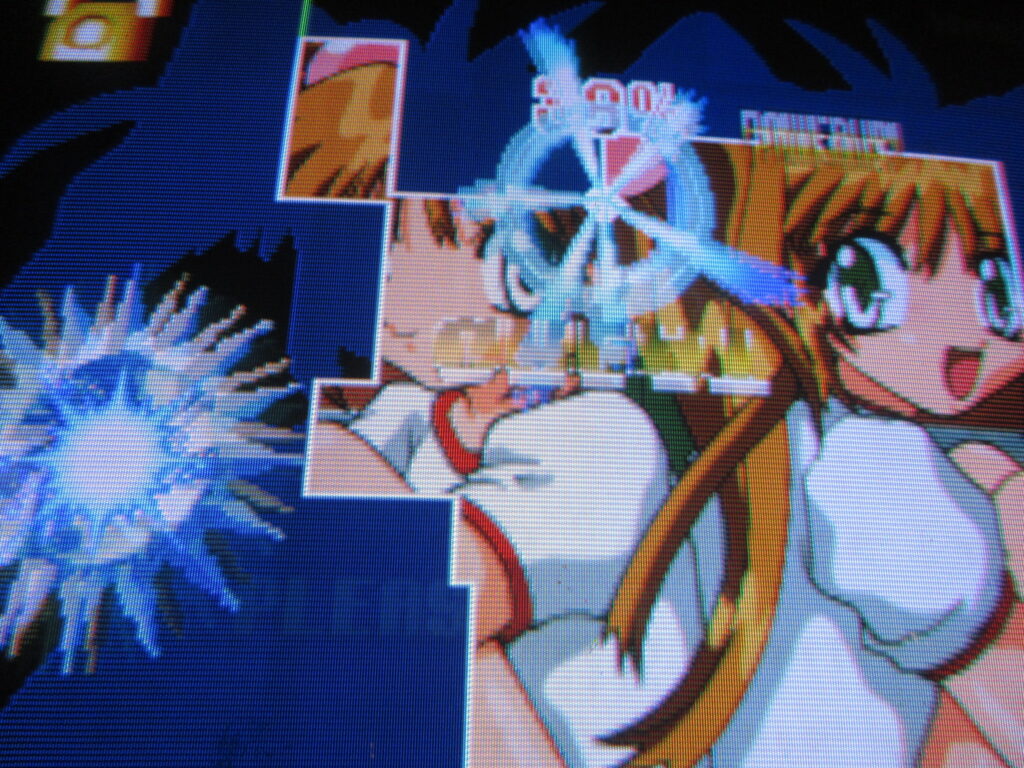
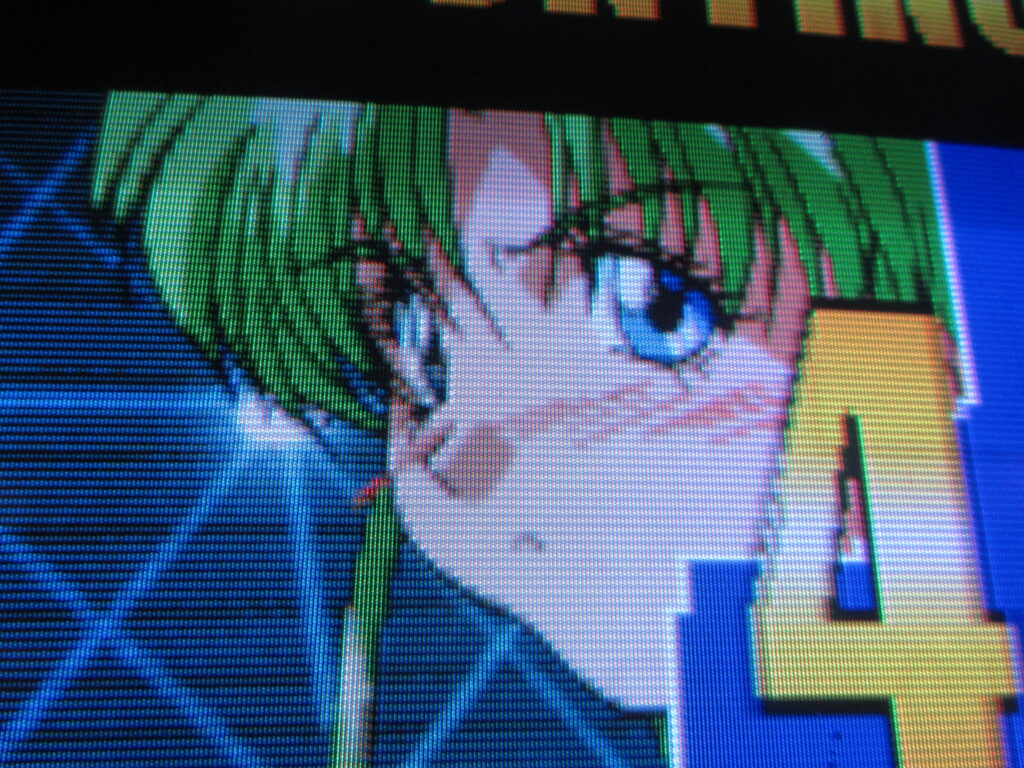
I played some Gal’s Panic 2.
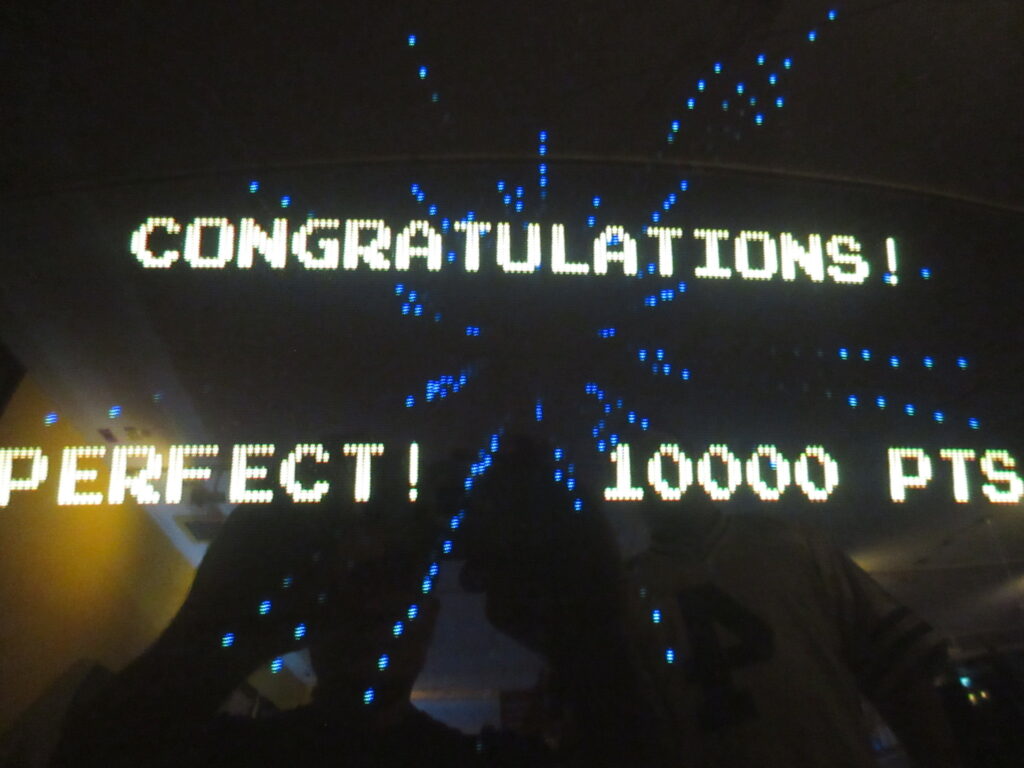
They had the Konami classic multi-game selector, so I introduced my friend to Gyruss.
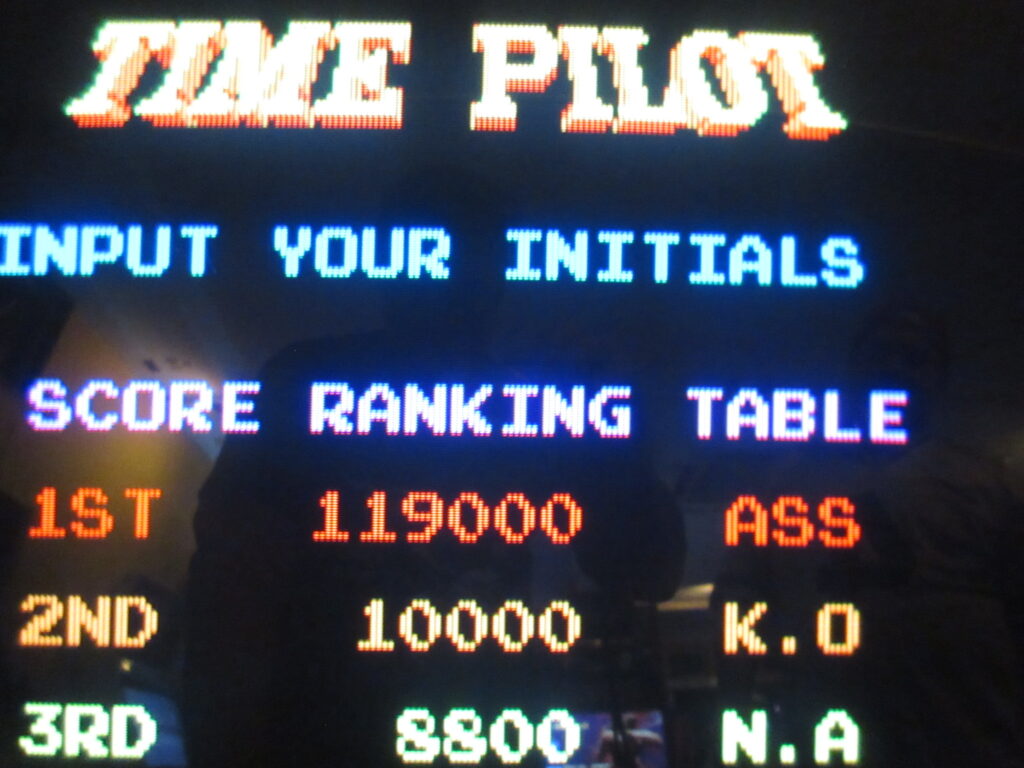
I had to do it.


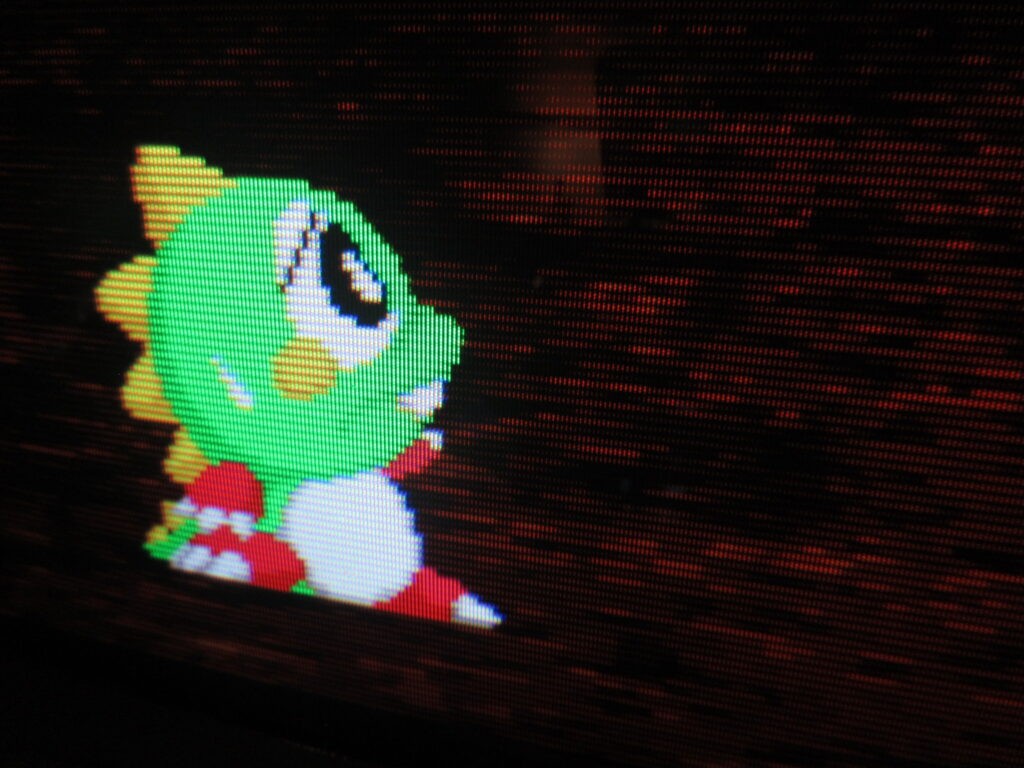
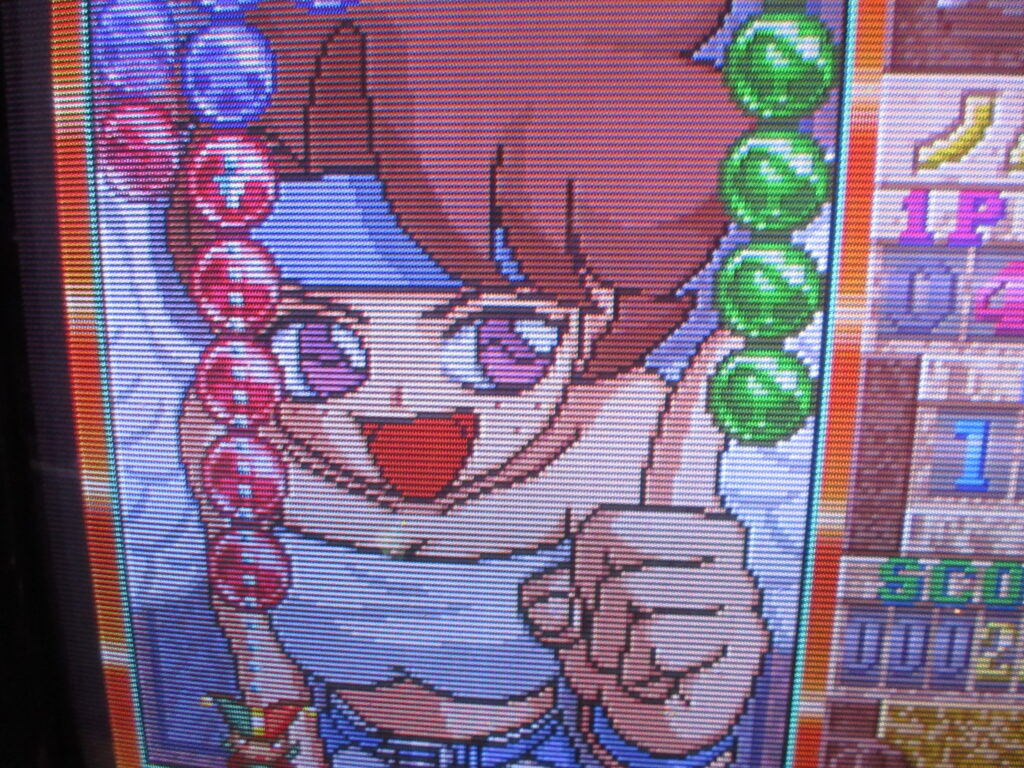
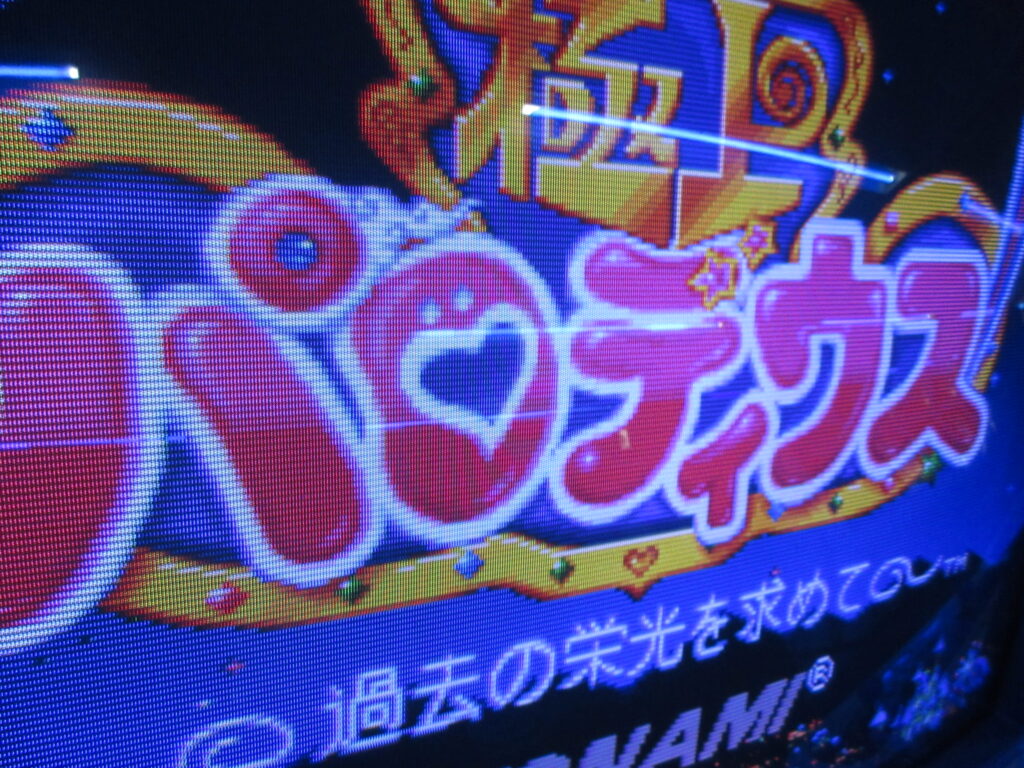
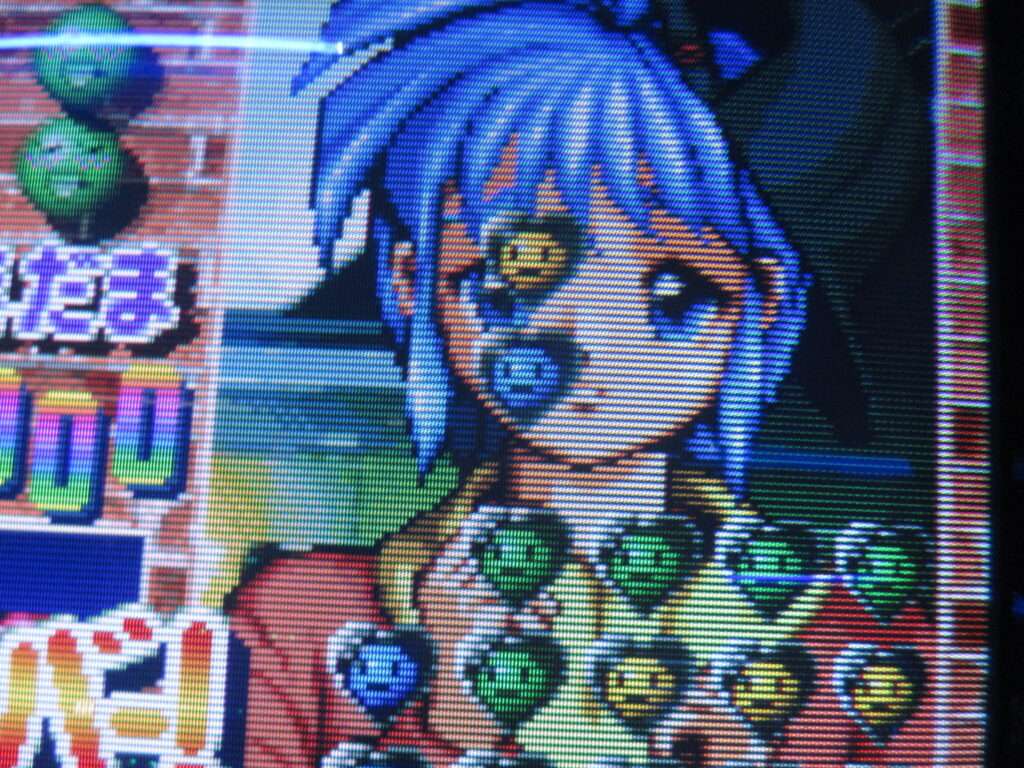
I was surprised to see Puzzle! Mushihime-tama there, so I played a round.
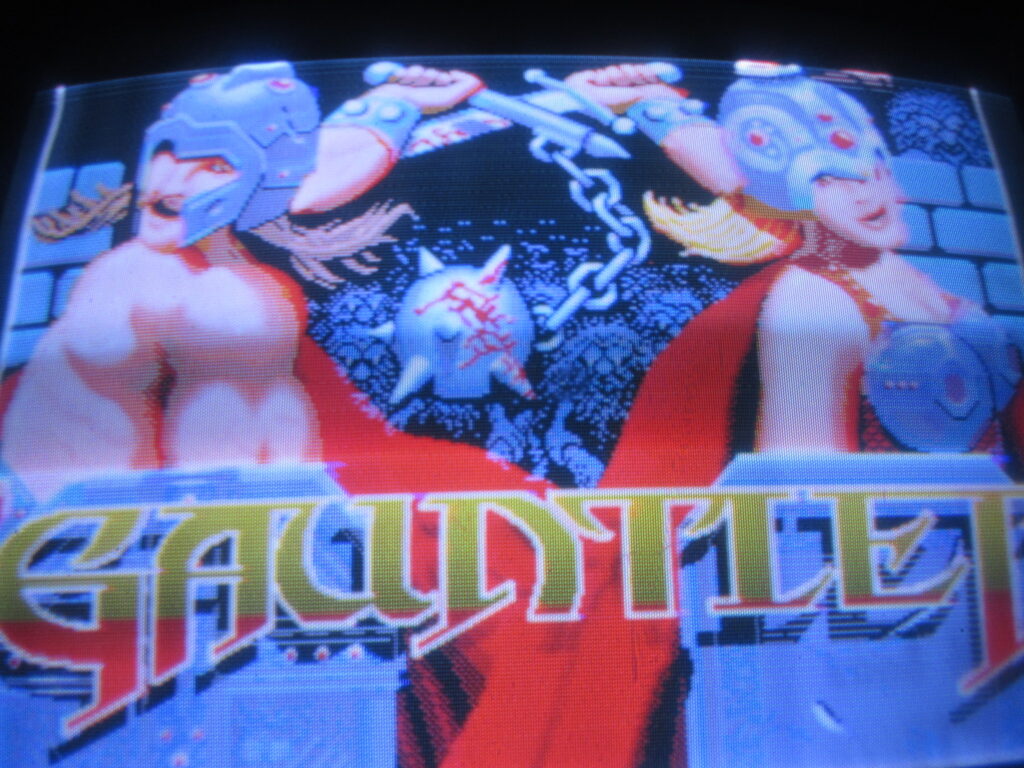
It was surprising to see a 4 player Gauntlet cab! It’s always refreshing to see an Atari game in a Japanese game center. The Mikado in Takadanobaba has a Marble Madness cab and I got to play it, but the screen was pretty messed up and the colors were weird. This Gauntlet was in better condition. We could have given it a shot, but by that time we had to get going as it was getting dark and I wanted to get back before it got too late. We were hoping to play some Marvel vs. Capcom against each other, but they didn’t have this game. I did see Vampire Hunter and Vampire Savior and I had practiced this game a bit at home on Steam recently, but maybe next time.

Oh yes, and before we went to this arcade, we had lunch at a place called King God Burger in Maebashi. Fantastic food!
New pinball games at Starfighters Arcade

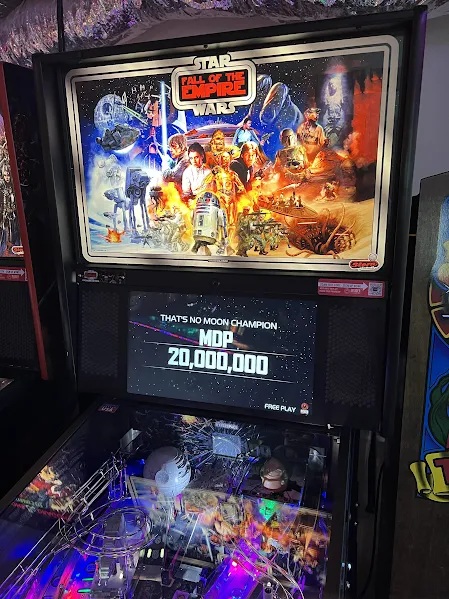
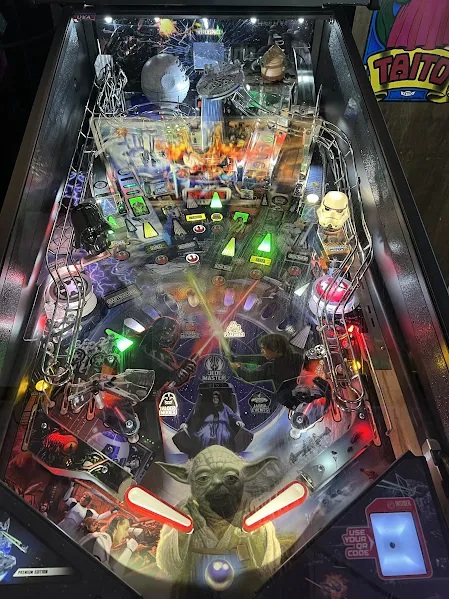
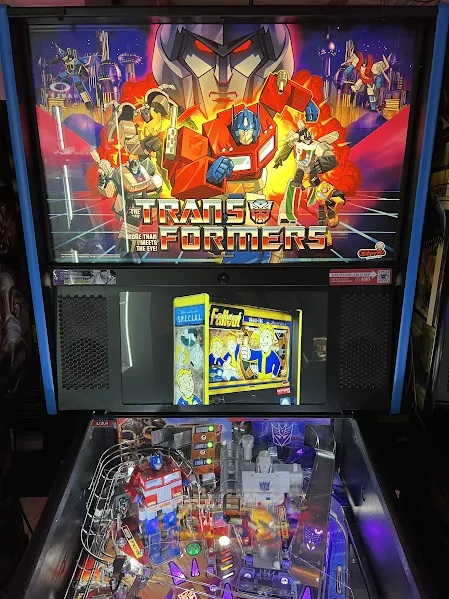
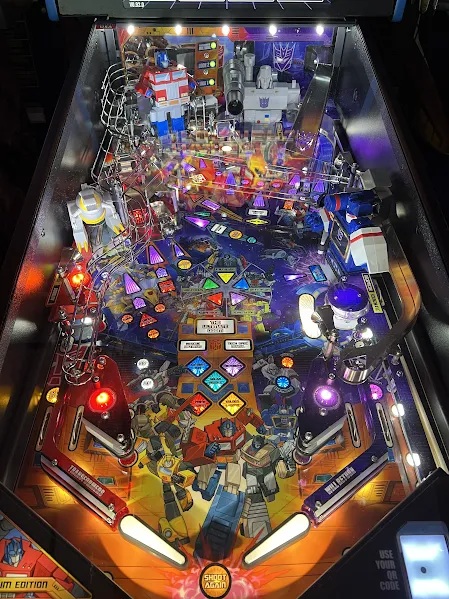
My friend Kevin took these pictures at the Starfighters arcade in Arizona I visited last year. They have some new pinball additions by Stern!

Star Wars: Fall of the Empire. Visuals only from the OT! Prequels can get lost.

G1 Transformers! Yeah!

Unfortunately, I no longer know of any places in Japan where I can play pinball. There was a Mikado location near their main game arcade that specialized in pinball, but it closed down.

Update 3 on my old Bandai/Imai Macross Glaug kit

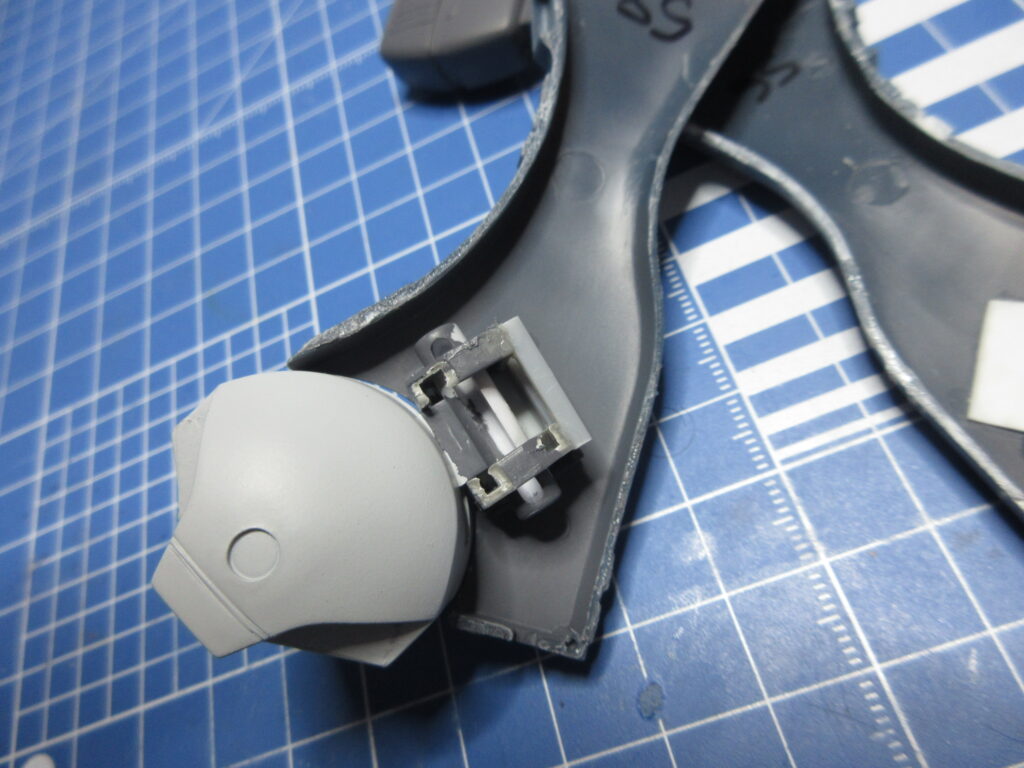
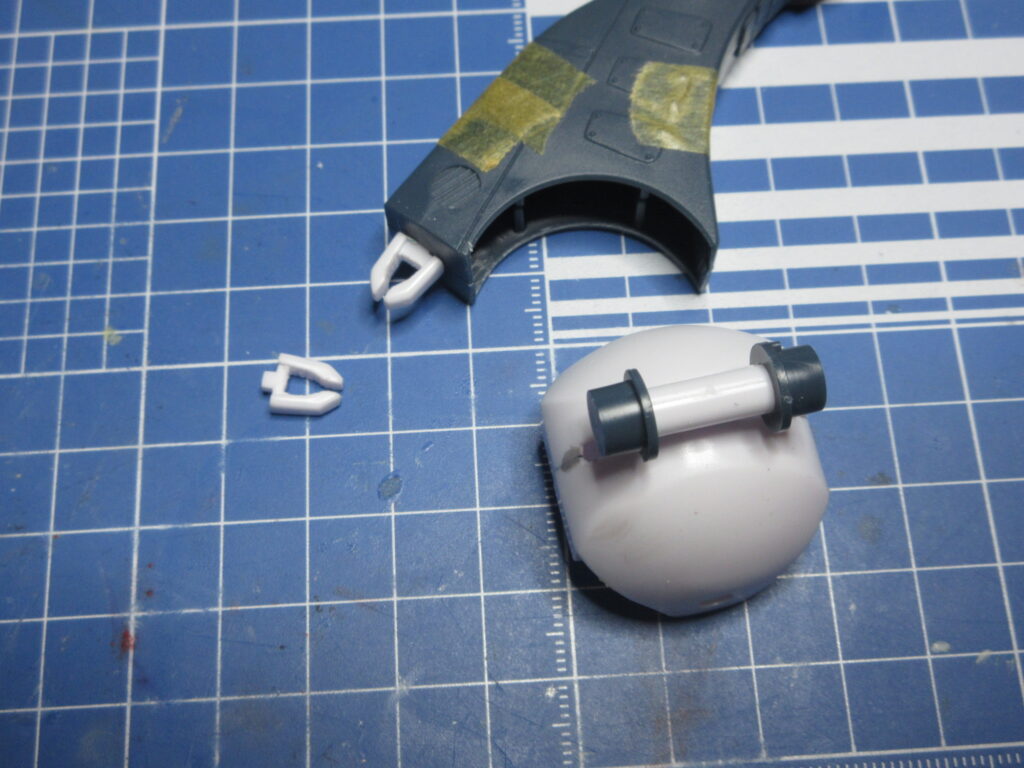
With the way the feet are out of the box, there isn’t a lot of lateral movement. The feet have these cylinders that plug into brackets and have end caps which keep them in place. No glue required, I guess. Well, the problem with that is that there isn’t much lateral movement with the feet this way. The end caps have locator tabs which correspond with the brackets, making the feet really straight. That’s not what I want if I’m to have the legs splayed apart. These old kits, when built straight out-of-box, generally build up to be Stiffy Stifferson. For more dramatic poses, such modifications are necessary!

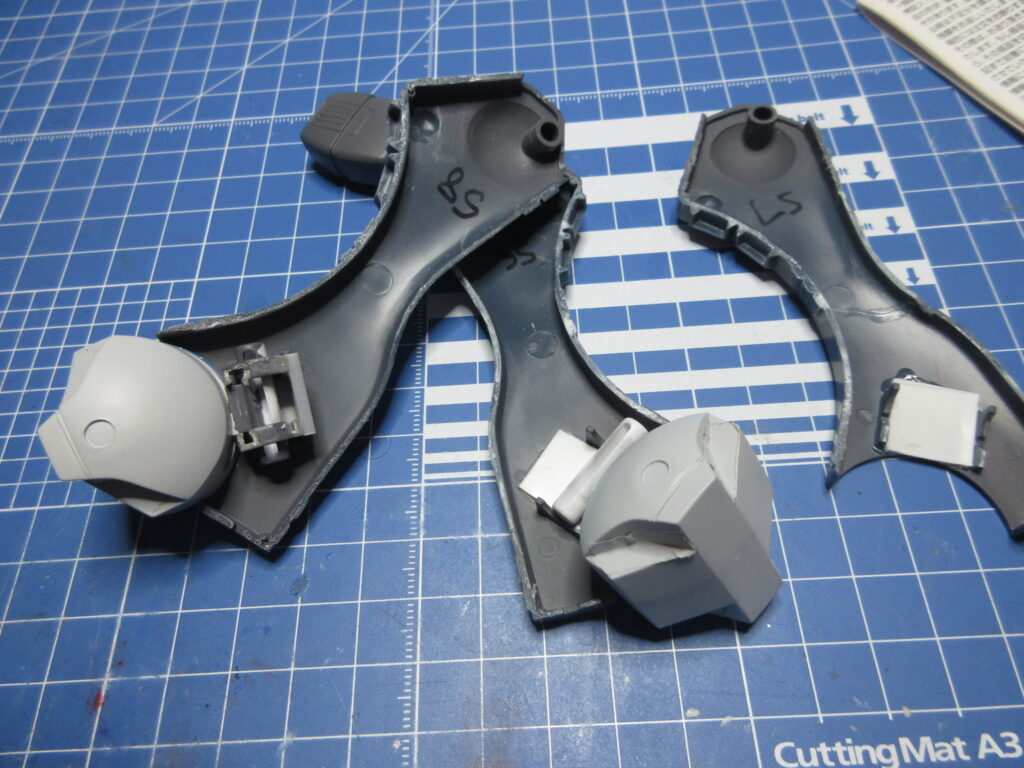
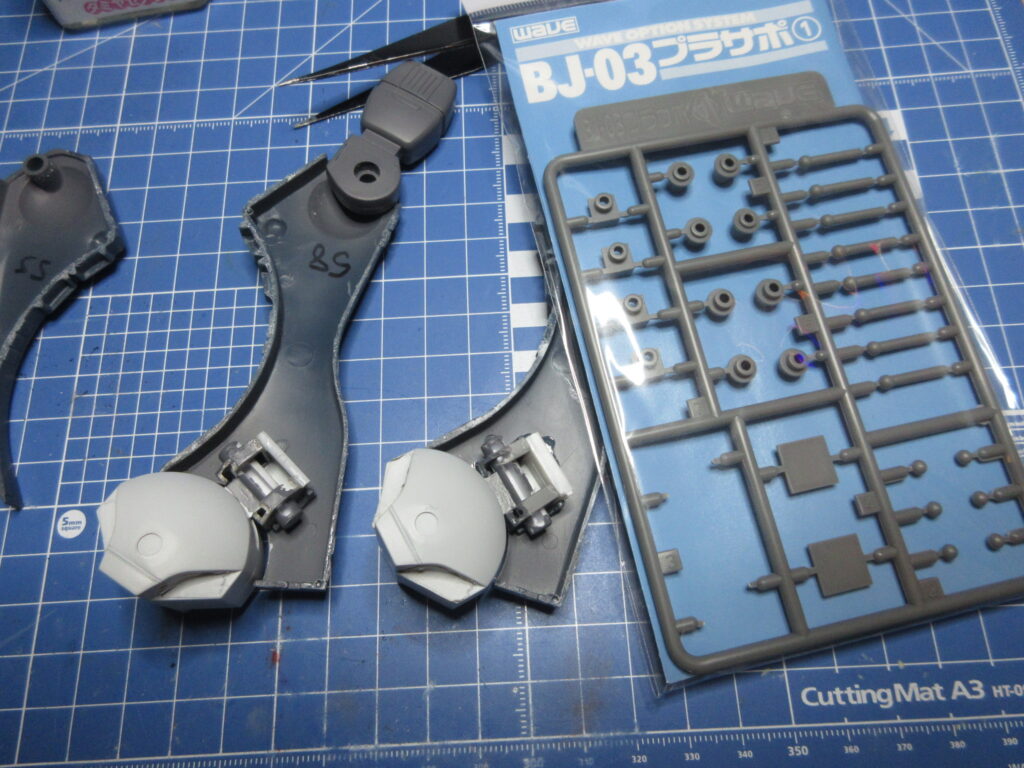
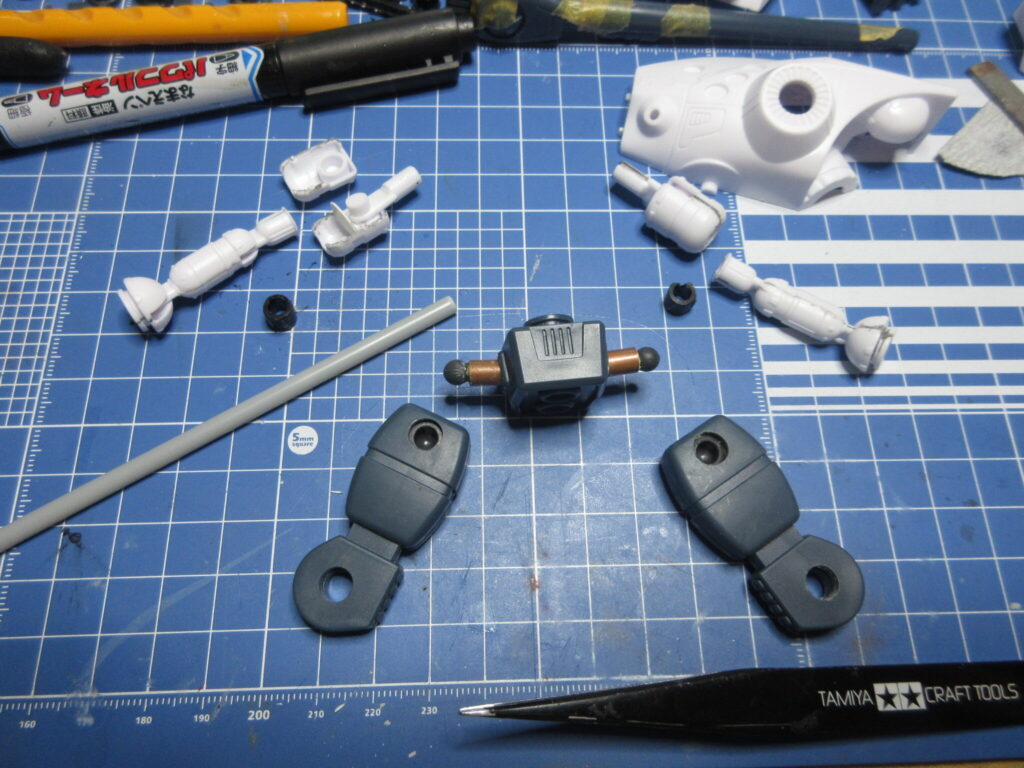
I noticed that these cylinders fit excellently into the 5mm hole sockets of the square parts of the BJ-03 Pla-Sapo (“plastic support”) sets by Wave. Above you can see how I snipped off the bottom of the brackets and placed the square parts a bit lower so that these cylinders can allow more lateral movement. Those end caps are now no longer required!
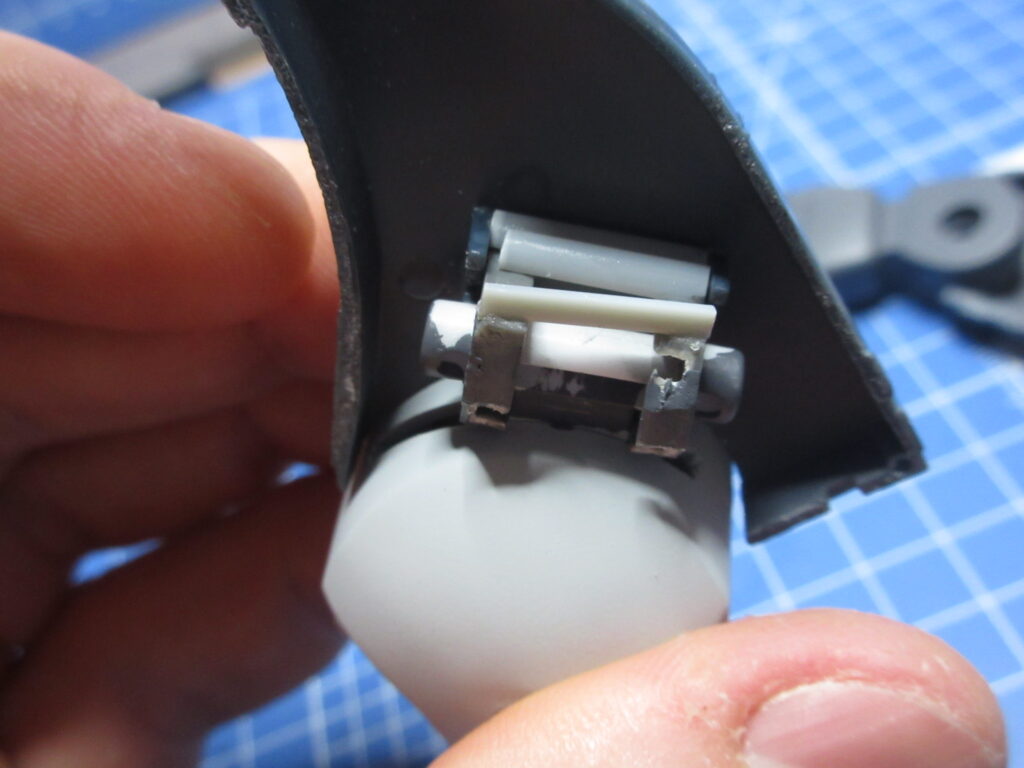
When the leg halves are put together, I noticed that there was an 11 mm gap between the brackets. The square parts are 10mm, so I used Tamiya .5mm plastic sheet between the brackets in order to create a snug 11mm width. (You’ll see the white sheet plastic glued into place in the pictures.)

Oh but wait… the square shapes were preventing the feet from swinging side to side, so I cut off their corners. I used Wave 2mm plastic sticks to act as braces. I also hand-painted the parts gray so that they won’t be so noticeable.

It’s crude, but it works. I also had to cut off the top corner of the front square because apparently the legs are a bit tapered towards the front, I guess. I’m not sure.

So now both feet are complete. I used Tamiya 4mm square plastic rod to brace the other foot. From here, all I have to do is put glue in the right area and sandwich this work in between the two leg halves and be done. Now I can resume painting.

New desktop wallpapers for Linux Mint and Bazzite

Deedlit from Record of Lodoss War on my Mint Mate desktop.

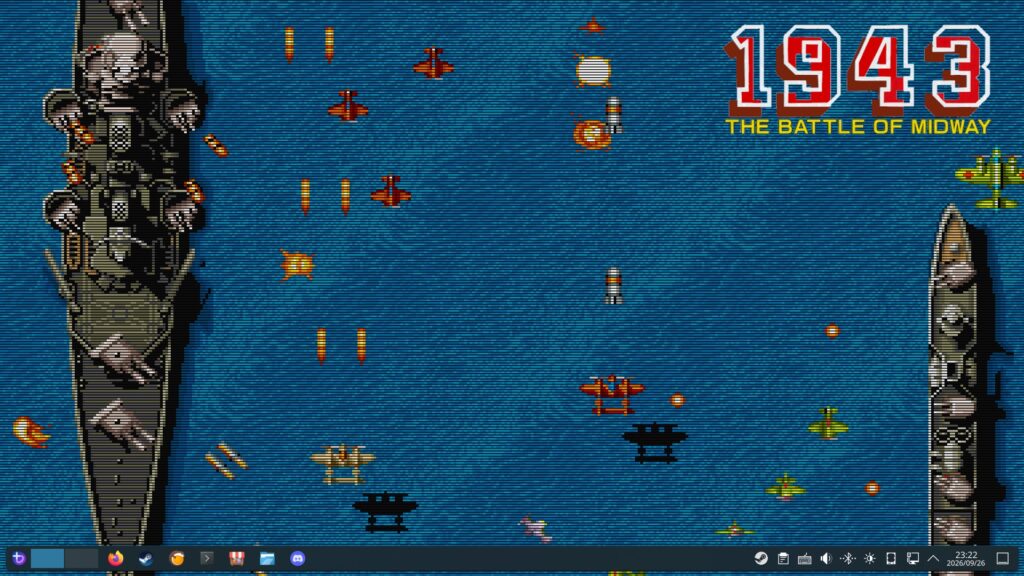
1943 wallpaper for my Bazzite Steam computer. I had Shantae in a bikini over the summer but now that summer is over, I’ve moved onto this wallpaper. I love the scanlines. I’ve been playing a lot of 1943 actually on Capcom Arcade Stadium volume 1 on Steam.

Update 2 on my old Bandai/Imai Macross Glaug kit

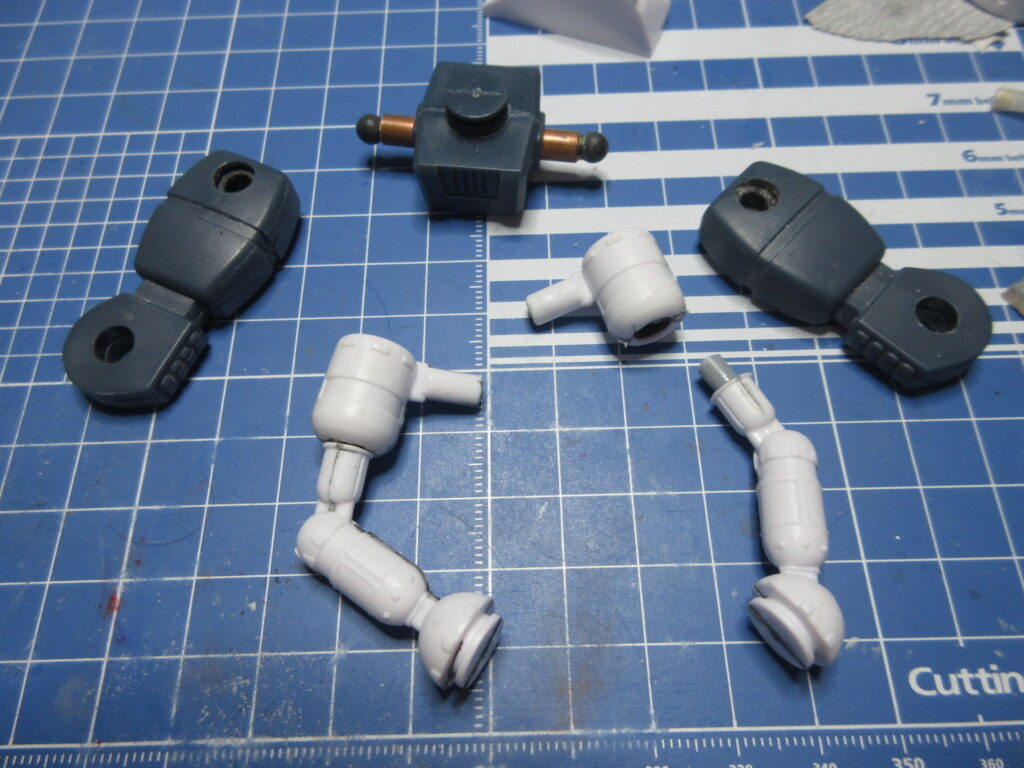
I mentioned in my first update that I was going to use ball joints for the arms. I realized that this would be a bad idea because those are arm pegs and putting ball joints on the tips would make the arms look too long. Instead, what I did was use my Tamiya saw blade to cut the arms at just below the shoulders. I then ran the extra thin cement onto the joints several times to loosen up the dried glue and then I was able to pop them apart with my knife. I used my contour tool to figure out that these shoulder parts will fit 9mm discs inside which I cut out from Tamiya pla plate. This will prevent epoxy putty from oozing into the articulated joint, I hope. The black polycaps are from some Bandai kit. I’ll need to use epoxy glue to secure them into place inside the shoulder parts. The Wave 4mm plastic rod you see fits rather nicely into the elbow joints and into the black polycaps.

After attaching the polycaps to the discs with epoxy glue, I then wrapped epoxy putty around the polycaps inside of the shoulder pieces to secure them into place. On the right you’ll see the plastic rod and on the left you’ll see the arm segments joined together. My Glaug now has a kung-fu grip!
The Glaug has these extending claws on its “toes,” but they are not opened claws. The example kit built for the instruction book just has the interior painted black to simulate the claws, but I wanted to open these parts up. I began by using my .5mm drill bit in my pinvise to drill out a series of smaller holes along the inside edge of where I wanted the parts to be emptied out, then used a 1mm bit for the bigger part in the middle. I then used my God Hand bit blades to punch out the inside area. From there, I just used my fine file to get inside and smooth it out.

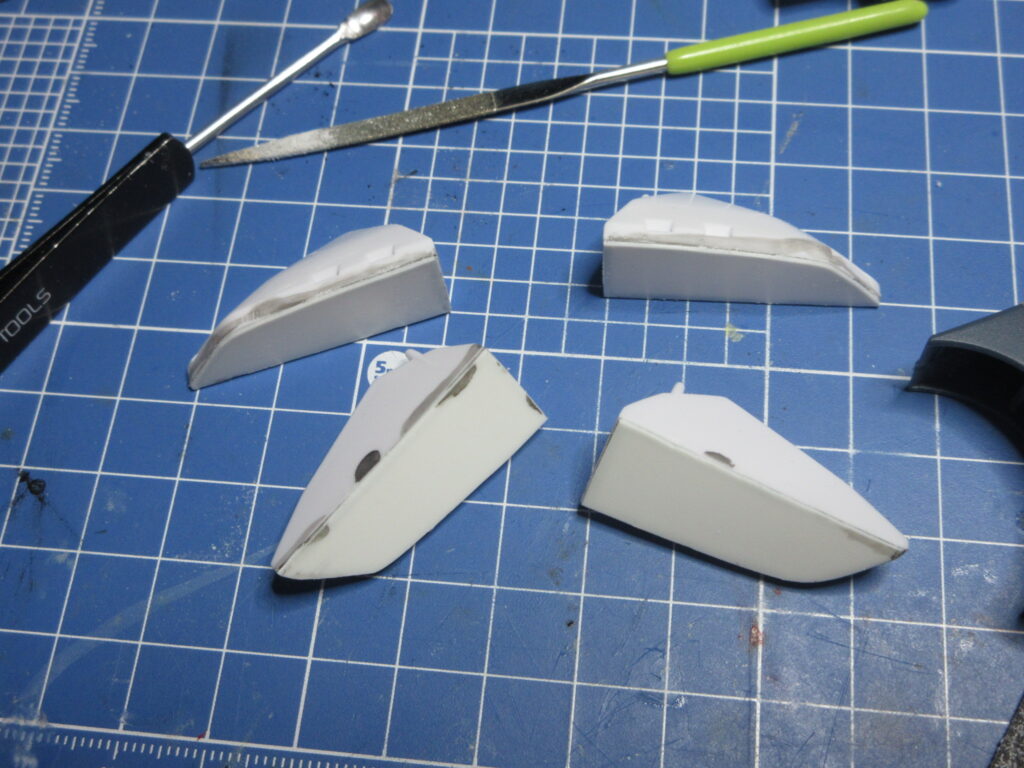
I also had to address the fact that there are no bottoms to the feet sections! They’re just hollow. I traced out the feet sections onto pla plate, cut them out, glued them onto the feet, and then trimmed, filed, and then sanded down excess. I won’t bother adding any textured detail to the underside of the feet, but at least they are no longer hollow.

New Macross Arii 1:100 Regult model acquisitons

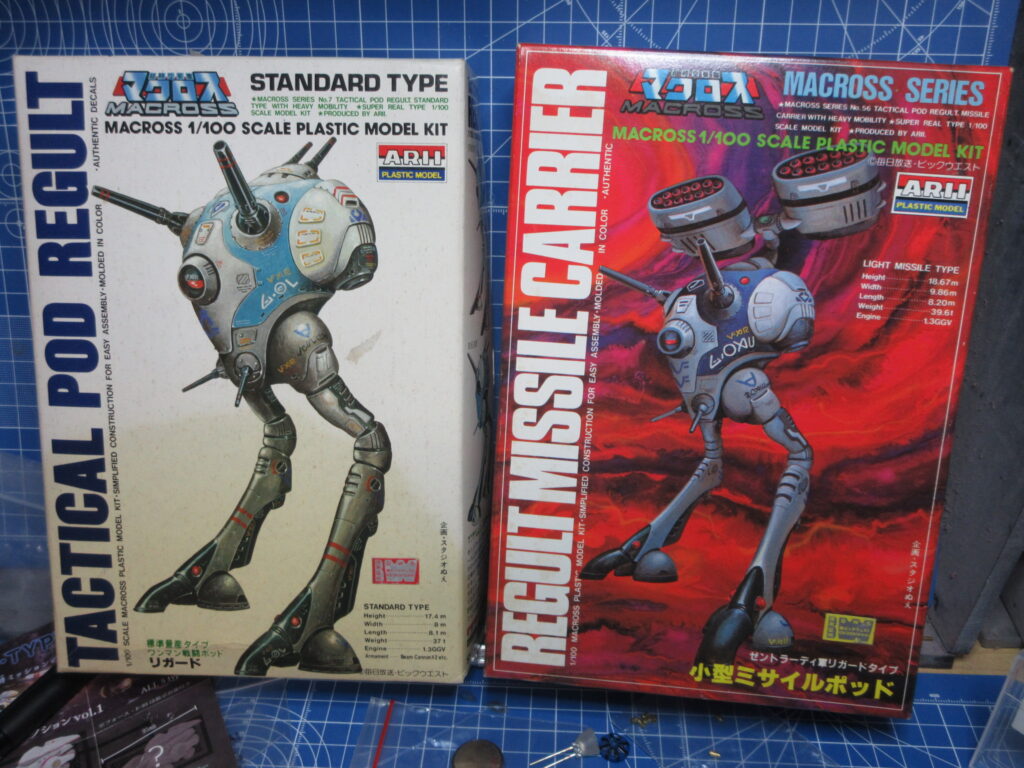
I bought these vintage Arii Macross model kits on YAJ this past week. The standard Regult on the left and the Light Missile Carrier on the right. I’ve already built the Heavy Missile Carrier and Scout Regults. These kits were not repopped for the Macross 15th Anniversary in ’97. In fact as far as I know, the only models Arii released for the 15th anniversary were the 1:100 Destroid and Valkyrie kits (and maybe the 1:170 Valkyrie kits).

The standard Regult was released first, and the “knee” joints aren’t so good. These parts were re-tooled for the scout and the two missile carriers, but the first one isn’t capable of bending into a sort of “fetal position” in standby mode like the others can. Despite their age, the decals for both kits seem like they are alright. Like the Regults I’ve already completed, I will use aftermarket parts by Wave and Kotobukiya to improve detail.