
My friend Ryan built me a Raspberry Pi 5 with 16gb of RAM last year. He sent it to my dad’s home and I acquired it there when I visited in August. I had been using my Pi 4 (4gb of RAM) as a portable desktop. Once I installed Raspberry OS on my Pi 5, it blew me away how quickly it loads! It is very nice to use.
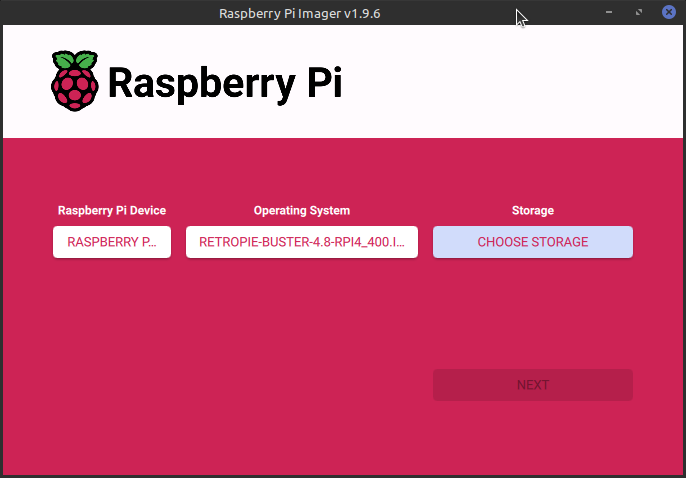
Since I no longer need to use my Pi 4 as a portable desktop, I decided to turn it into a dedicated RetroPie unit. I haven’t had a dedicated RetroPie since I sent my Pi 3 to my friend Gary.
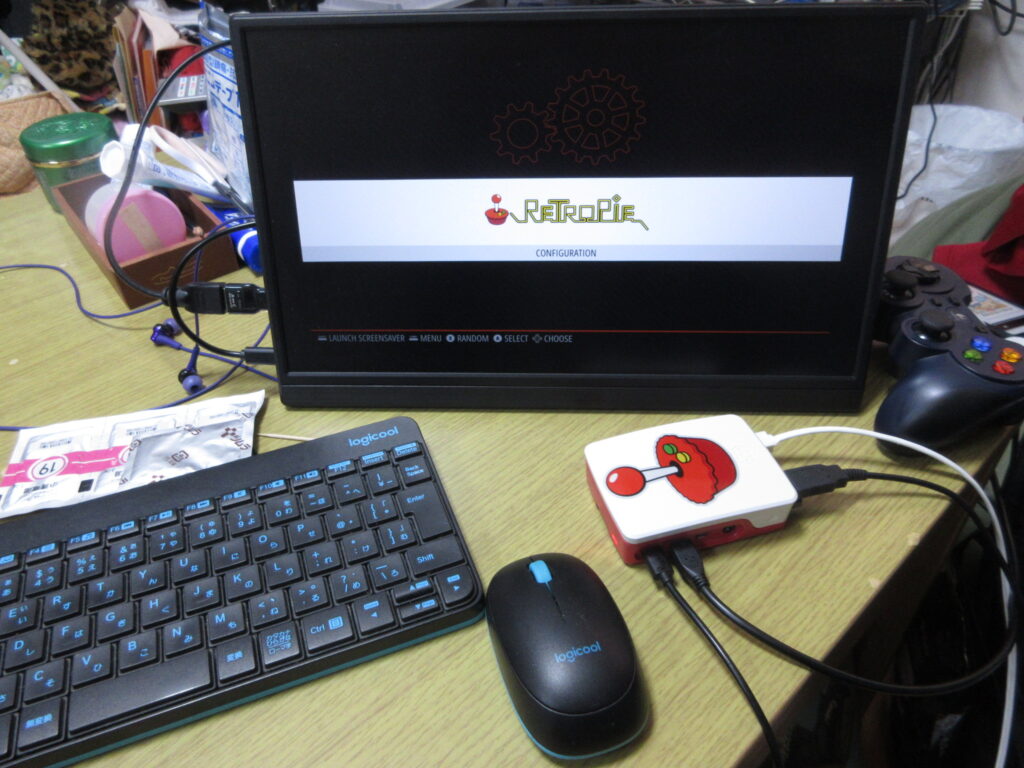
So here it is after it booted up, before any roms were added. I had to install emulators, BIOS files, the config files, and the downloaded images of the games’ covers and such. The Saturn emulator for RetroPie on a Raspberry Pi isn’t worth using. The ARM architecture cannot handle it, while the x86 architecture of my desktop can run a RetroPie Saturn emulator just fine.
At first I figured that a 32mb SD card would be enough space to install everything I wanted, but considering that I have several CD-based games for the Turbo Duo and Mega CD, I was not able to copy over all the games I wanted to. I went to Yamada Denki and bought a 128gb SD card and started over.
It’s not enough to just install the emulators and copy the roms over to their respective folders. The Retroarch controller config files as well as the game lists and game photos from the game data scrapers should also be copied to the RasPi’s new SD card. Here’s a list of what I made sure I copied over to the SD card:
- home/RetroPie/BIOS -> Where any necessary BIOS files go, of course.
- home/RetroPie/roms -> The actual games, duh.
- opt/retropie/configs/all/emulationstation/downloaded_images -> When you scrape the games’ covers and such, this is where those images are stored for each console.
- opt/retropie/configs/all/emulationstation/gamelists -> The info you’ve scraped with the games’ descriptions. Those downloaded images don’t mean a thing without these files!
- opt/retropie/configs/all/retroarch/autoconfig ->This is where your controller configuration files are stored. Of course, you could just configure your controllers from scratch, but since I had to manually edit the config file for my Mayflash Sega Saturn converter, conserving this file is a must! On a Saturn pad, the LB and RB buttons become the Z and C buttons respectively, and since there is no Select button, I had to change how the menu is loaded in-game so as not to exit the game every time I pressed the Start button!

Once all those files were transferred over, it was time to test it out. I didn’t like how there was a black border on this 16:9 monitor, which made the game screens smaller. What the heck?
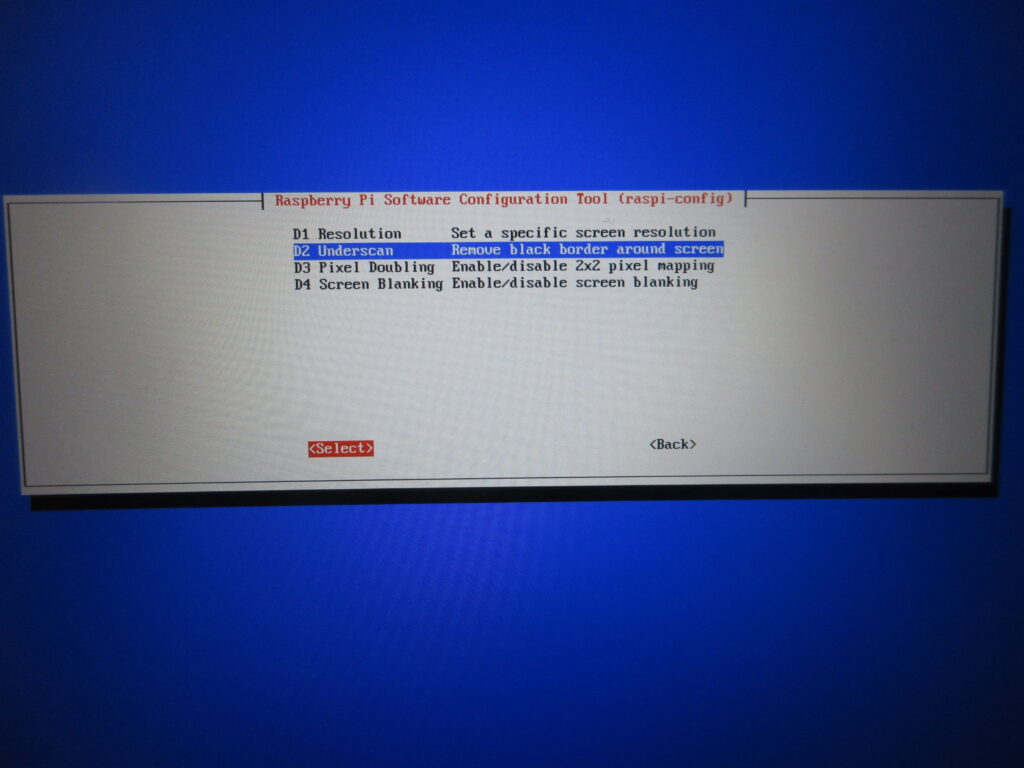
Here’s what I did. I set it to a resolution of 16:9 60fps and then with this “underscan” option I removed that dumb black border.
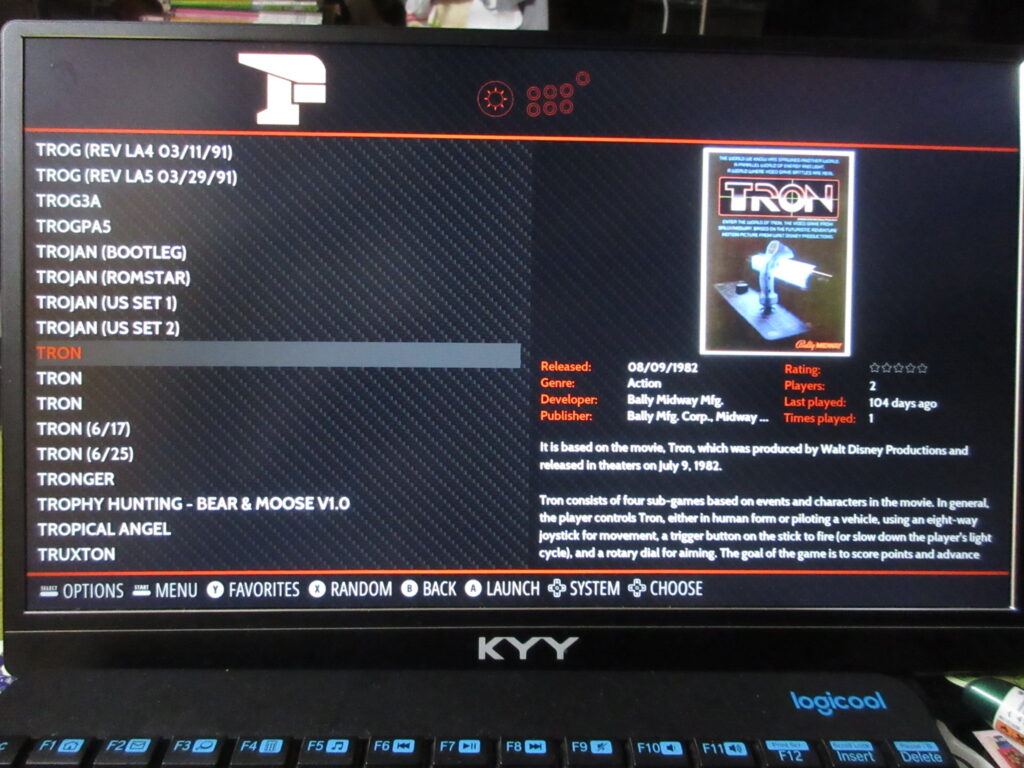
The scraped data is all there now.
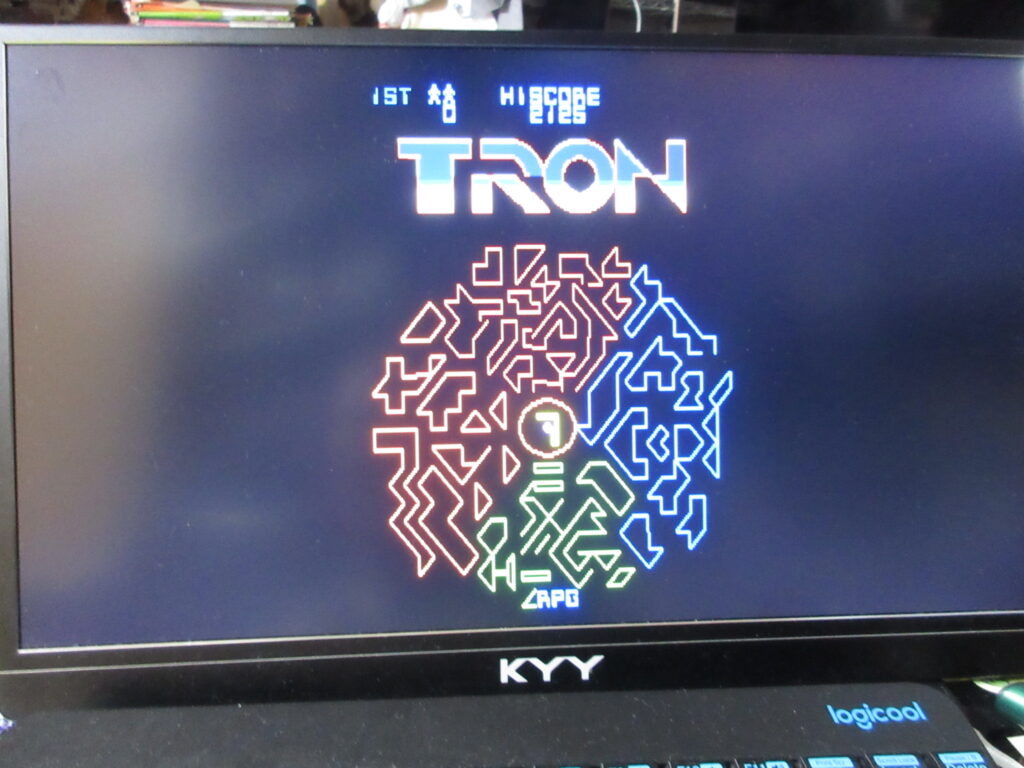
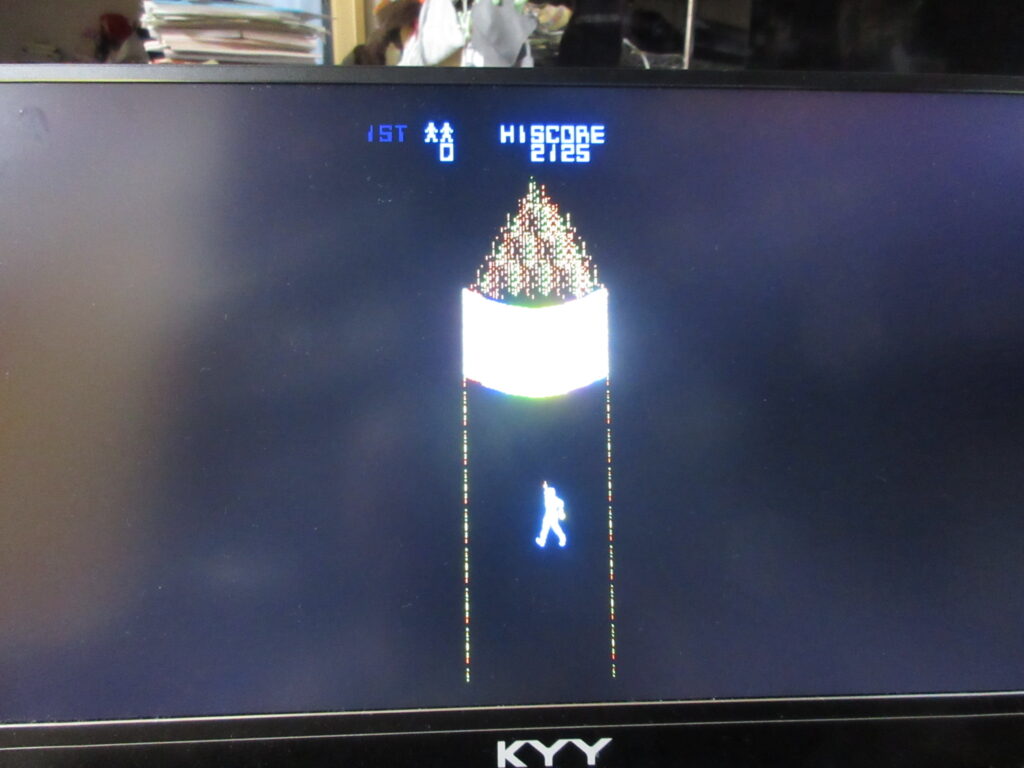
Tron. I’ll have to edit the game’s input configuration. This game is always awkward to play emulated because the arcade game had both a joystick and knob.
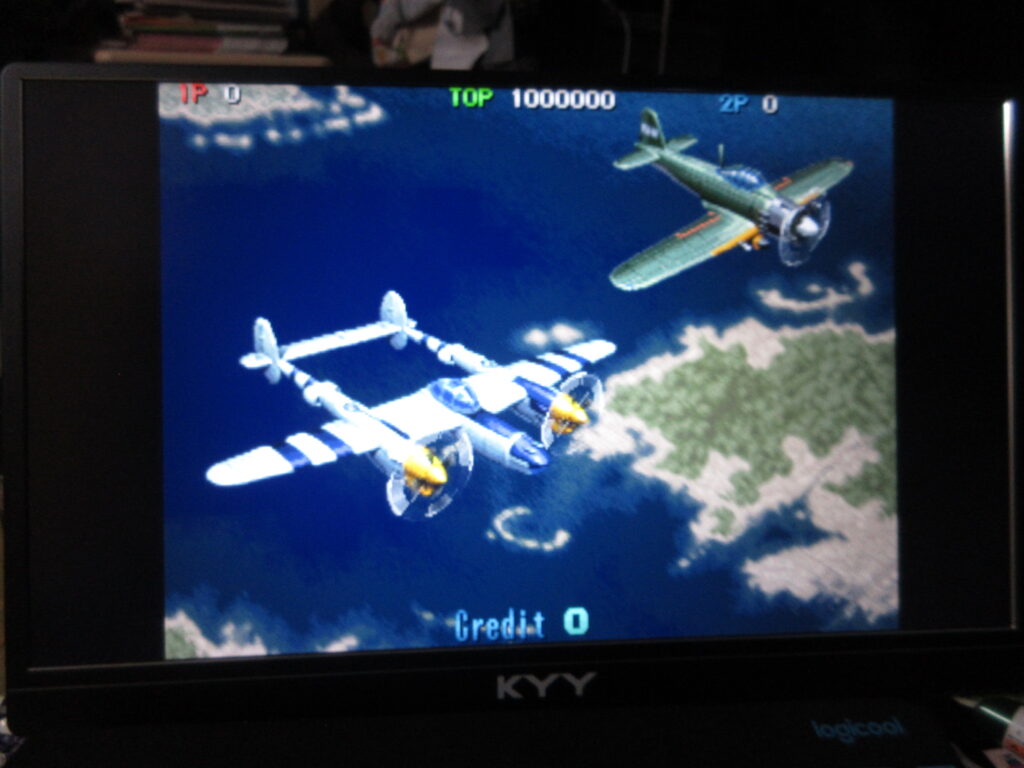
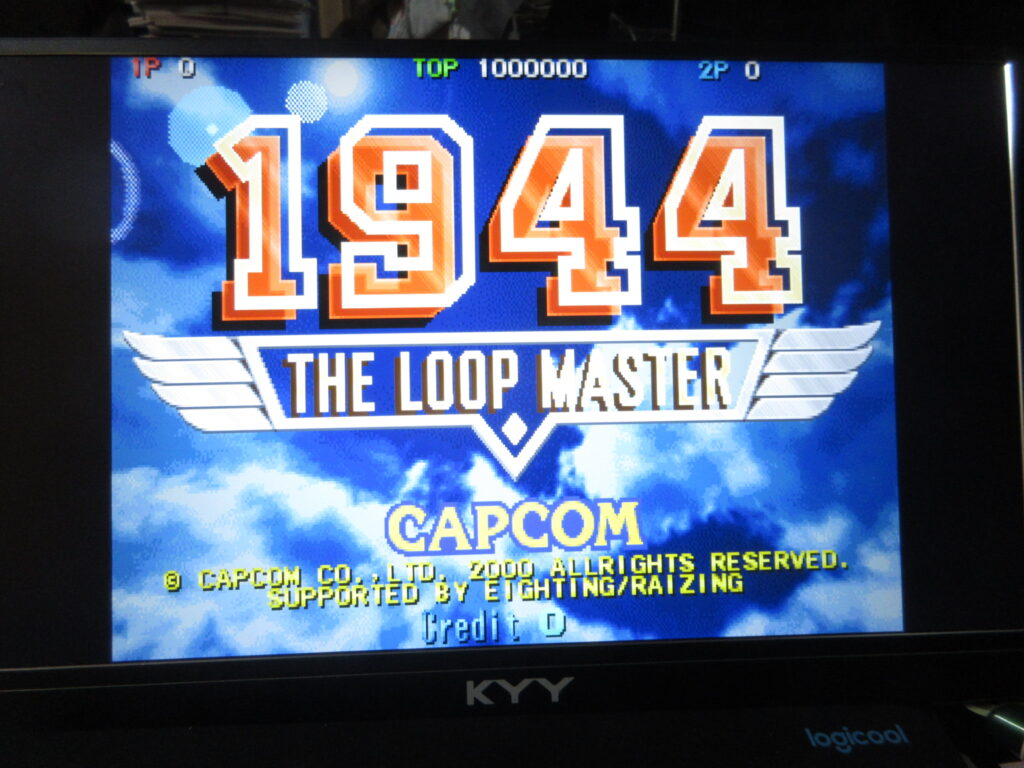
1944: The Loop Master. Once I add a CRT shader for the screen, I’ll be all set.