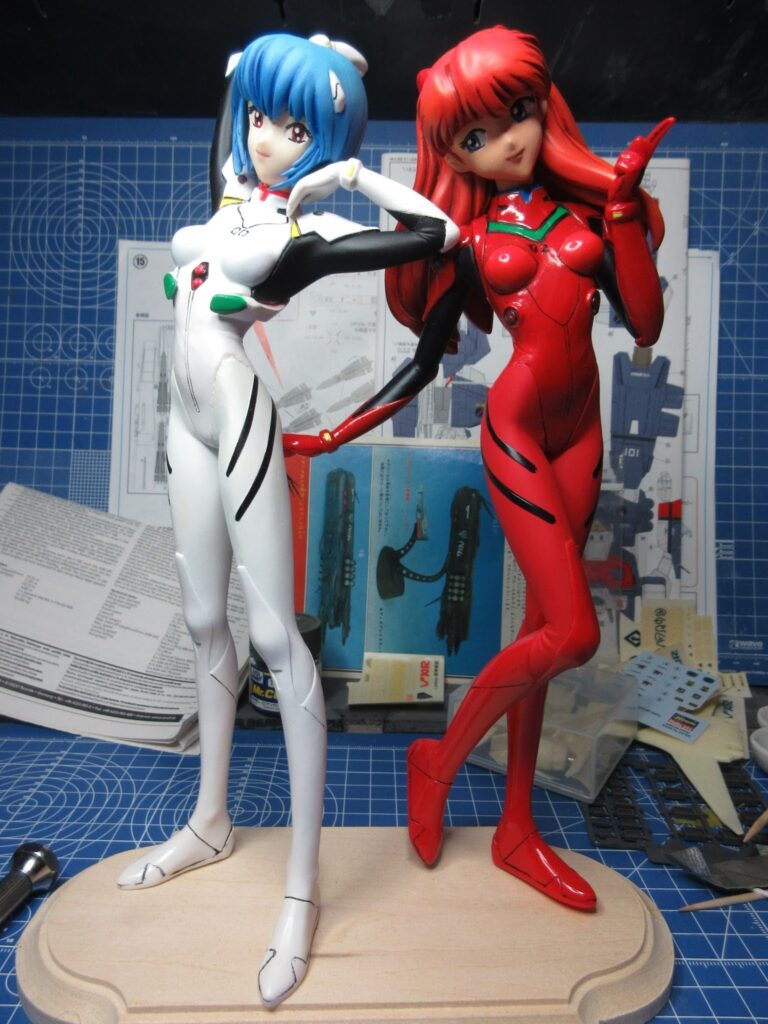
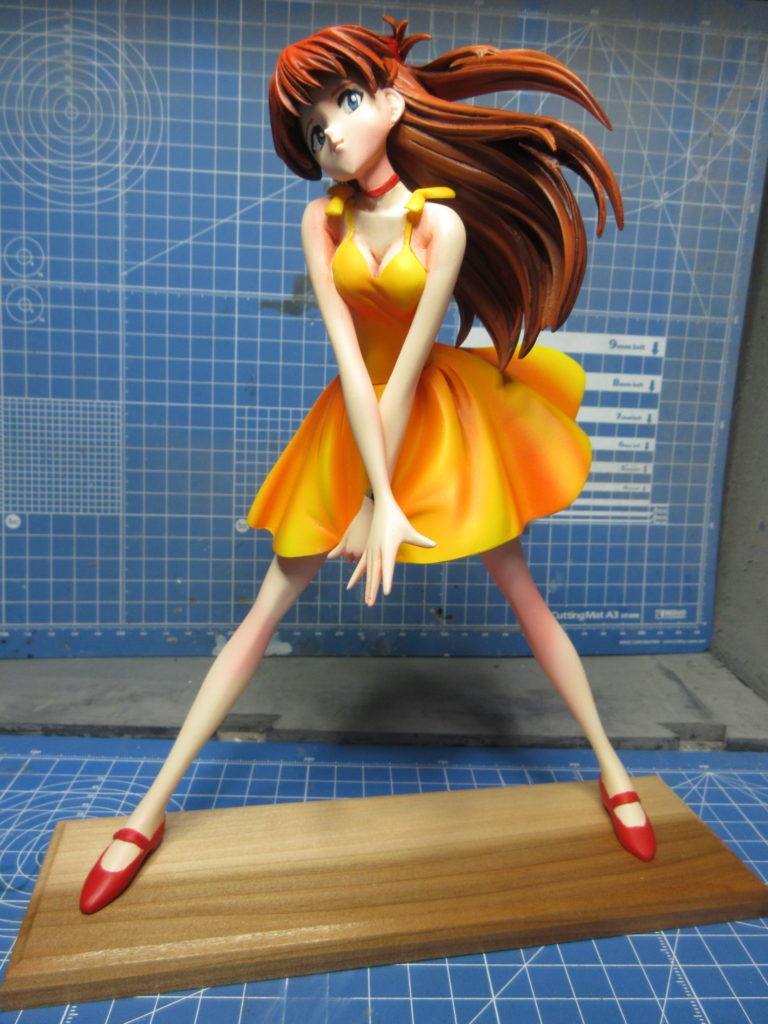
Here they are. I had to buy more 2mm brass rod because the length I had in Asuka’s leg wasn’t long enough and she began leaning forward. I removed it and put in a longer segment and now there’s no more problem. I’m still thinking that I might paint the base and print out a custom decal for it.
I made this for a teacher I work with. Evangelion is his favorite anime. He suffers from epilepsy, and the stress from work is once again keeping him from doing his job. He came back last year and did well, but this year has taken a toll on him again, unfortunately.
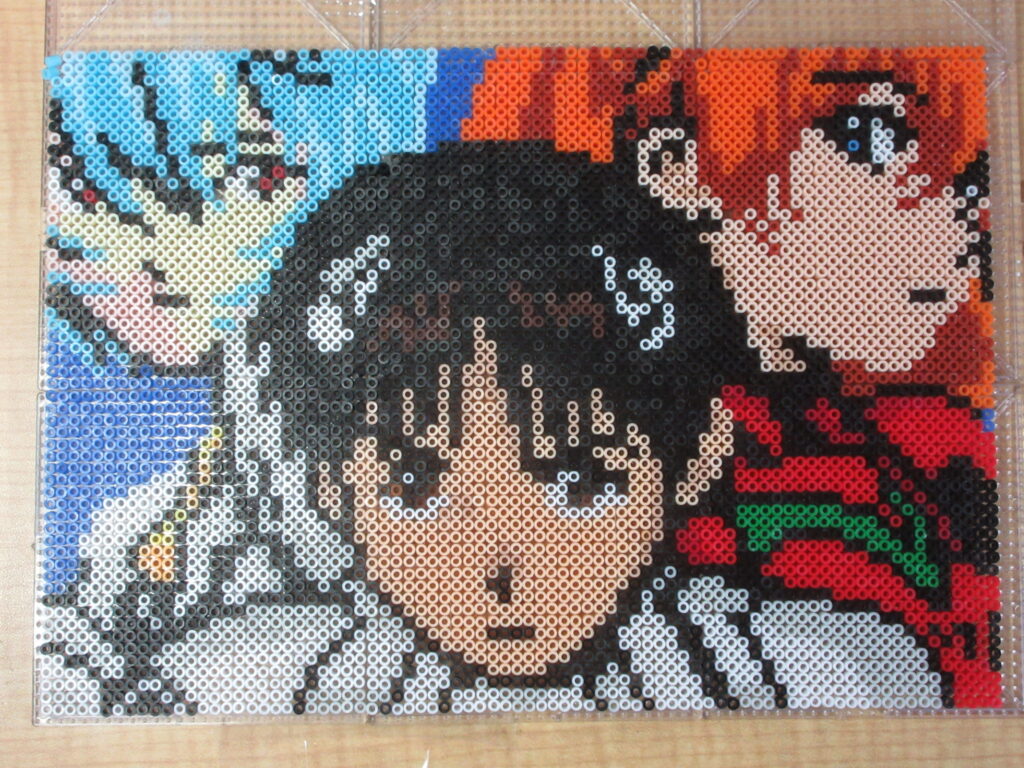
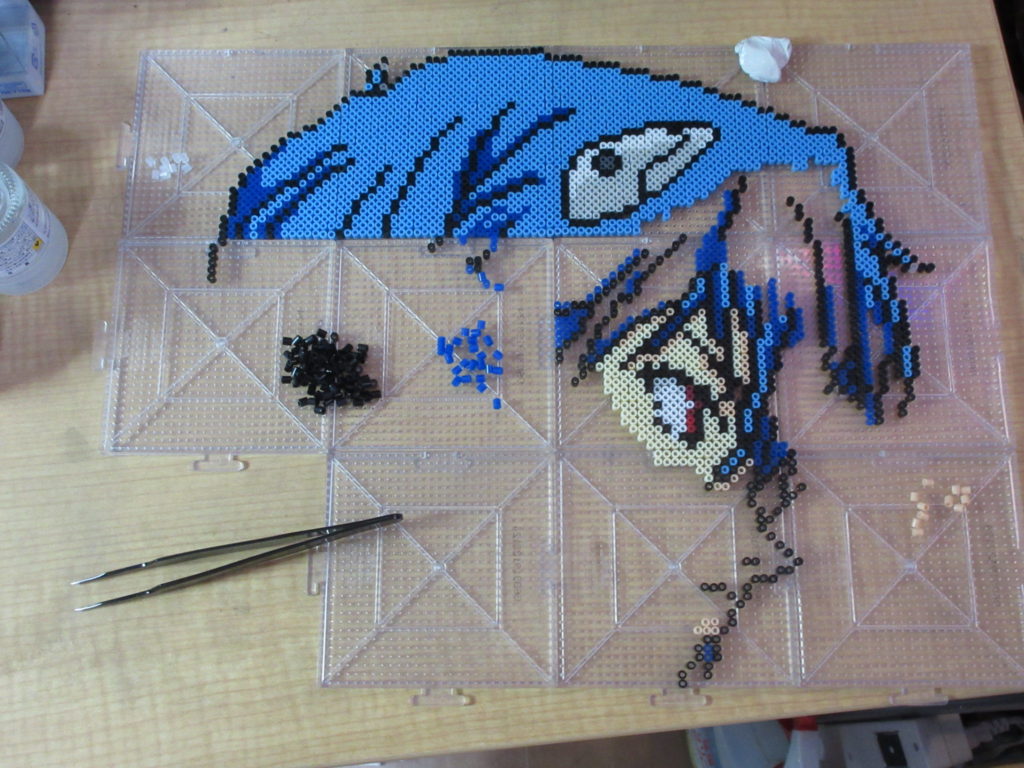
I used Perler Nano and Iron de Beads (local Japanese iron beads company) mini beads for this. Shinji’s fleshtone is Perler Nano Sand, Rei’s is Nano Cream, and Askua’s is Iron de Beads Fleshtone. Rei’s hair is two tone Iron de Beads Aqua. These colors matched her hair perfectly. Iron de Beads are slightly taller, but they melt well and I like them way better than Hama Minis, which are too small and cause problems.
This is where I got the pattern from. It was done in Lego! I found this image on Pinterest.
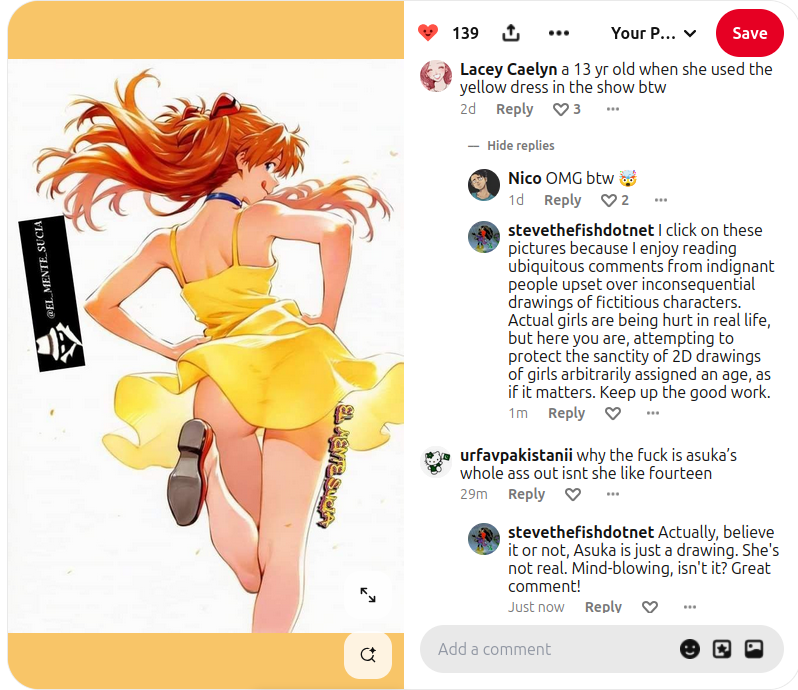
So I guess no girl is safe from exploitation until cartoon girls are safe from exploitation? That seems to be the philosophy of these goody-two-shoes commenting on Evangelion artwork on Pinterest. Nevermind that there are countless American teen movies like American Pie centered on “getting lucky” with plenty of T&A. I was a bit disturbed watching the second season of Stranger Things because it features high school kids having sex. But here’s Evangelion, a show I don’t even really like, although I do like the character designs because I am a fan of Sadamoto’s art style. I do not care what the arbitrary age of the fictitious Evangelion characters are, in the same way that I do not care what the arbitrary age of the characters in those teen movies are, who are portrayed by young adults posing as teenagers. Here we have drawings of girls, voiced by adult voice actresses like Megumi Hayashibara, yet these goofballs are acting as though actual children are being exploited. Yet these same people most likely watch Hollywood movies featuring people who were at Epstein Island, and vote for politicians who are complete pedos like Joe Biden, the Kid Sniffer In Chief.
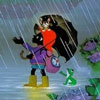
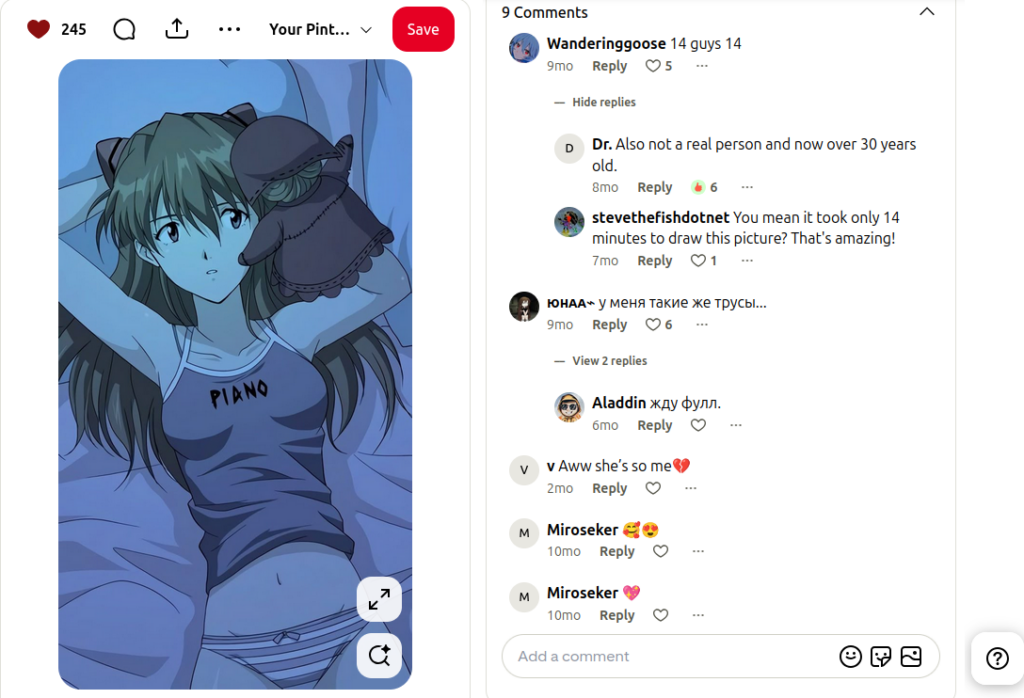
So above we have a picture of Asuka laying in bed, playing with a puppet. It’s cute and charming. It’s sexy, but not sexualized. Did this happen in the show? I don’t remember. I leave snarky responses to these people. Stuff like, “That’s actually not Asuka, but her 24 year old cousin Shirley.” Why do these people pretend to give a crap?
Holy crap, it’s just a drawing people. If you don’t care about the context of the show, some arbitrary age doesn’t really matter to you. I must say that there’s a difference between sexy and sexualized.
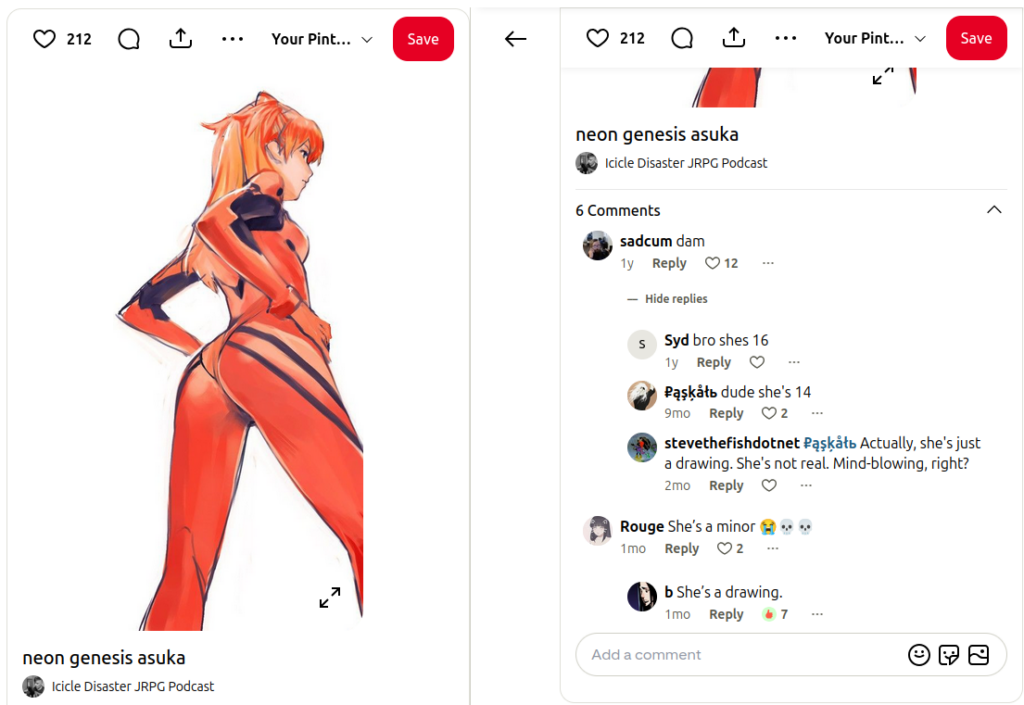
This is just Asuka wearing the suit she wears in the show. I don’t even see why anyone would object to this.
I tried watching the reboot Evangelion movies, but gave up after the second one. So I don’t know why there is a long-haired Rei, or why Asuka has an eye patch, nor did I even know that there’s a 28 year old version of Asuka. You can see here that she’s certainly not built like a 14 year old. Some in the comments are pointing out that she’s 28. Either way, I don’t care as she’s just a drawing. Stupid.
This only seems to be a thing with Evangelion. I saw Ranma 1/2 first when I was in college. Plenty of nudity and shower scenes. It’s just a part of the show, and not once did I think “Oh my gosh, these are teenagers! This is wrong!” It’s just a part of the story. It’s not like they’re having sex or anything. Again, sexy but not sexualized. I haven’t seen the reboot of Ranma 1/2 that’s on Netflix, so I don’t know if the nudity has been toned down. I imagine it probably has. And no such comments on images of Lum from Urusei Yatsura. Or perhaps the sexiest of such schoolgirl anime characters, Madoka from Kimagure Orange Road. Her character is the type of beautiful, unattainable girl with a fantastic body from your school days. There are so many sexy images of Madoka, and so many of them are not as a junior high student, but as a young adult. None of these pictures on Pinterest have any stupid, “OMG she’s only 14” comments.
Seriously, I’ve seen some pretty disgusting stuff while visiting various anime shops in Tokyo and such that are definitely aimed at chomos. Stuff involving naked girls whose years are in the single digits. That’s just disgusting. But speaking as a father of a teenage daughter, there is nothing that these self-righteous internet commandos posting self-righteous comments on Eva girls on Pinterest that would keep her safe. They just post this crap to feel good about themselves.
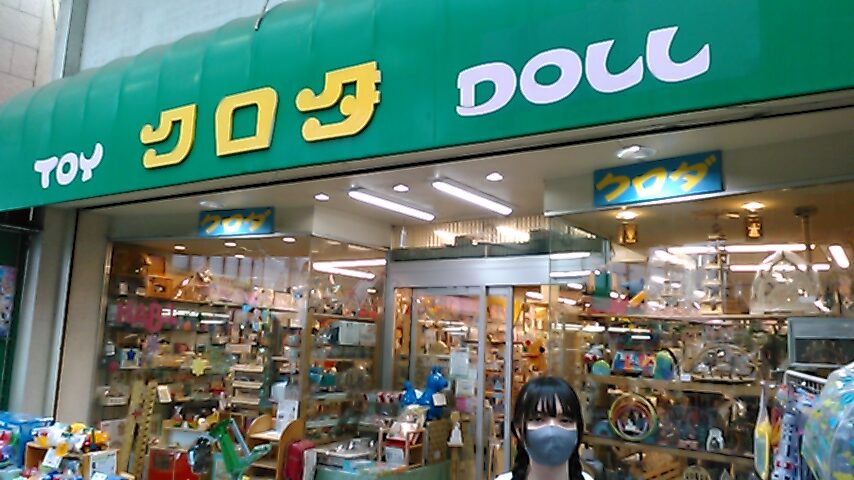
Mayu discovered a store called Kuroda Toy Doll (黒田人形店)in Maebashi’s Central Shopping Arcade on the internet and on Saturday we went there to check it out. Shoutengai (商店街)are covered shopping arcades and a tradition of Japan. Unfortunately, sometimes these shopping arcades have grown unsuccessful over the years with empty real estate. In English they call this one Maebashi Rose Avenue and this is where Kuroda is located. We’ve only ever been to this shopping arcade once before, when we happened to be in the area during the Tanabata Festival in July several years ago.
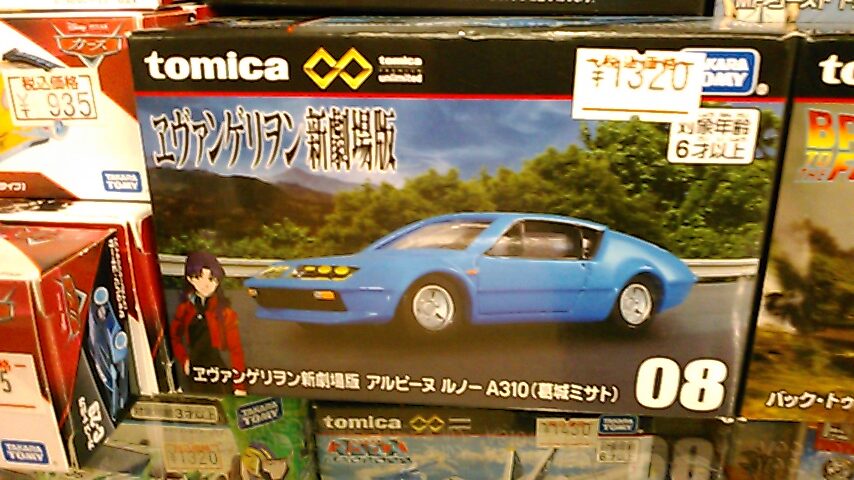
Kuroda specializes in traditional toys, so basically nothing which involves video screens. The first thing I noticed upon entering was their selection of Tomica cars.
Misato’s car from Evangelion.
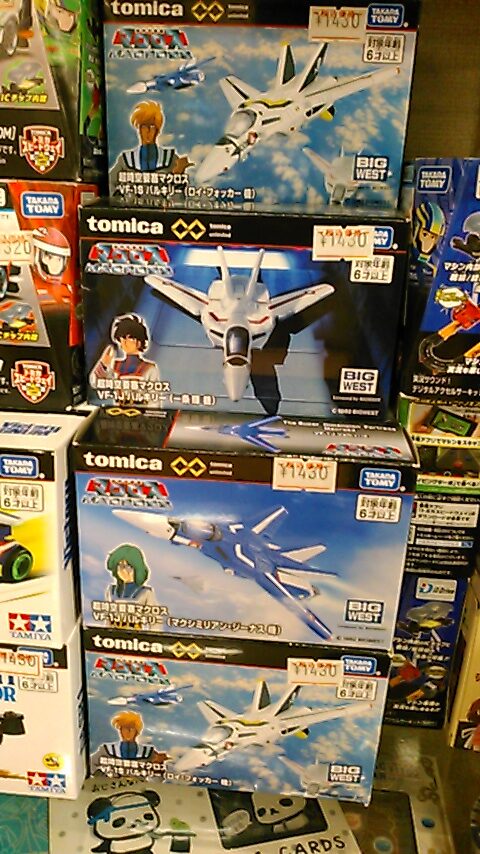
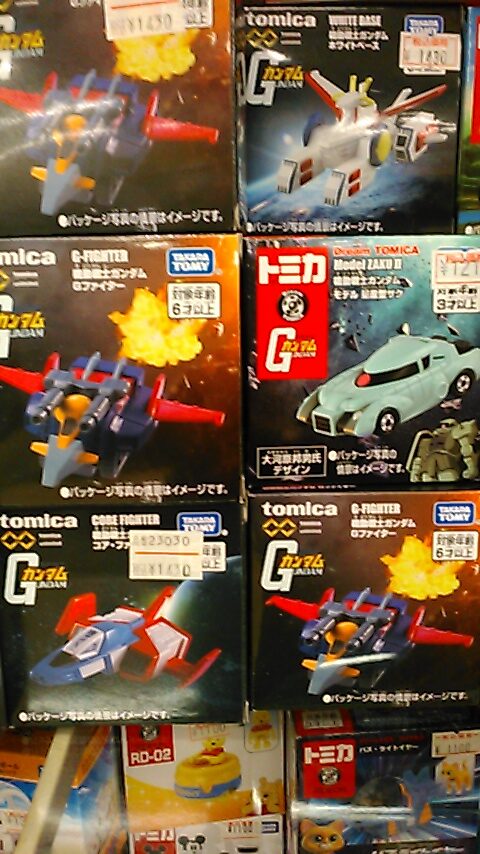
Macross and Gundam Tomica!
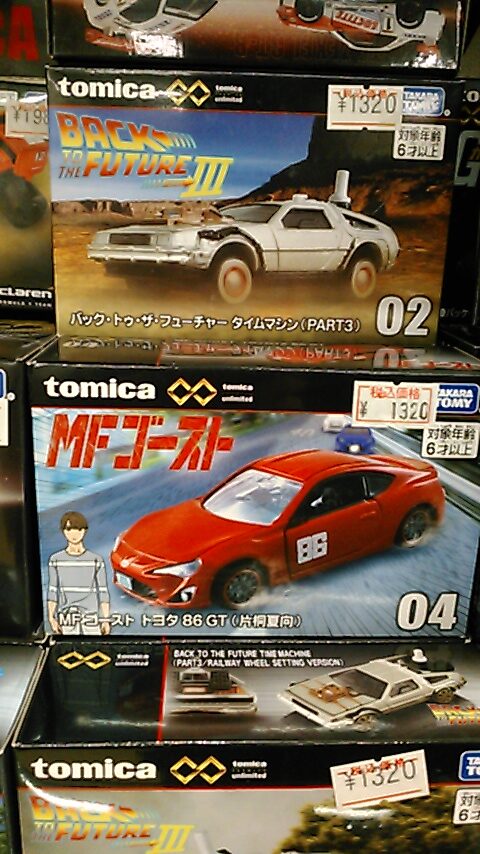
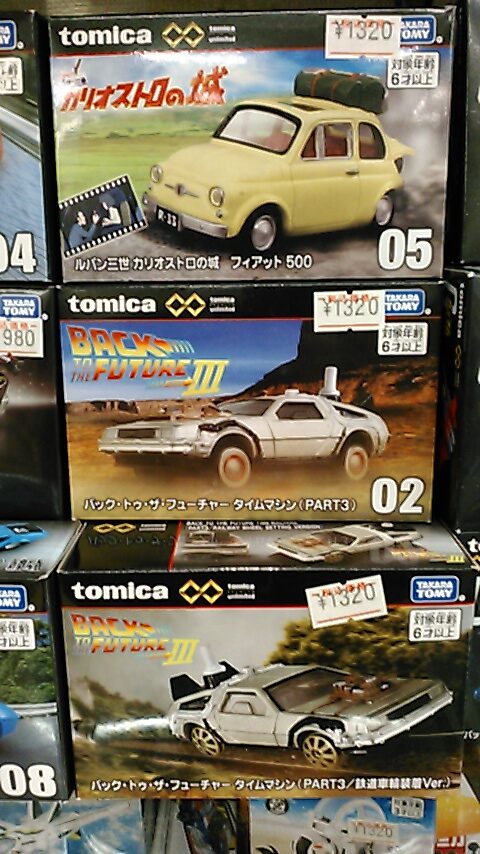
Back to the Future Part III and Castle of Cagliostro cars. I bought the BttF III Delorean with the ’50s tires at Village Vanguard earlier this year. I hadn’t seen the one with train wheels until now.
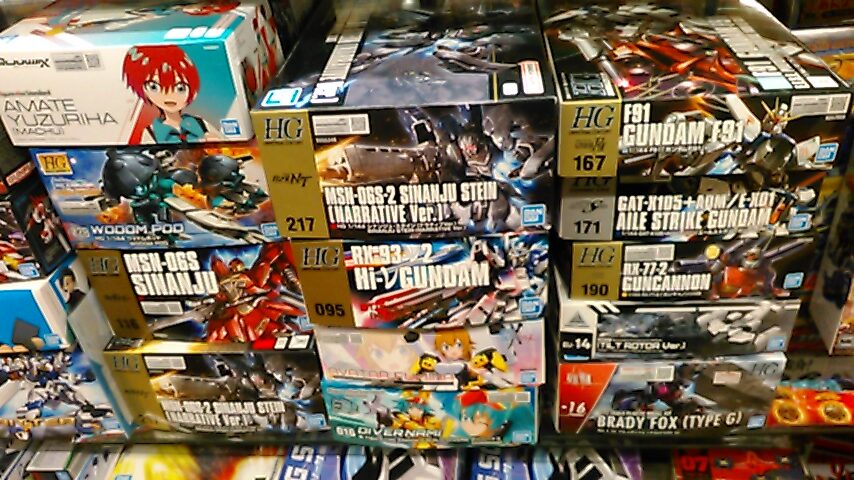
A nice, modest selection of plastic models was there. Here’s the Gunpla selection. I bought the F91 Gundam kit at this store.
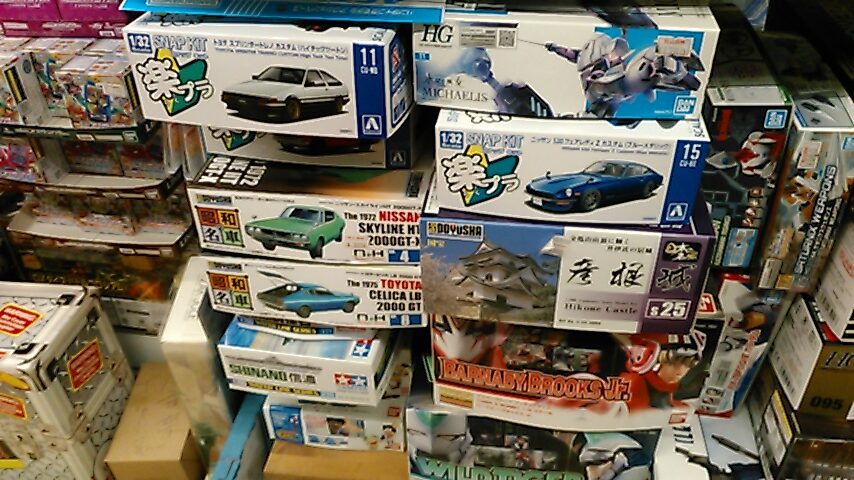
Here are car, ship, castle, and other plastic models.
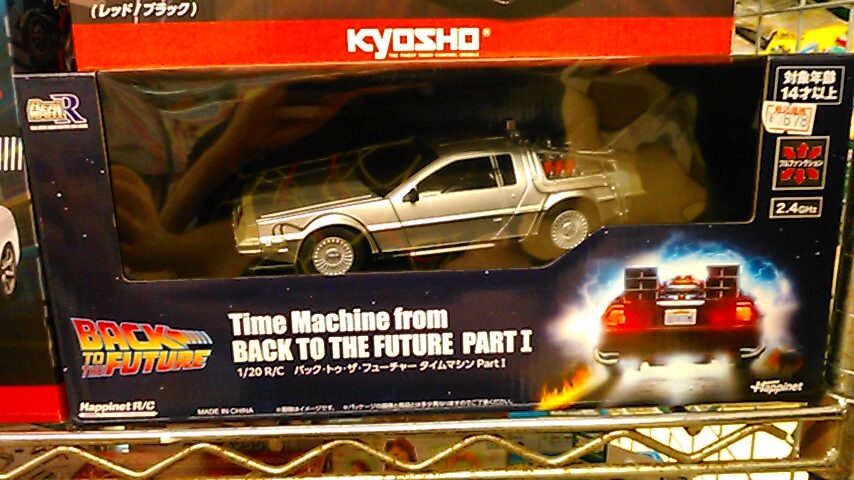
An RC Delorean from Back to the Future! I’ve never seen this before.
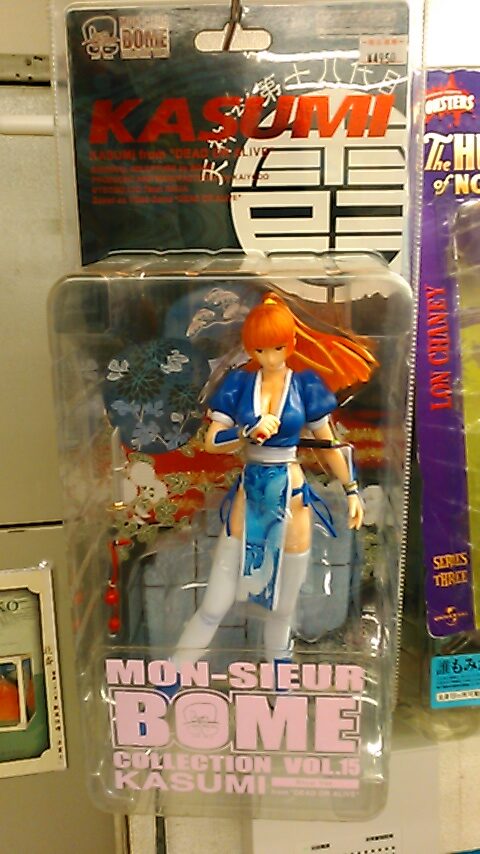
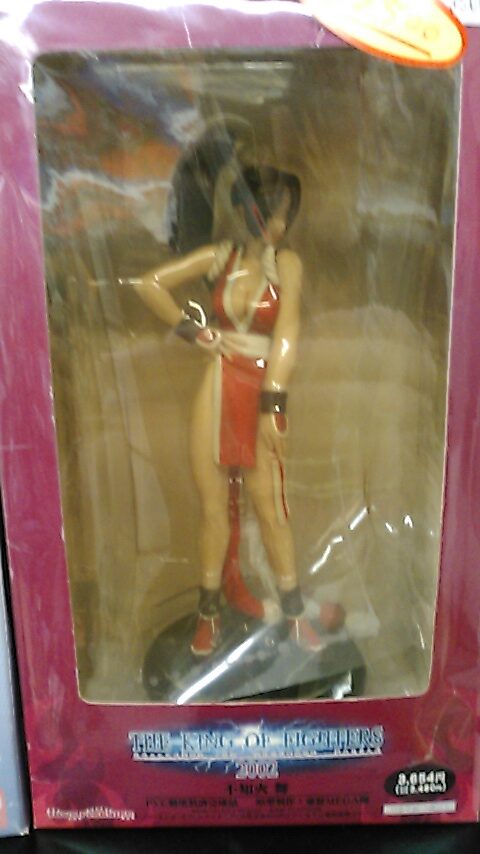
There were many older anime and game figures. Here’s Kasumi from Dead or Alive and Mai from King of Fighters.
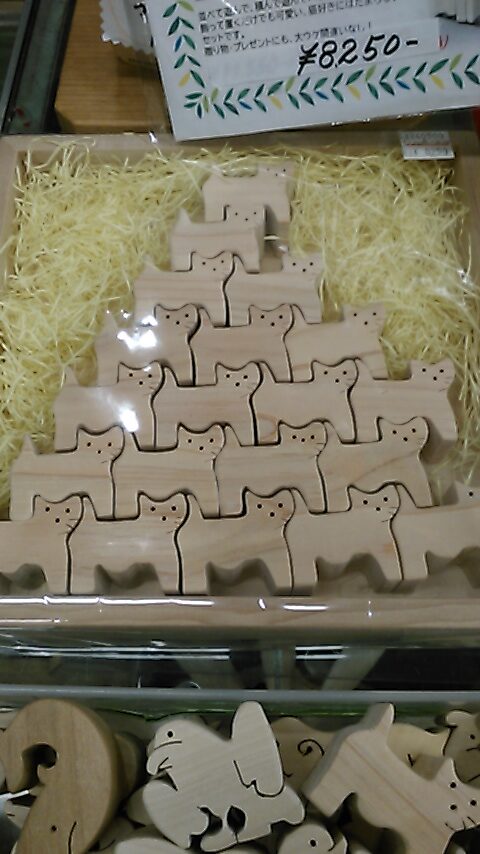
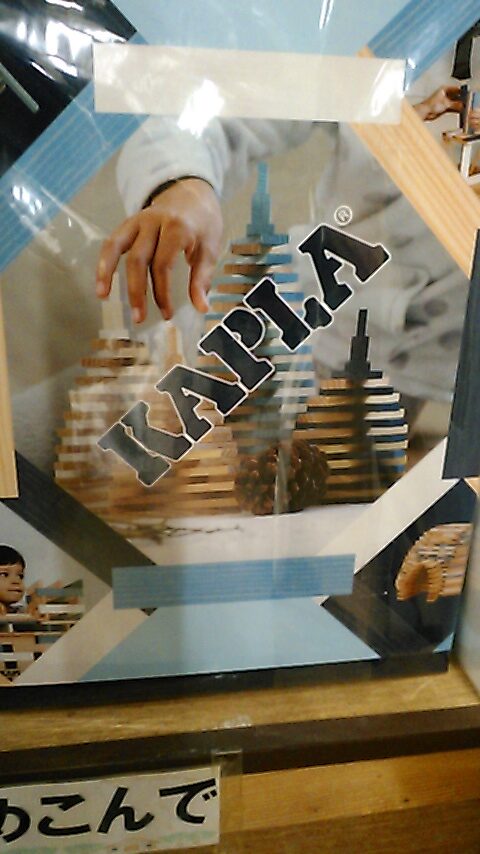
Plenty of traditional, wooden toys too. A meow-meow tower and… a toy for Klingons? Oh never mind… that would be “Qapla,” not “Kapla.”
There were so many different toys there, such as kendama, plush dolls, and so on. My daughter Ulan wanted the bullet plushy from Super Mario Bros and I got the F91 Gundam model. It’s a neat store.
I finally finished her last night. Over the weekend, I had to pry some parts apart and reattach them. Her right arm especially did not want to cooperate. I had to use some acrylic putty to fill in a bit of a gap and I hand-painted the flesh tone over the putty along her right shoulder and the side of her breast.
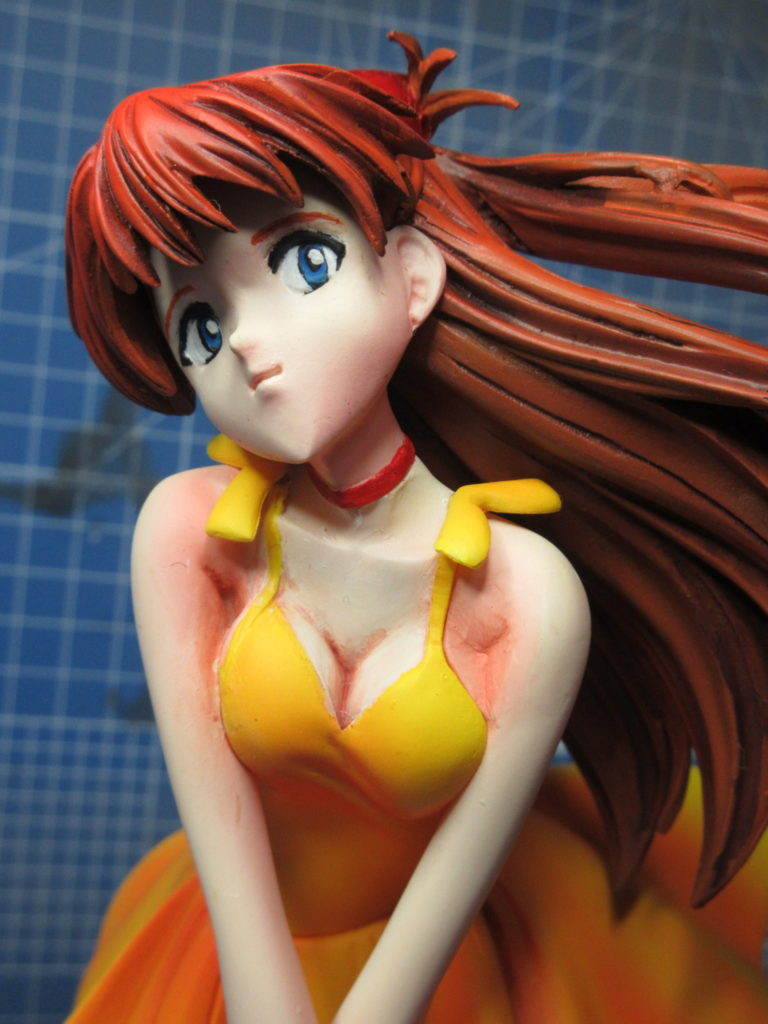
I posted before about painting her eyes, but I had such a hard time getting the shading right for her cleavage. It was too dark for a while, so I had to redo it a few times. I used Tamiya’s pink flesh accent color, Mr. Hobby’s Lascius pastel shader, and Faber Castell pencils go get the shading right. It looks better if you don’t get too close to it.
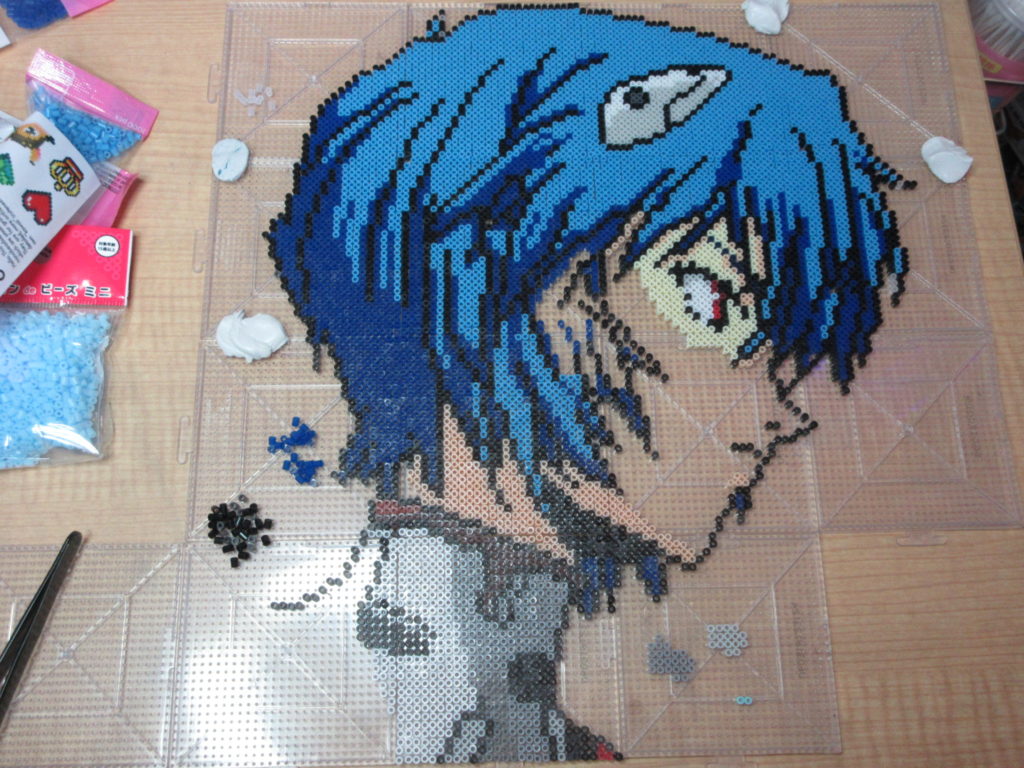
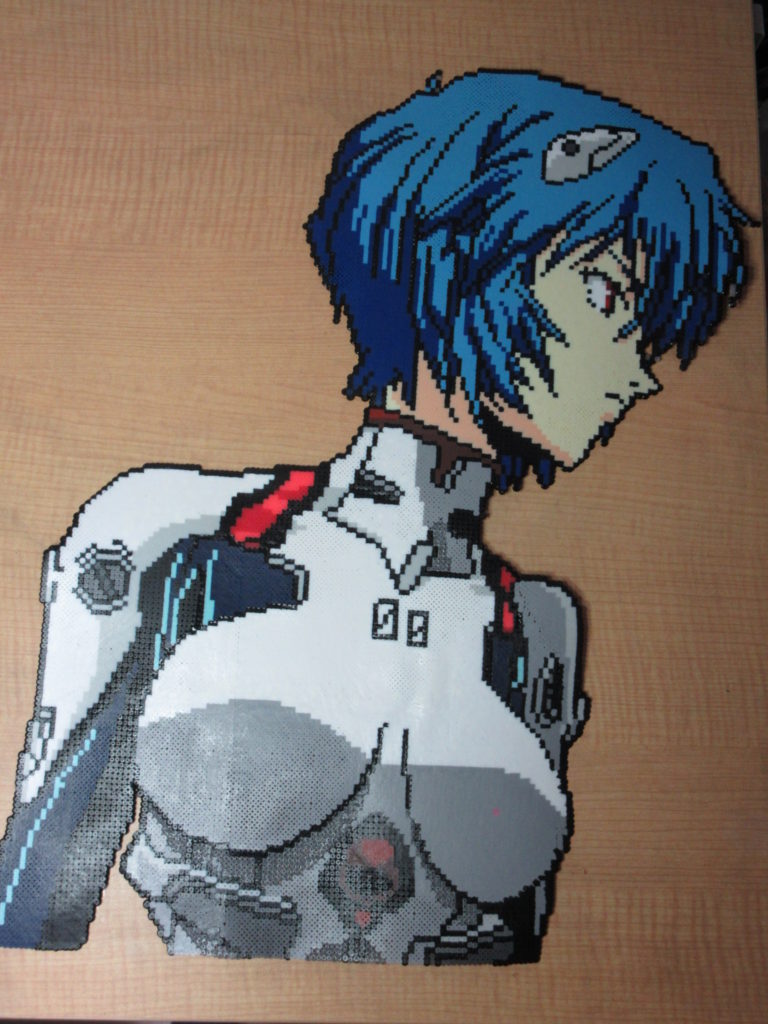
I’m working on an iron beads work of Rei from Evangelion with Nano Beads. She’s proving to be difficult! The source has irregularly shaped pixels. This non-uniformity is really forcing me to fudge and guess a lot, making this time-consuming. I’m using 1/4 size Nano Beads rather than the full-size Perler Beads, which also makes things difficult due to their tiny size. I’ve run out of the blues and skin tones, so I’ll have to wait for my shipment from Yodobashi Camera I ordered tonight to arrive before I can proceed much further. Here is the original sprite I found on Pinterest:
At this point, I’m unsure if I want to stop at Rei’s head or go ahead and do the rest of her. Her boobs are so pretty, it’d be a shame not to.
This is the original, non-pixelized image. Someone must have run this image through a pixelization filter to get the image above.
The first one I saw was of Asuka Langley, apparently by the same artist. However this one too is not true sprites as the pixel sizes are not uniform. If you zoom in you’ll know what I mean.
Update 1, Dec. 5th. I’ve had to order the fleshtone and blue colors for her hair. They’ll arrive tomorrow.
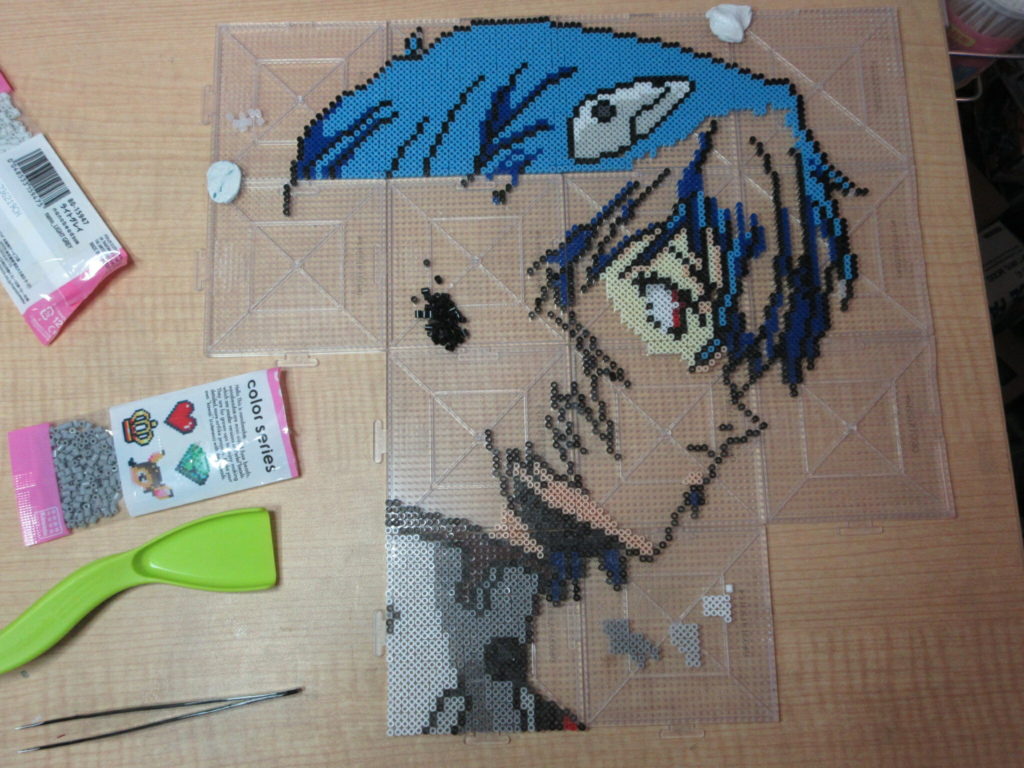
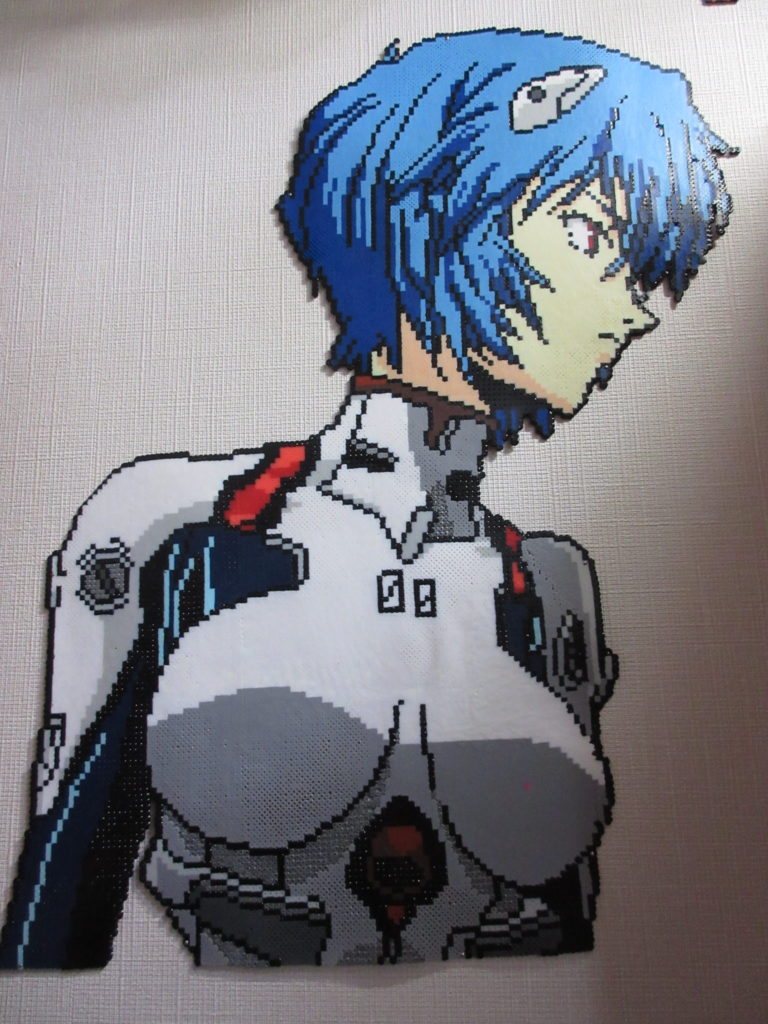
Update 2, Dec. 6th. Last night I finished most of her hair. Her skintone should be easy. Just dump the beads and nudge them onto the pegs. I’ve decided to go ahead and do the whole image. I’ve sort of gotten used to the pixels being wonky. I’m able to improvise more and not worry so much about complete accuracy because it’s impossible anyway.
Update 3, Dec. 7th. Her face is now complete!
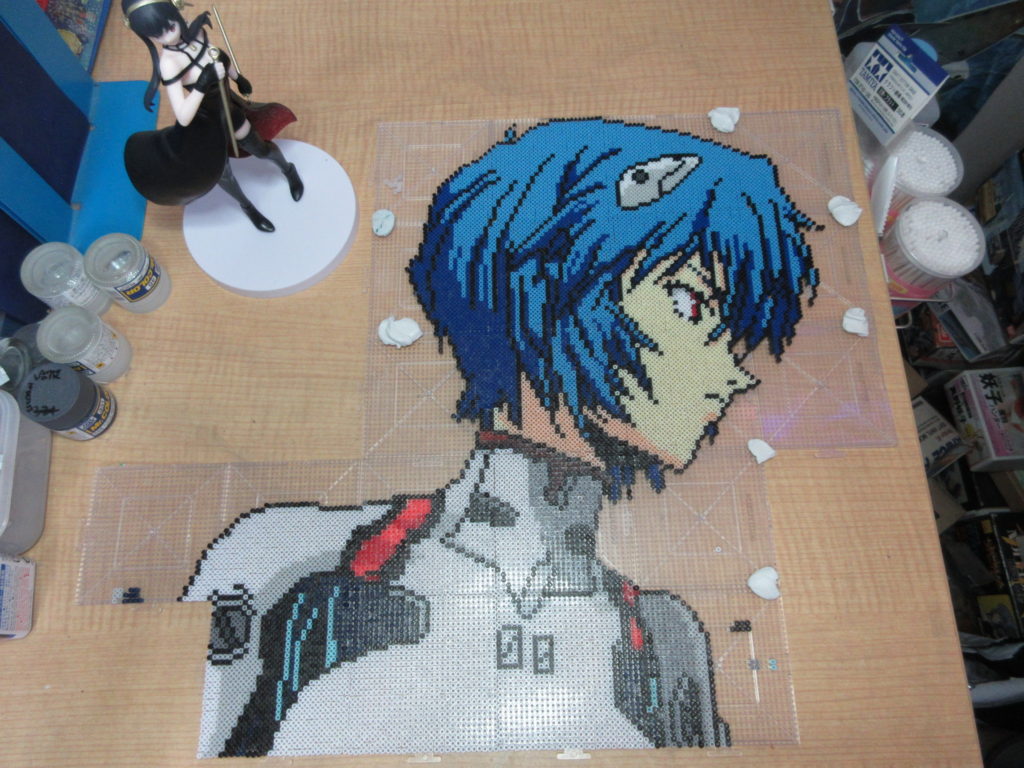
Update 4, Dec. 8th. I have to wait for more peg boards to arrive now before I can continue…
Update 5, Dec. 10th. Almost there… Now I’ve had to order more Gray colored Nano Beads as well as one more peg board. They’ll arrive Tuesday perhaps.
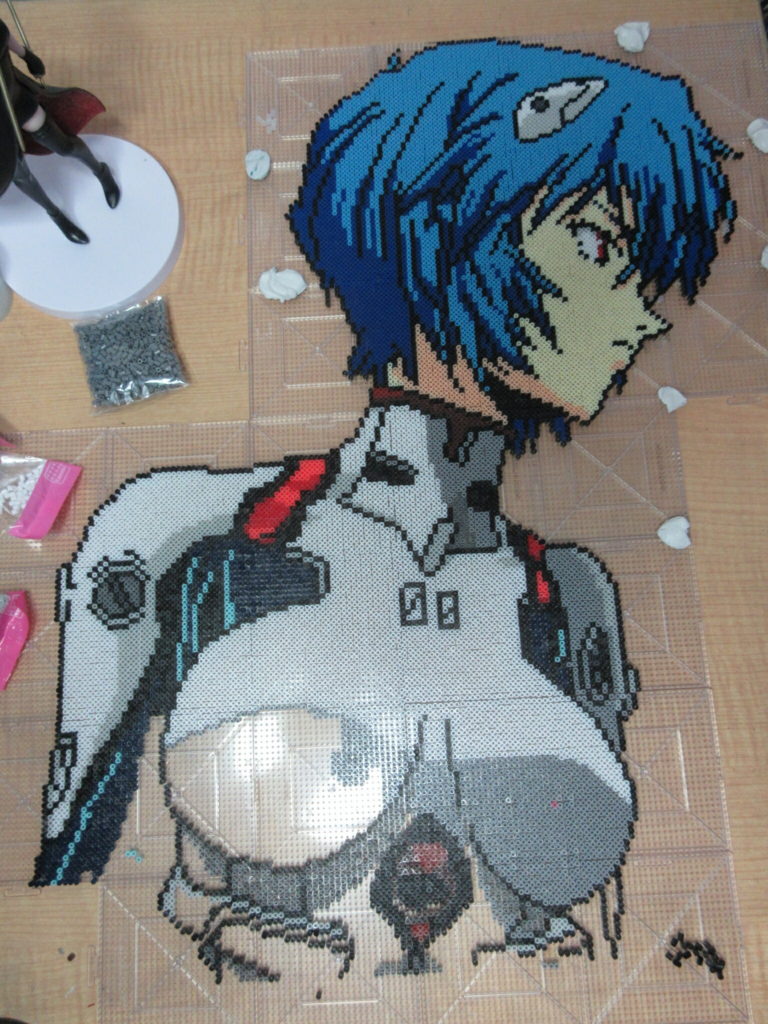
Update 6, Dec. 12th. I finished the beads! Next will be ironing. I hope it goes well. Not in the mood for that tonight.
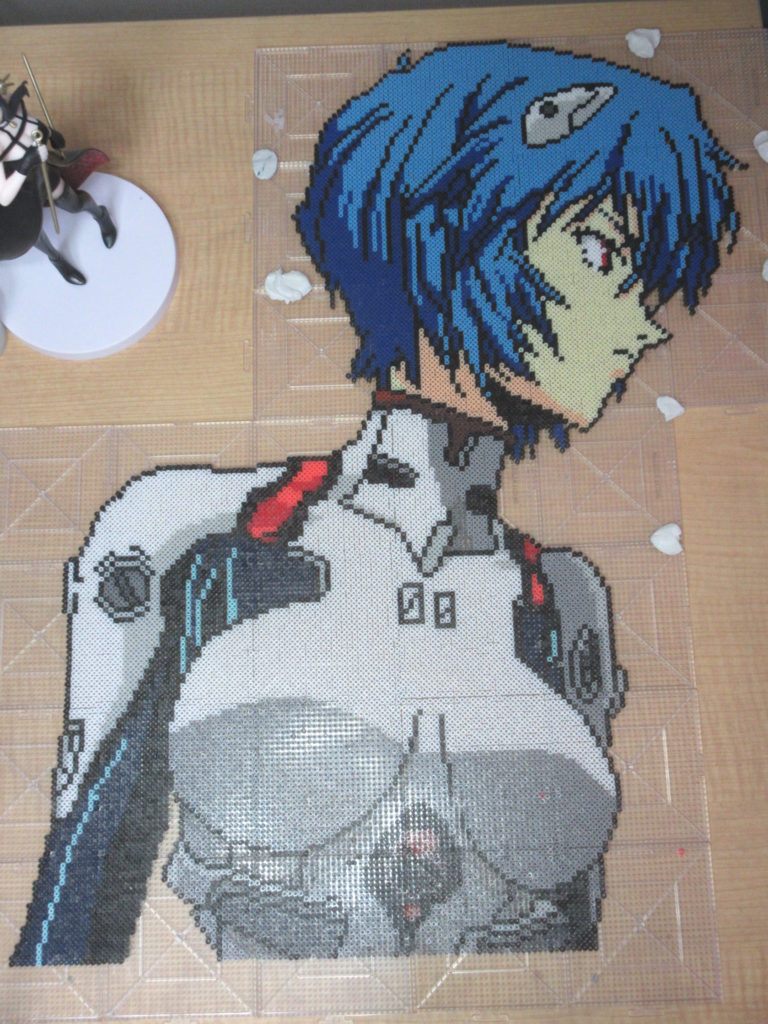
Update 7, Dec. 16th. I finished Rei at last! Unfortunately there was a bit of a mishap on the right side where her shoulder is (and a little where her breast is), but I was able to salvage and rescue the project.
Painting eyes is the most nerve-wracking part of building garage kits. One can do an excellent paint job and assembly on a garage kit (aka GK, or gareki in Japanese), but if the eyes look weird, it’ll ruin the entire figure. You’ve gotta paint the eyes well, otherwise it’s crap and the whole build is no good.
I’m using Delta Ceramcoat acrylic paints, which are typical craft store paints. White, Black, and Mediterranean. I added some white to Mediterranean to add highlights to her irises. I didn’t notice imperfections in the molded surface of her face until I started painting. I tried to imitate Sadamoto’s art style. His distinct eyes are always great. I’m probably going to upload this build’s videos directly to Odysee rather than YouTube.