Update 3 on my old Bandai/Imai Macross Glaug kit

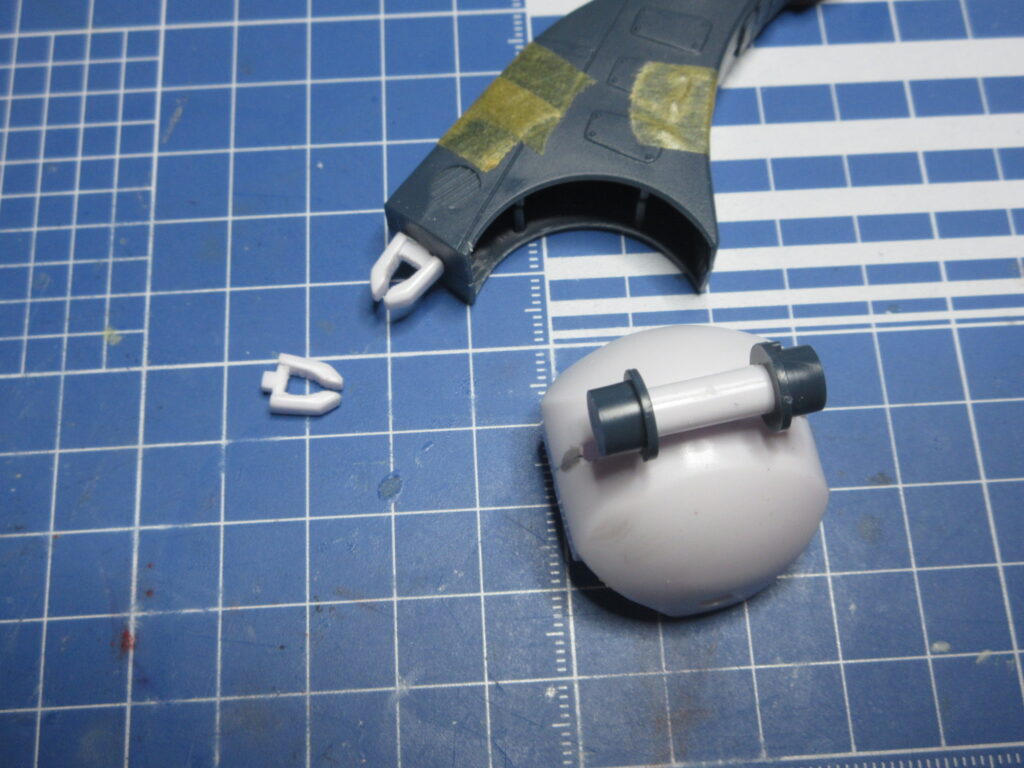
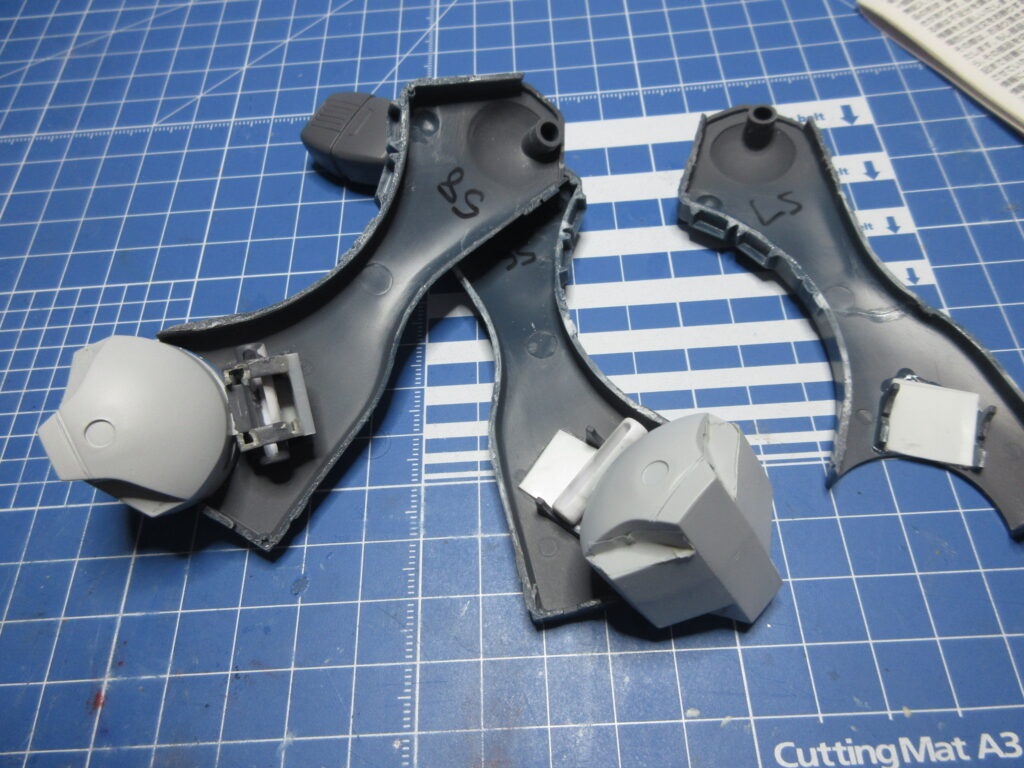
With the way the feet are out of the box, there isn’t a lot of lateral movement. The feet have these cylinders that plug into brackets and have end caps which keep them in place. No glue required, I guess. Well, the problem with that is that there isn’t much lateral movement with the feet. The end caps have locator tabs which correspond with the brackets, making the feet really straight. That’s not what I want.

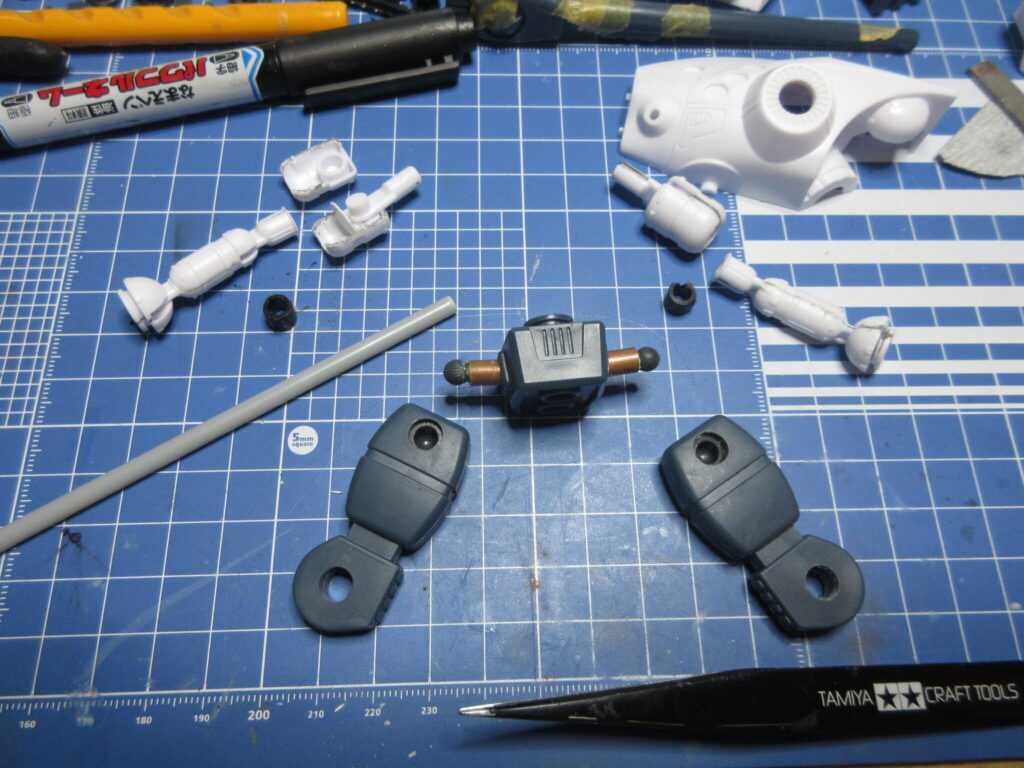
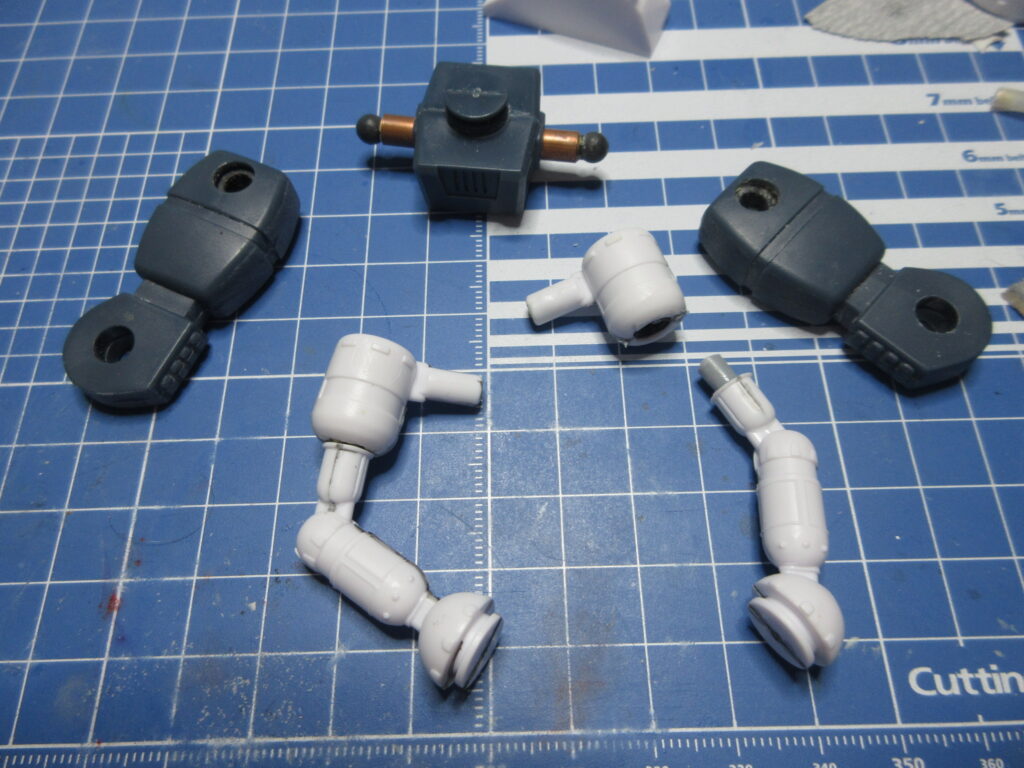
I noticed that these cylinders fit excellently into the 5mm hole sockets of the square parts of the BJ-03 Pla-Sapo (“plastic support”) sets by Wave. Above you can see how I snipped off the bottom of the brackets and placed the square parts a bit lower so that these cylinders can allow more lateral movement. Those end caps are no longer required!

When the legs halves are put together, I noticed that there was an 11 mm gap between the brackets. The square parts are 10mm, so I used Tamiya .5mm plastic sheet between the brackets in order to create a snug 11mm width.
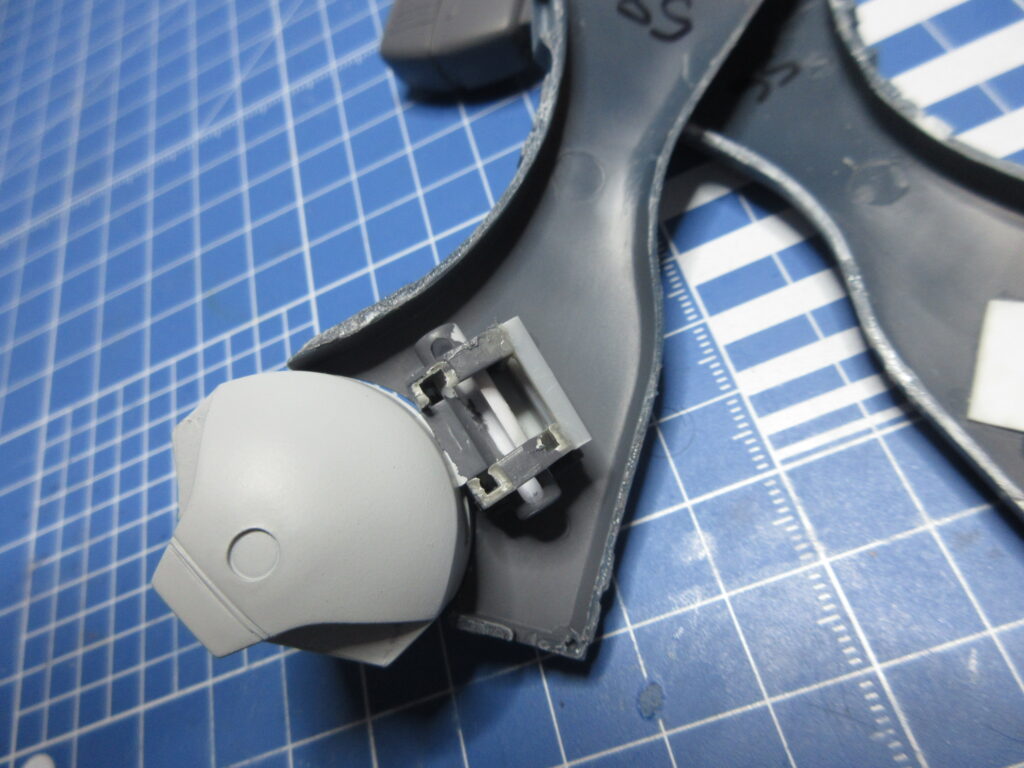
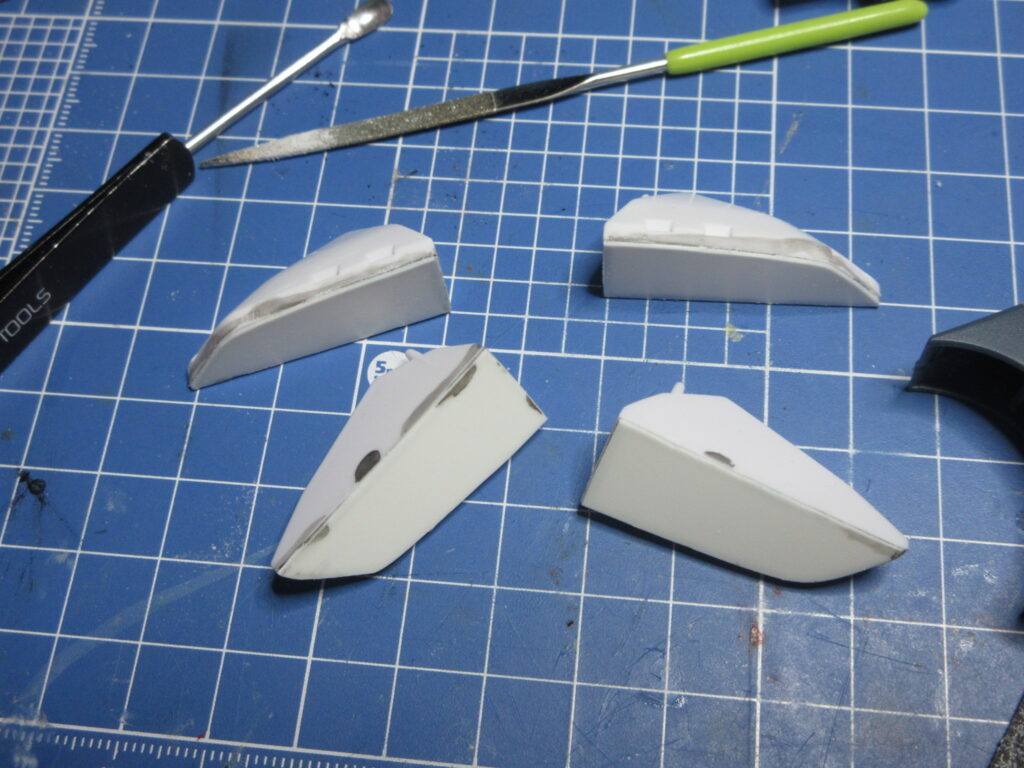
Oh but wait… the square shapes were preventing the feet from swinging side to side, so I cut off the corners. I used Wave 2mm quarter circle plastic sticks to act as braces. I also hand-painted the parts gray. so that they won’t be so noticeable.
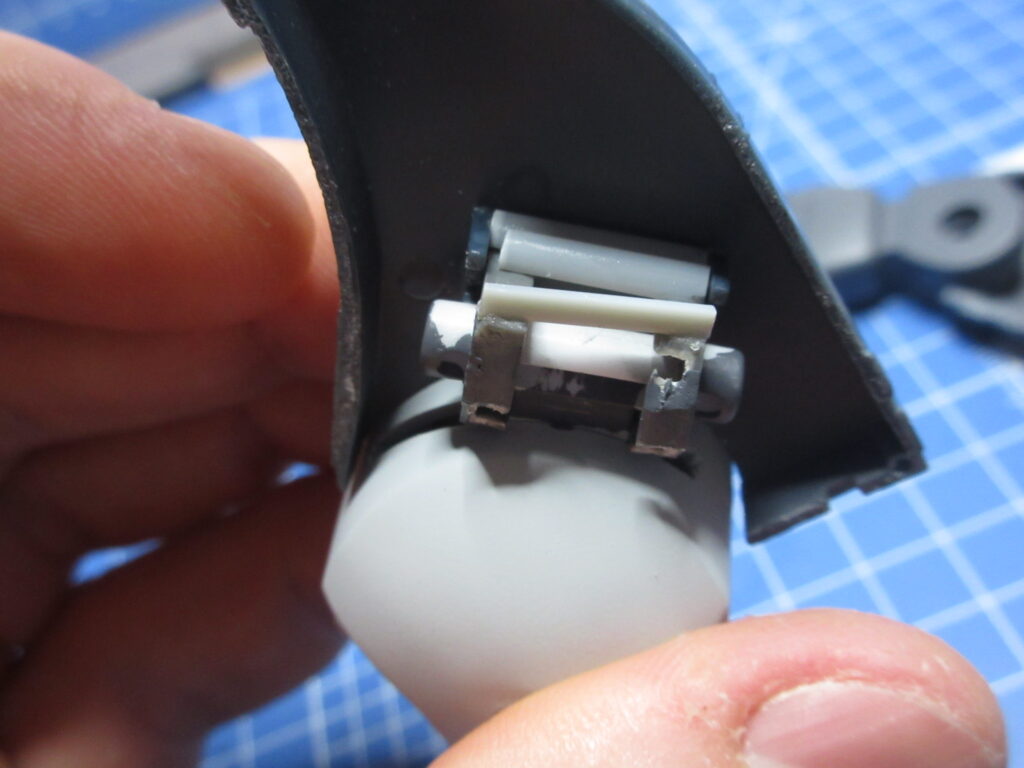
It’s crude, but it works. I also had to cut off the top corner of the front square because apparently the legs are a bit tapered towards the front, I guess. I’m not sure.
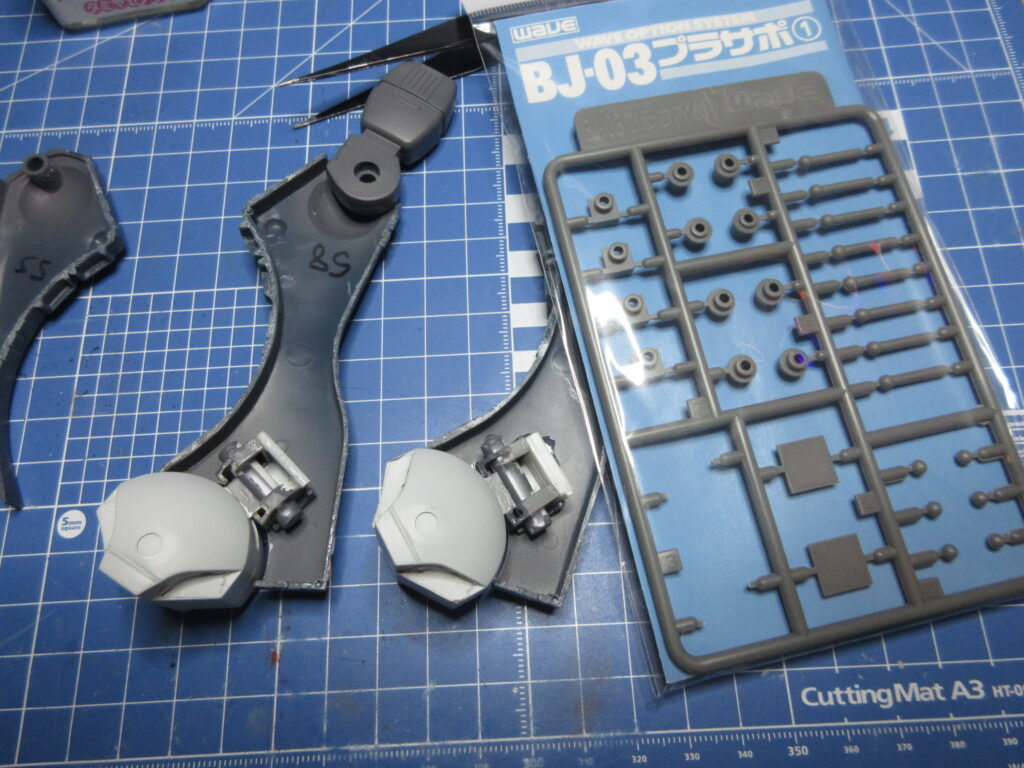
So now both feet are complete. I used Tamiya 4mm square plastic rod to brace the other foot. From here, all I have to do is put glue in the right area and sandwich this work in between the two leg halves and be done. Now I can resume painting.
Update 2 on my old Bandai/Imai Macross Glaug kit

I mentioned in my first update that I was going to use ball joints for the arms. I realized that this would be a bad idea because those are arm pegs and putting ball joints on the tips would make the arms look too long. Instead, what I did was use my Tamiya saw blade to cut the arms at just below the shoulders. I then ran the extra thin cement onto the joints several times to loosen up the dried glue and then I was able to pop them apart with my knife. I used my contour tool to figure out that these shoulder parts will fit 9mm discs inside which I cut out from Tamiya pla plate. This will prevent epoxy putty from oozing into the articulated joint, I hope. The black polycaps are from some Bandai kit. I’ll need to use epoxy glue to secure them into place inside the shoulder parts. The Wave 4mm plastic rod you see fits rather nicely into the elbow joints and into the black polycaps.

After attaching the polycaps to the discs with epoxy glue, I then wrapped epoxy putty around the polycaps inside of the shoulder pieces to secure them into place. On the right you’ll see the plastic rod and on the left you’ll see the arm segments joined together. My Glaug now has a kung-fu grip!

The Glaug has these extending claws on its “toes,” but they are not opened claws. The example kit built for the instruction book just has the interior painted black to simulate the claws, but I wanted to open these parts up. I began by using my .5mm drill bit in my pinvise to drill out a series of smaller holes along the inside edge of where I wanted the parts to be emptied out, then used a 1mm bit for the bigger part in the middle. I then used my God Hand bit blades to punch out the inside area. From there, I just used my fine file to get inside and smooth it out.

I also had to address the fact that there are no bottoms to the feet sections! They’re just hollow. I traced out the feet sections onto pla plate, cut them out, glued them onto the feet, and then trimmed, filed, and then sanded down excess. I won’t bother adding any textured detail to the underside of the feet, but at least they are no longer hollow.

New Macross Arii 1:100 Regult model acquisitons

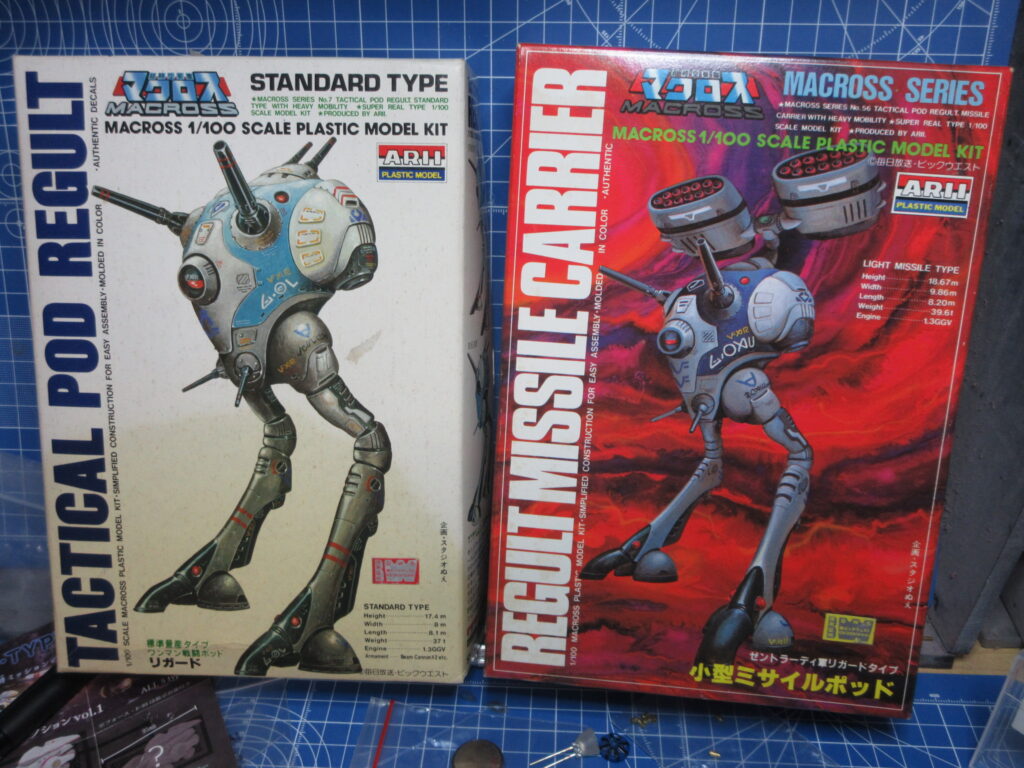
I bought these vintage Arii Macross model kits on YAJ this past week. The standard Regult on the left and the Light Missile Carrier on the right. I’ve already built the Heavy Missile Carrier and Scout Regults. These kits were not repopped for the Macross 15th Anniversary in ’97. In fact as far as I know, the only models Arii released for the 15th anniversary were the 1:100 Destroid and Valkyrie kits (and maybe the 1:170 Valkyrie kits).

The standard Regult was released first, and the “knee” joints aren’t so good. These parts were re-tooled for the scout and the two missile carriers, but the first one isn’t capable of bending into a sort of “fetal position” in standby mode like the others can. Despite their age, the decals for both kits seem like they are alright. Like the Regults I’ve already completed, I will use aftermarket parts by Wave and Kotobukiya to improve detail.

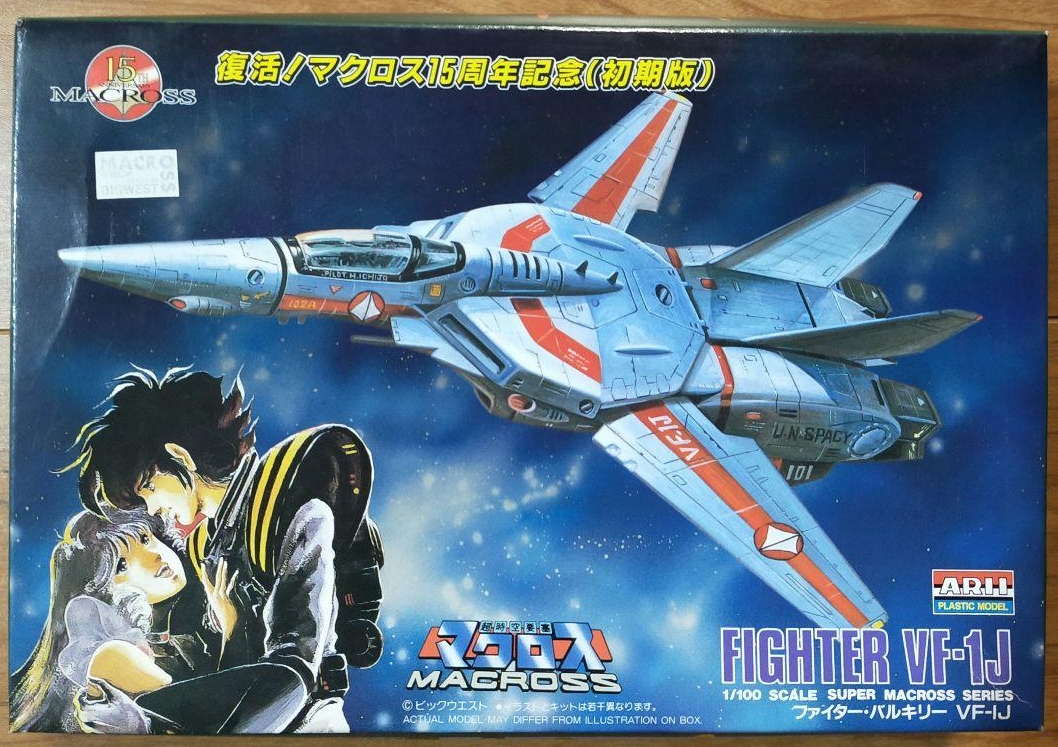
Arii 1:100 Macross 15th Anniversary VF-1J box art

Wow, I’ve never seen this box cover before! This is the 15th anniversary 1:100 VF-1J kit by Arii. Of all the 15th anniversary boxes, I’ve never seen one featuring DYRL artwork. I came across this on Mercari and would be tempted to get it for the box art alone (well, that and because I have an impulsive mental problem), but I wouldn’t pay 4,300 yen for it. Still, the bags inside are unopened and the decals are in good condition. The figure inside is a mystery since the black bag it comes in is unopened. I’ll pass.

I remember when I first visited Japan in summer of 1998, I saw piles of these 15th anniversary Arii model kits. They were on a discount table at a department store and while I was happy to see Macross stuff prominently on display, at that time I had already given up on modeling a few years prior out of frustration and didn’t get back into the hobby until 2005.

A big acquisition of Macross models!

So when I went to the Winter Wonder Festival in February, my friend Adrian who works for Big West told me that they have a stash of Macross models that model companies give them as free samples. He said that I was welcome to as many as I’d like, as long as I just pay for shipping cash on delivery.

I was hoping that I might be able to meet up with Adrian when I visited Yokohama a few weeks ago, but that wasn’t possible. Instead though, he told me that day that he’d take pictures of the contents of those three big boxes of Macross kits and give me first dibs on what I’d like. So I gave him a list of models for me and some friends of mine and on August 25th, I got a big-ass box of Macross neatness.

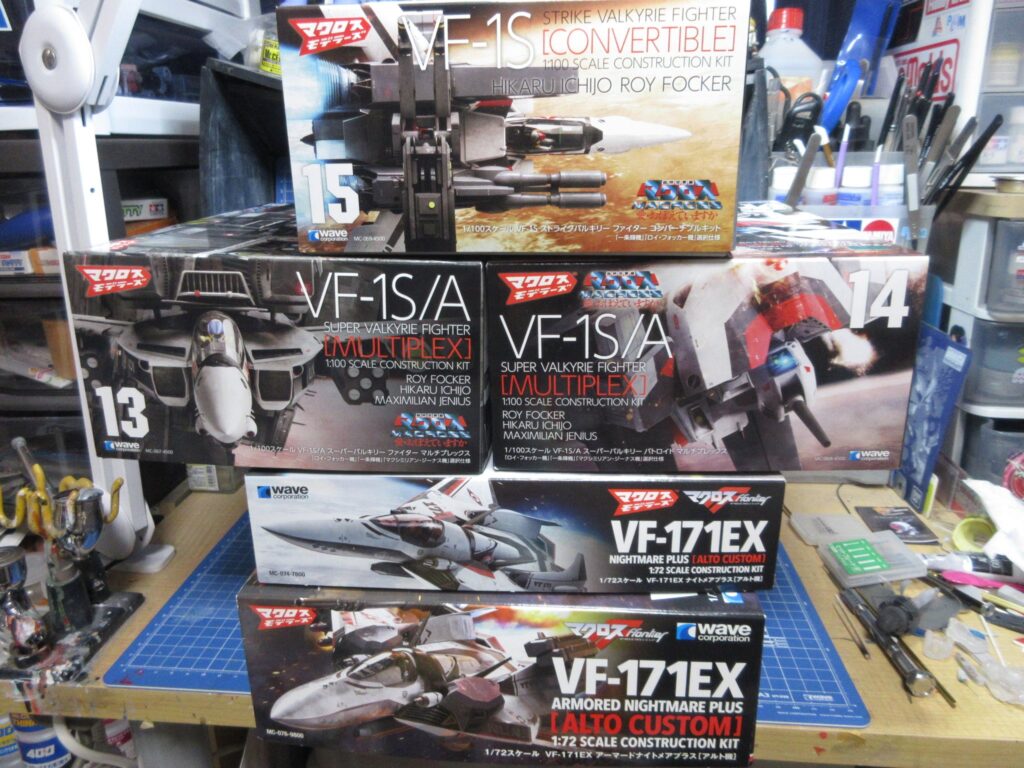
So all of these kits are by Wave. On top is the 1:100 VF-1S Strike Valkyrie. The next row down is the 1:100 VF-1S/A Super Valkyrie “Multiplex” (it can be built as the Valkyries flown by Roy, Hikaru, and Max) and VF-1S/A Super Valkyrie Battroid Multiplex. Under that is the 1:72 VF-171EX Nightmare Plus and under that is the VF-171EX Armored Nightmare Plus. I’ve never seen Macross Frontier, but the VF-171EX Nightmare is such an incredible fighter jet, and I now have both versions! When I first saw this Nightmare kit at the All-Japan Hobby Show, I really liked it but I figured that I’d never get this kit because it’s so expensive.

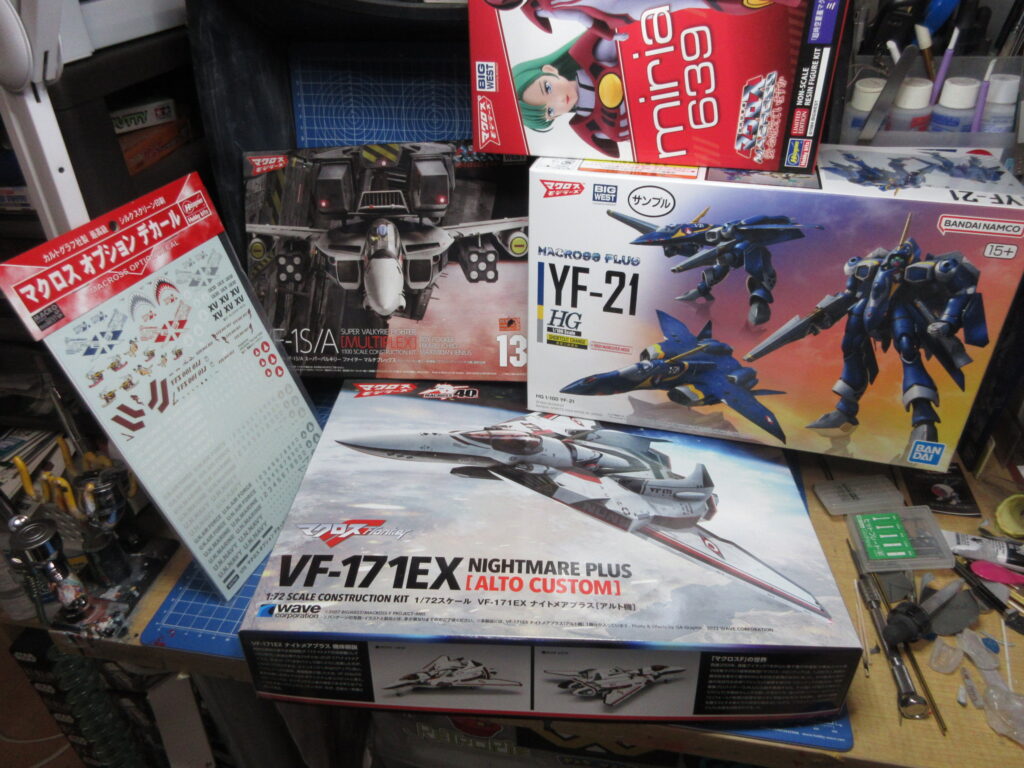
This is what I sent to my friend Gary in the USA. He got another of the VF-1S/A Multiplexes, a VF-171EX Nightmare kit as well, and Hasegawa’s Miria resin garage kit figure, Bandai’s 1:100 YF-21, and a Hasegawa decal sheet for 1:72 scale Valkyries.

I’m sure that the Big West employees are welcome to take what they like for themselves. These are kits that are leftover and I figure that since they’re just taking up space at their office, I did a favor by letting Adrian offload so many onto me!

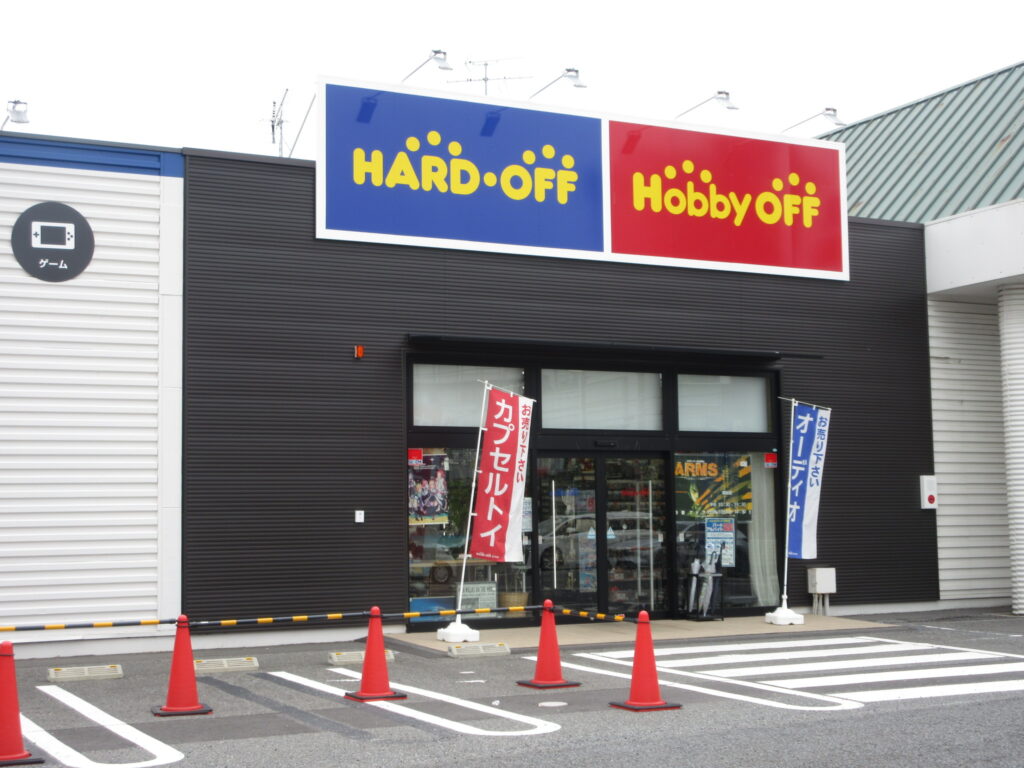
Checking out Hard Off/Hobby Off stores in Souka, Saitama Prefecture

We went on a drive down to Souka City in Saitama Prefecture on Sunday. While the two ladies had their thing to do, I checked out a couple of Hard Off/Hobby Off locations. The street I was driving on said that Ueno was just 13km ahead, so I really was right on the border of Tokyo. I’ve never driven to Tokyo before and the expressway system is a bit confusing in the middle of the city, but at least it was a straight drive along the Kan-etsu Expressway to Souka.

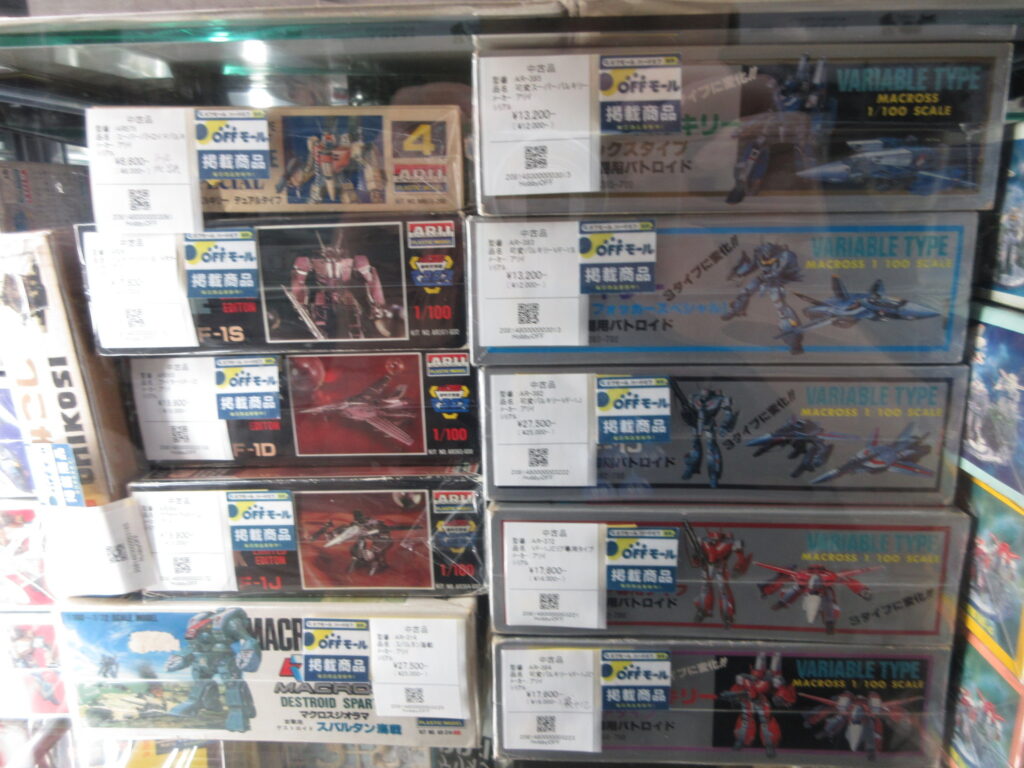
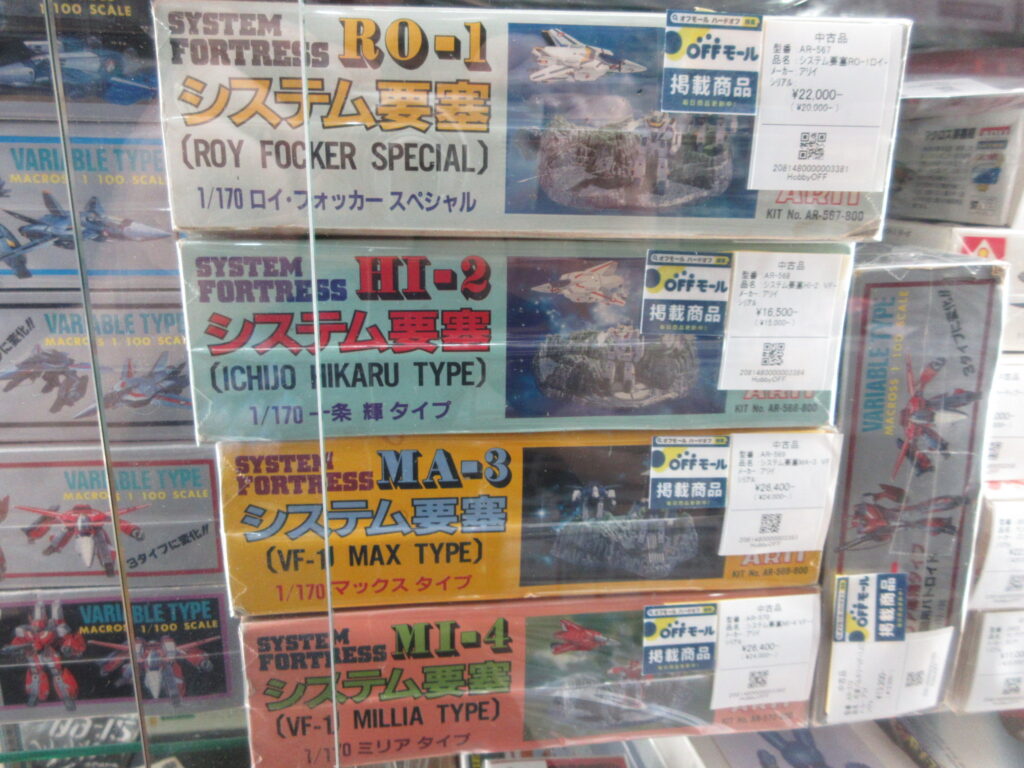
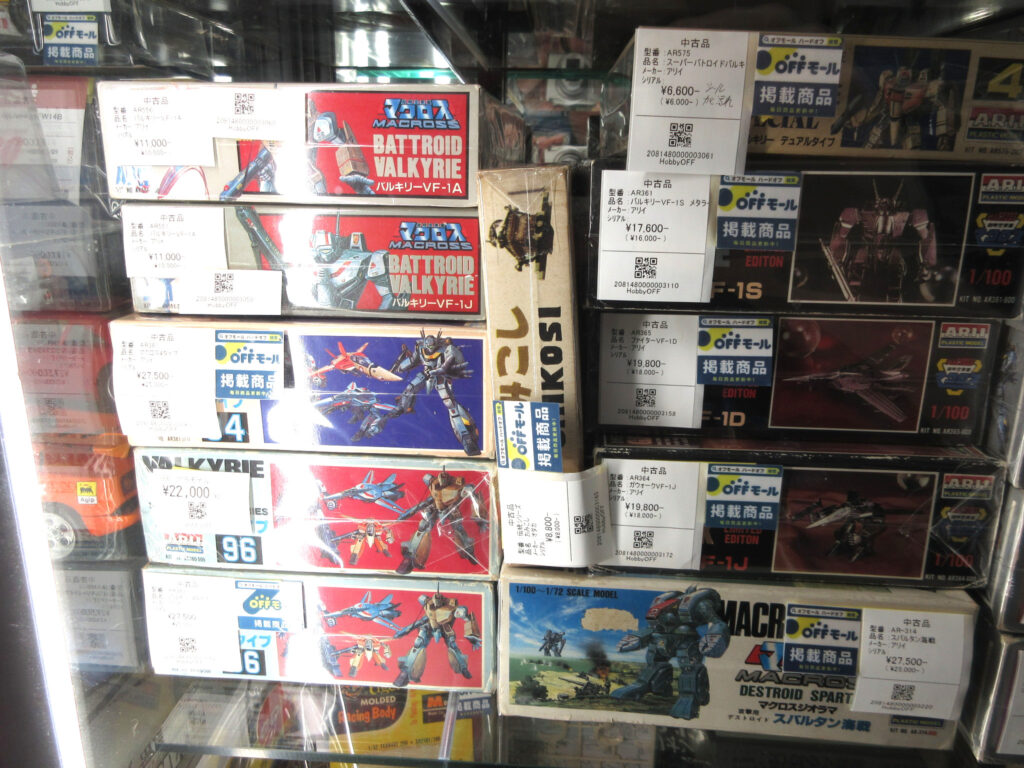
The first place I went to had these expensive Arii Macross kits. The stickers on these say 掲載商品 (keisai shouhin) which means an advertised product. That Spartan for 27,500 yen confuses me… That’s an Imai kit, right? It says it’s 1/72 scale, which would make it by Imai because Arii made the 1/100 version, but the white price tag says that it’s Arii. It’s also a “Macross diorama” kit. The stack on the right are 1/100 variable Valkyrie kits. I didn’t know they go for so much these days.

More obscure Macross kits. “System Fortress” diorama kits. Weird.

I proceeded on to another store location, and it wasn’t very far away.

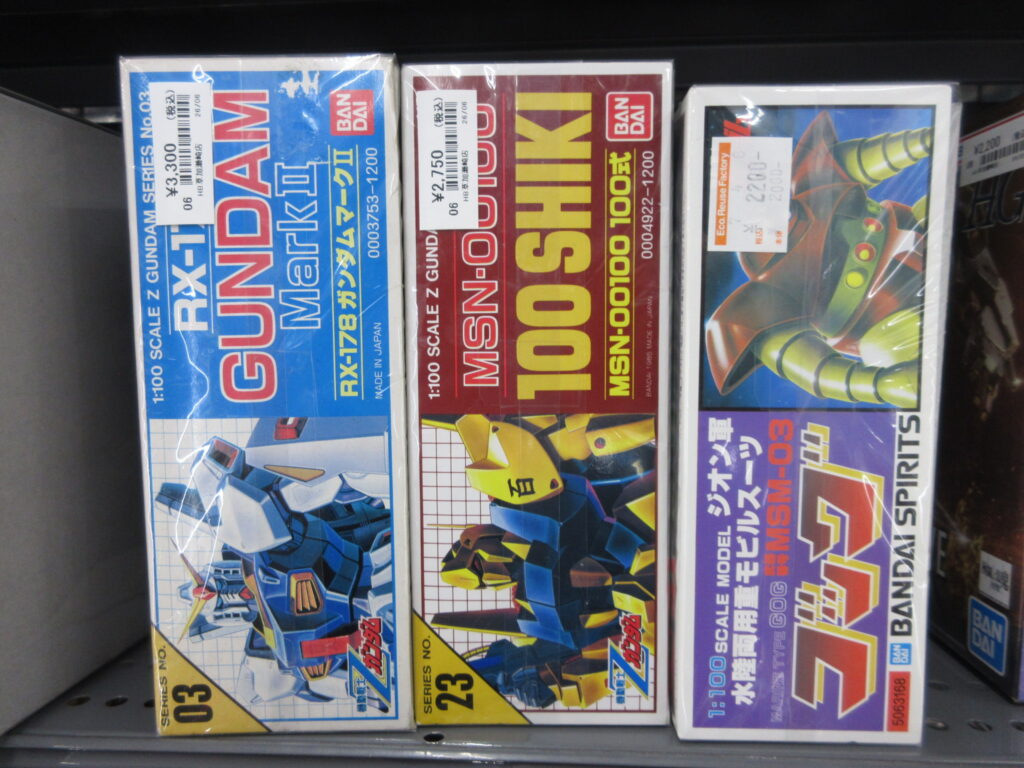
Lots of legacy Gundam kits from the ’80s at this location.

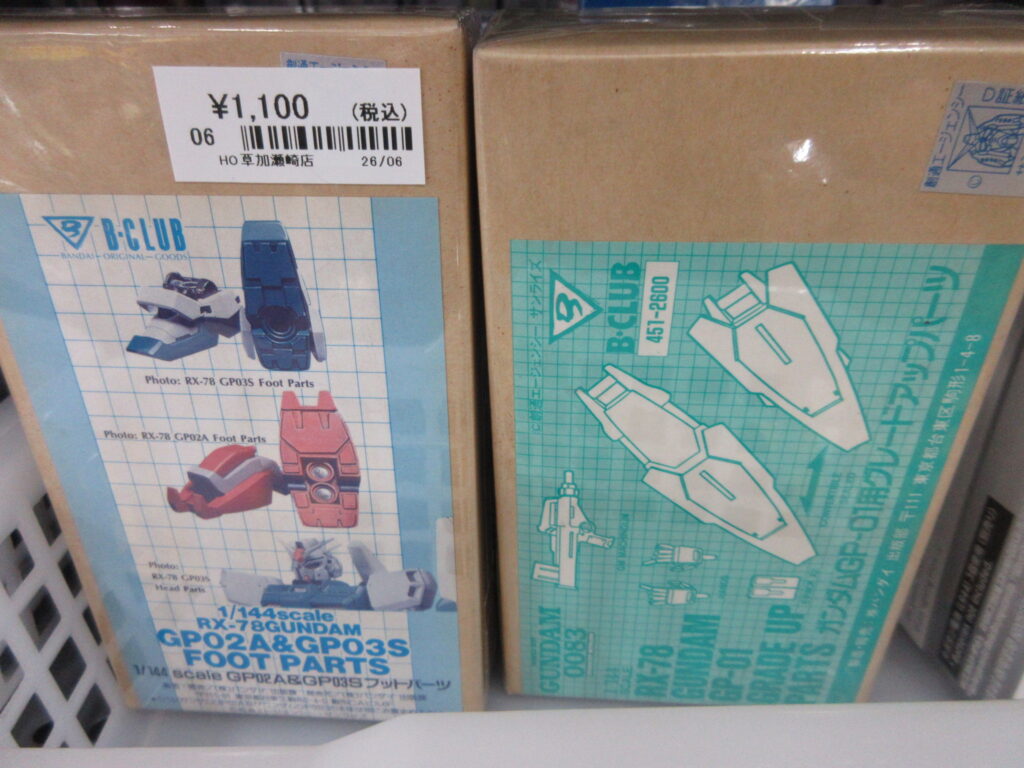
Here are B-Club resin aftermarket detail parts for 0083 kits. I ended up not really finding anything of interest. I stumbled upon a Surugaya by chance, but there wasn’t anything particularly interesting there either. Lastly I went to the Book Off Super Bazaar in that town, but it was boring.
A trip to Mandai in Takasaki, May 2026

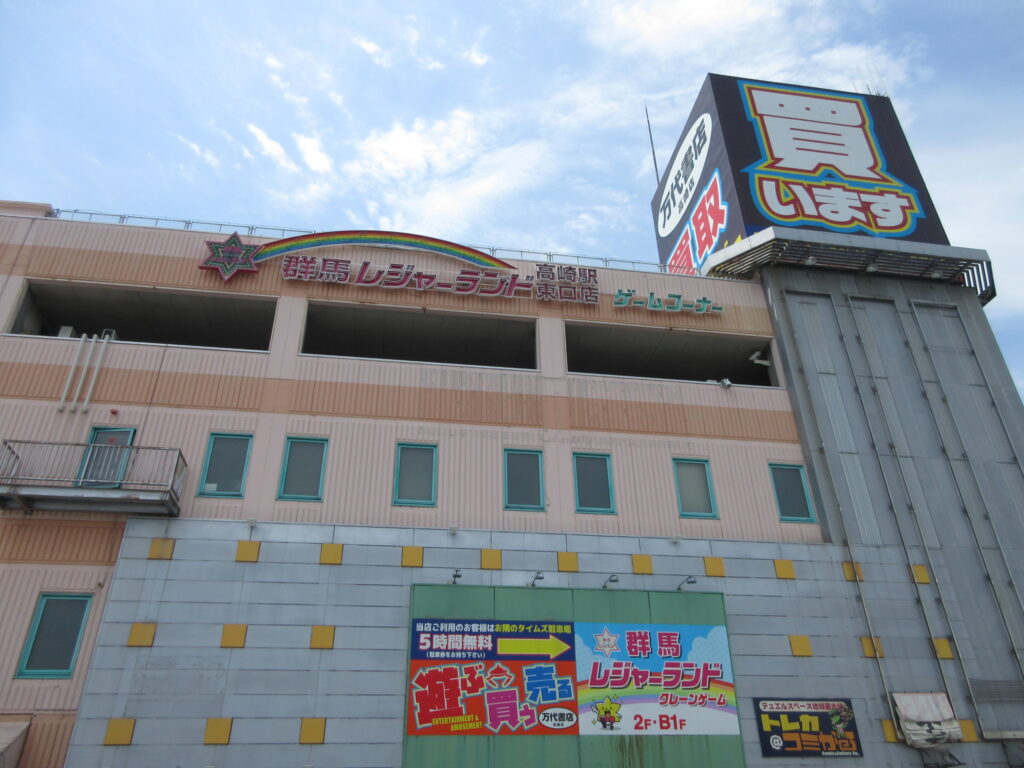
This is the building with Gunma Leisure Land game center and Mandai Shoten in Takasaki. We went down to Takasaki last Saturday. Mandai doesn’t open until 10, so I spent some time at the game center where I played some shmups like Senjin Aleste, which I wrote about in an earlier post. Then later I checked out Mandai.

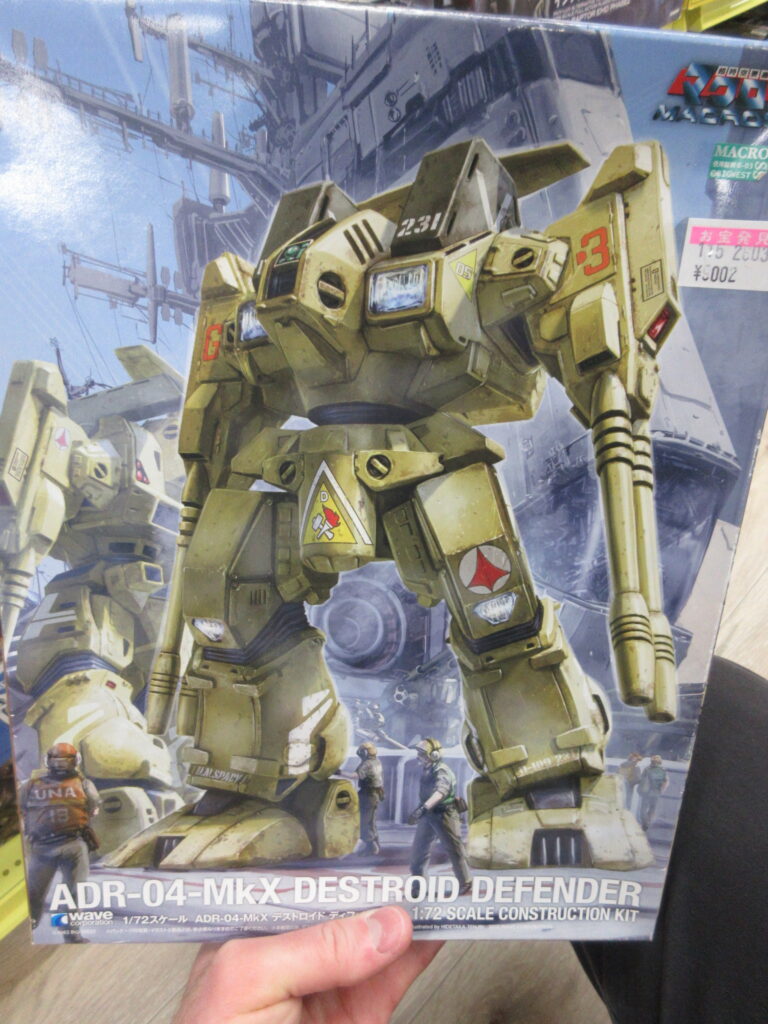
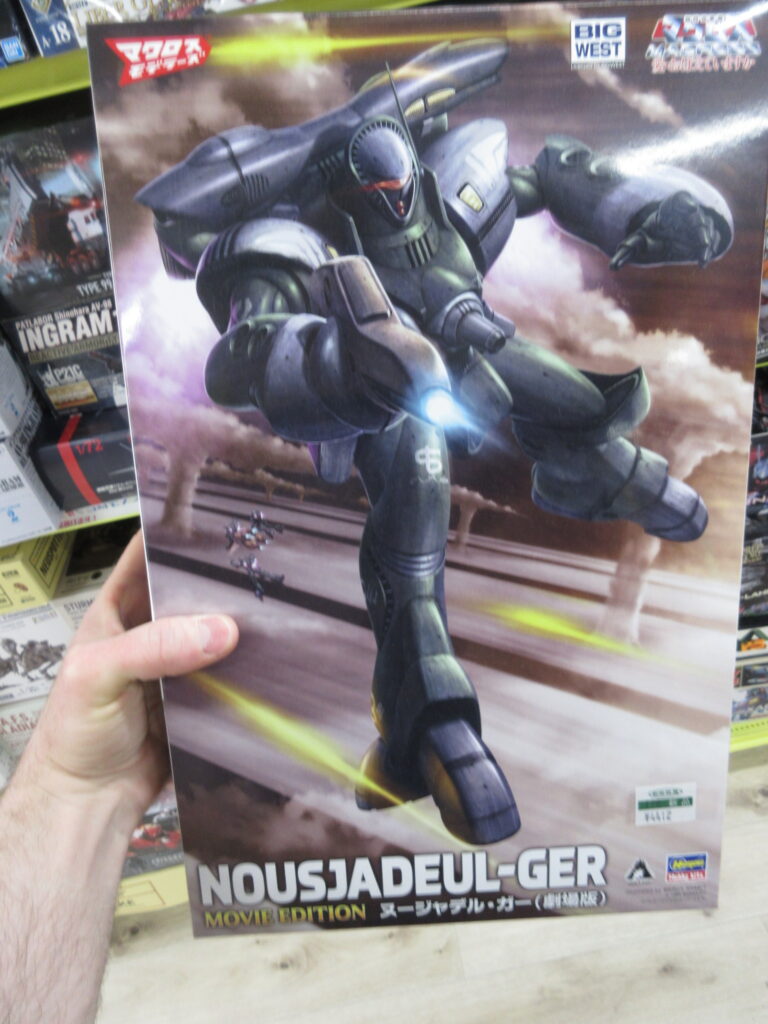
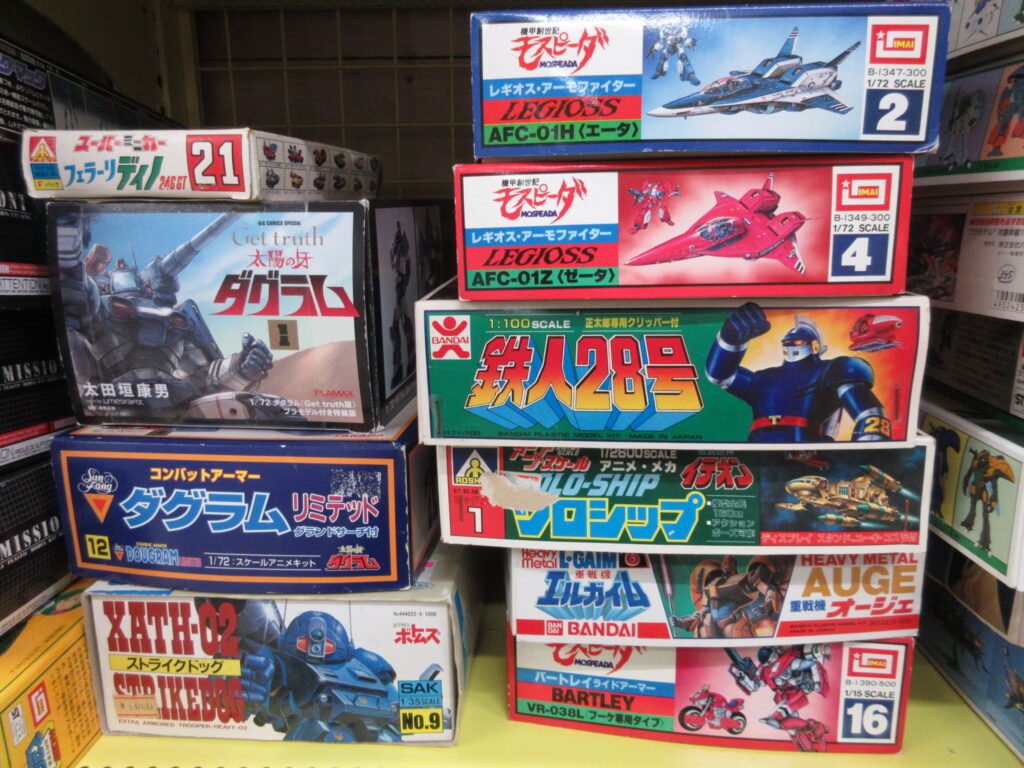
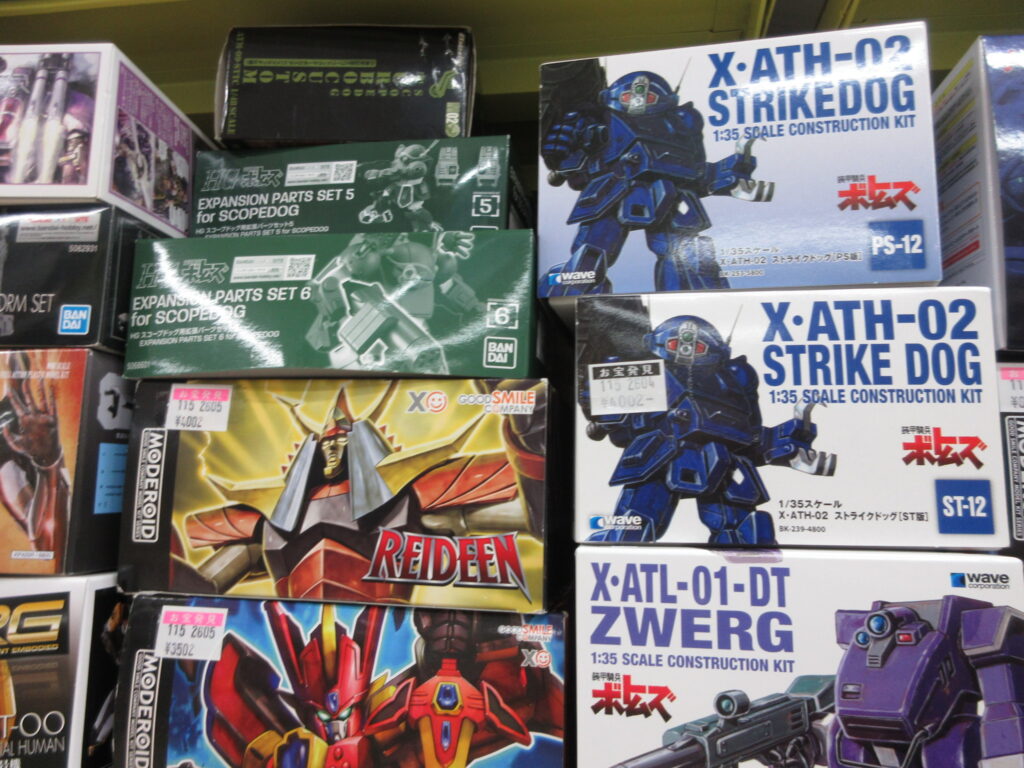
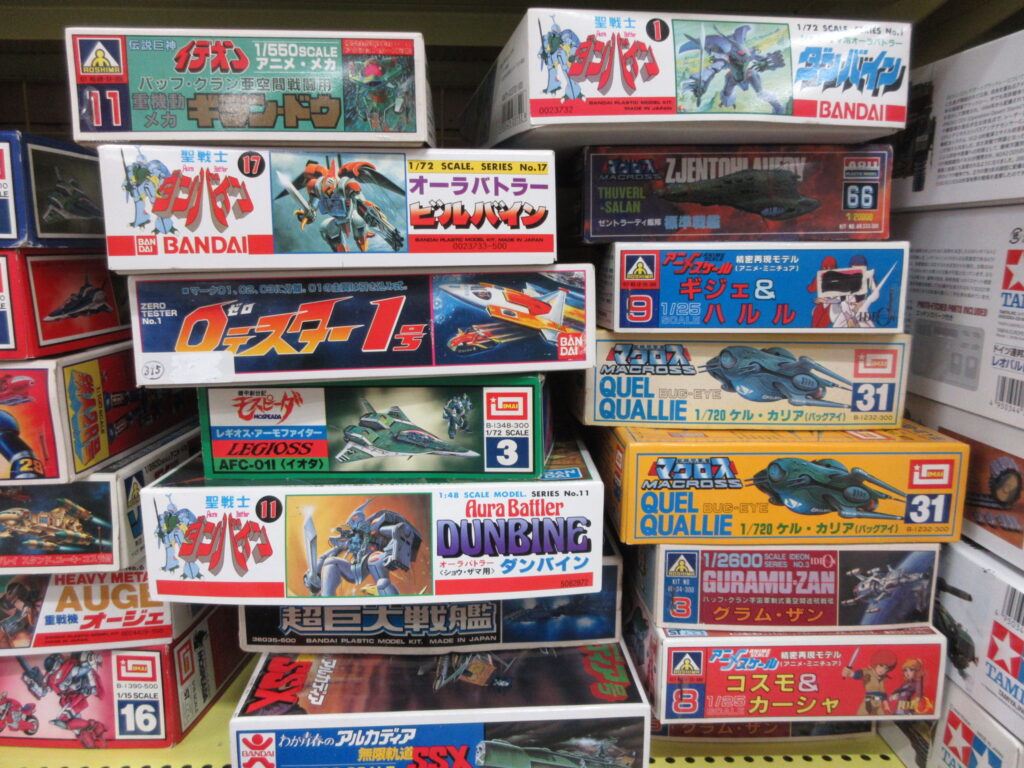
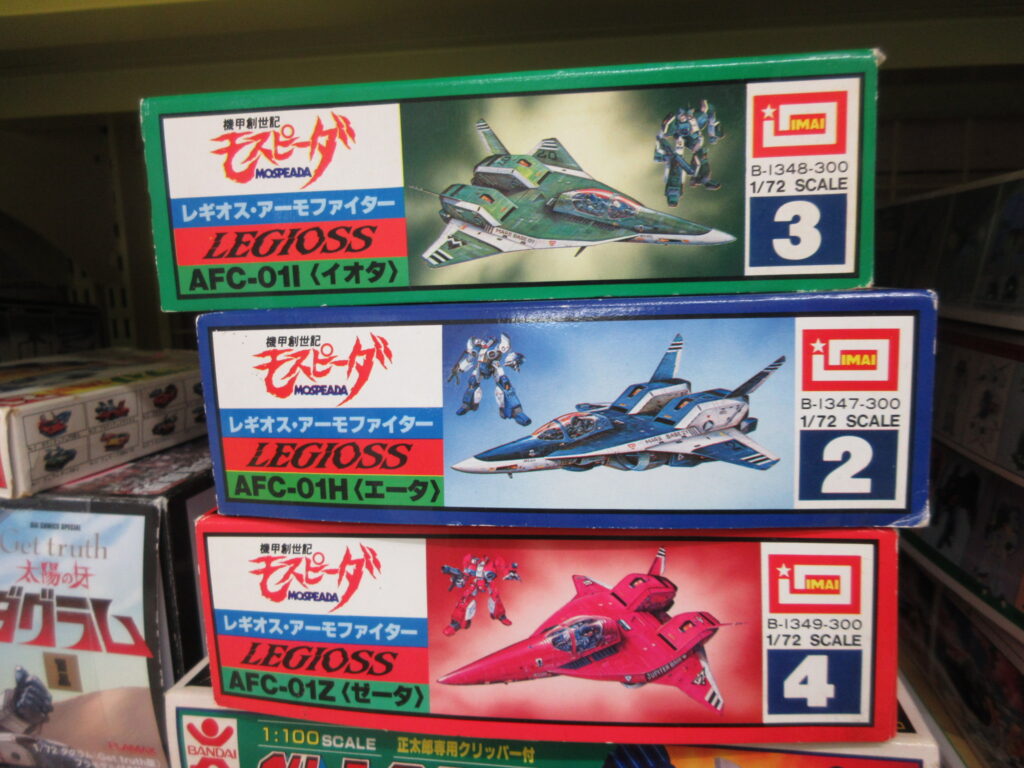
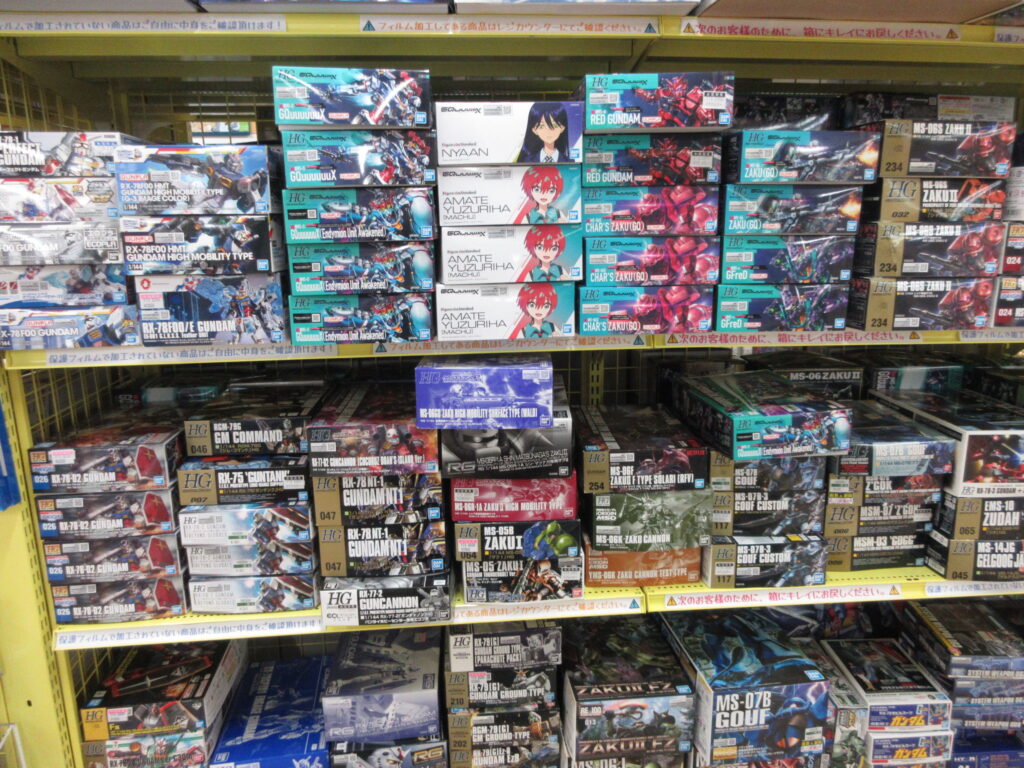
Plenty of Macross model kits, old and new.

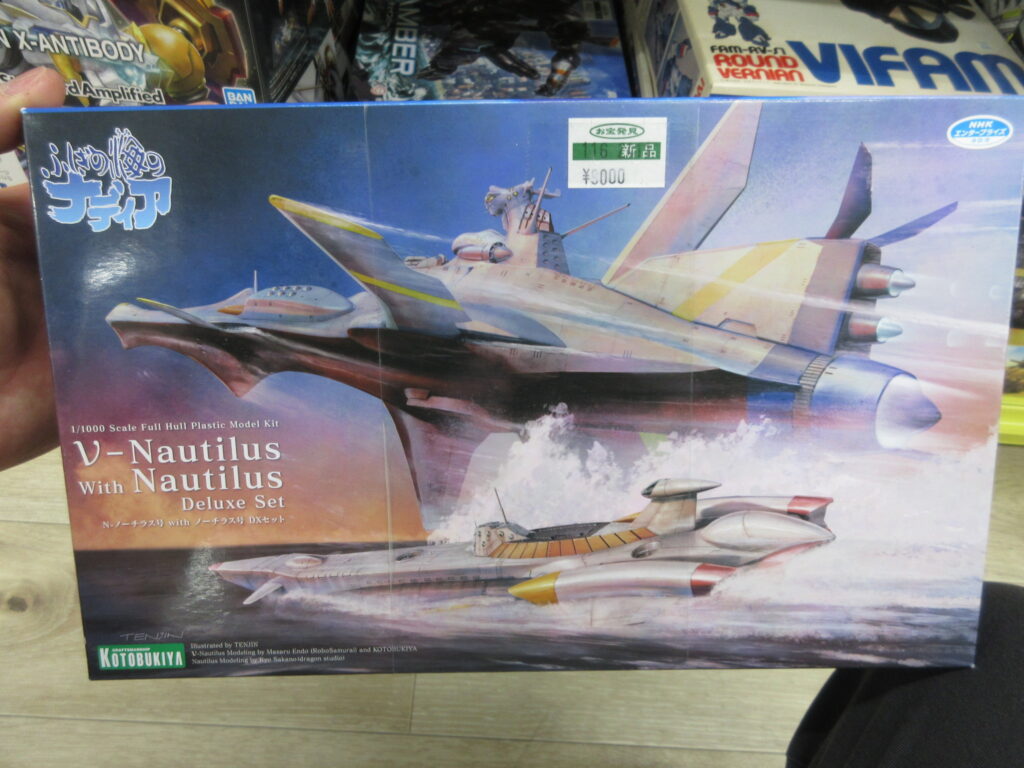
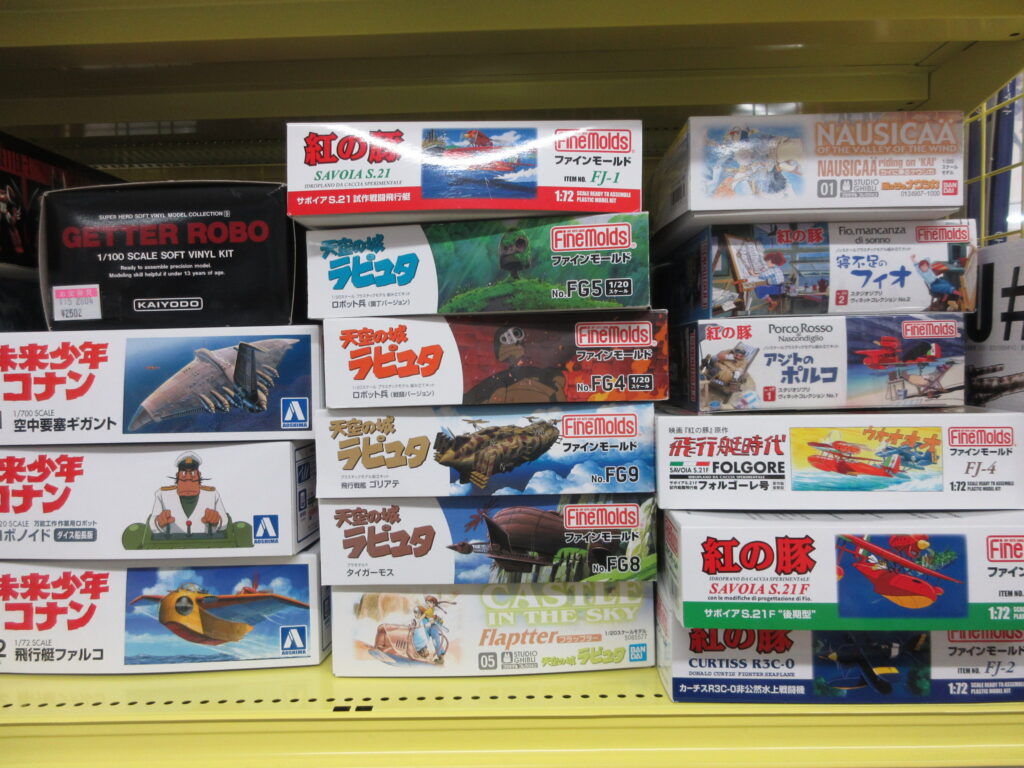
The Nautilus double set from Nadia. I have the regular submarine Nautilus, but not the nu-Nautilus starship.

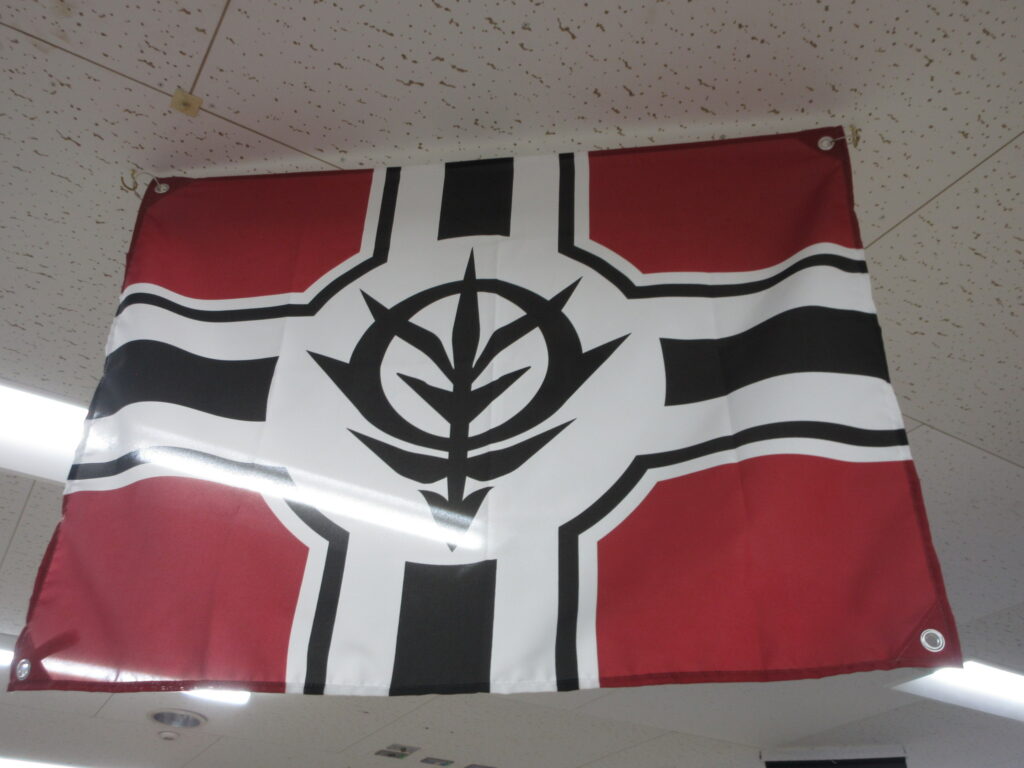
The flag of Zeon was hanging overhead. Nice touch.

Several of these kits are pictured in the last post I made about going to Mandai.

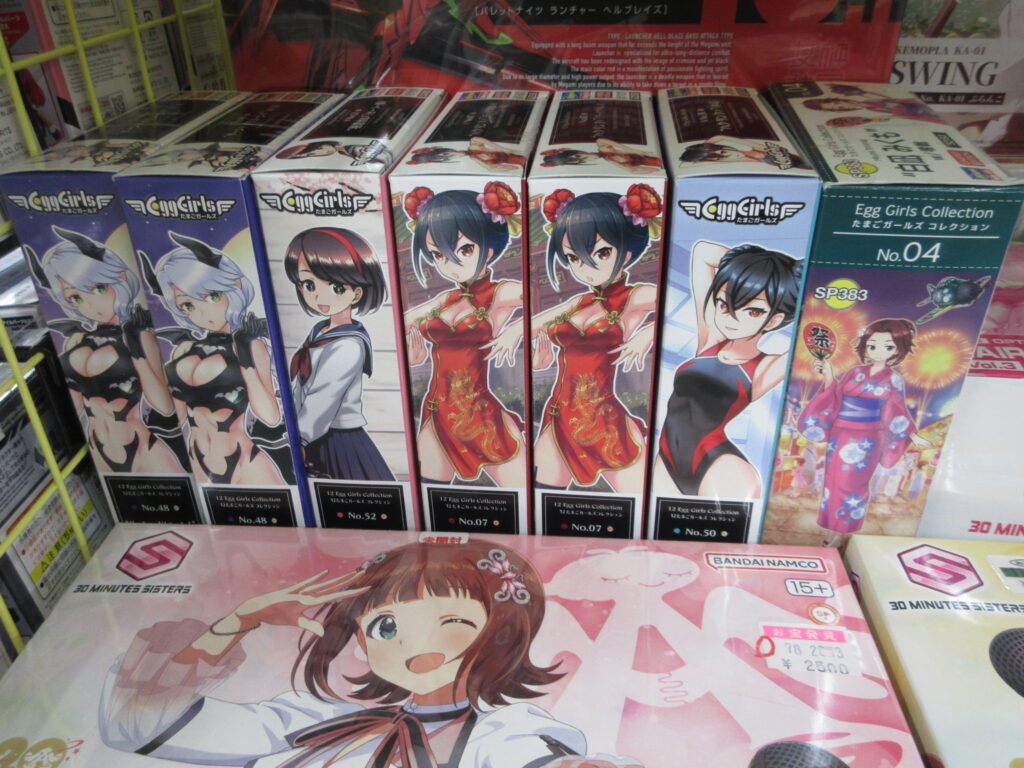
I didn’t notice these Eggplane Girl resin kits the last time I was here.

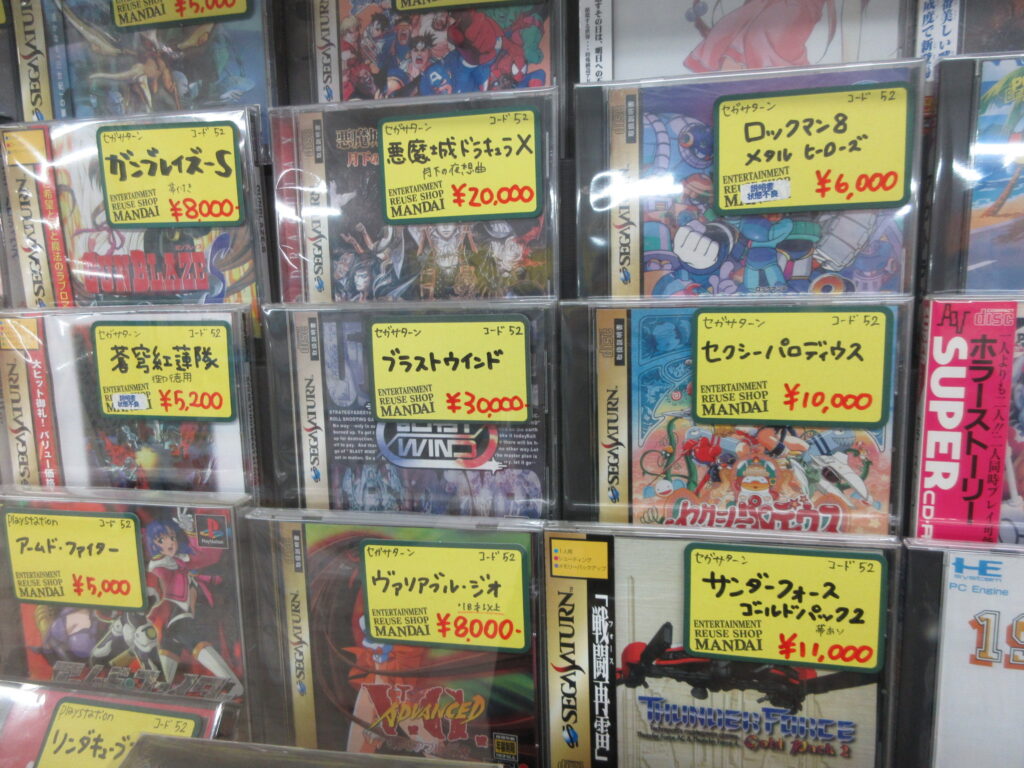
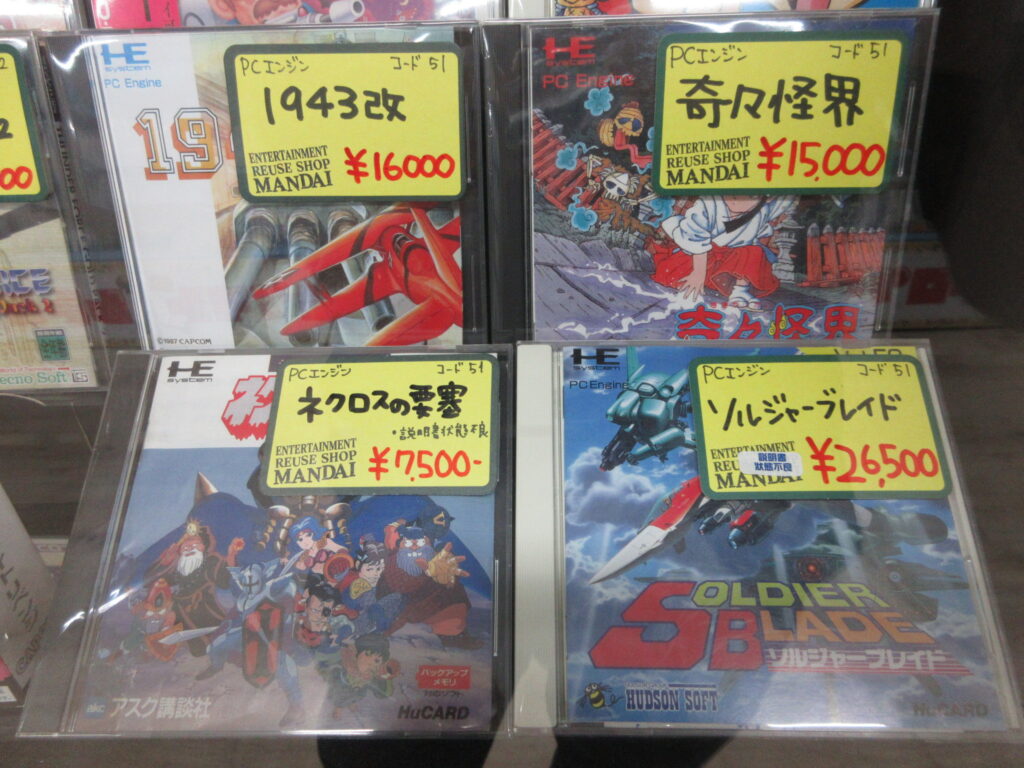
The high prices of Saturn games (and all retro games in general) is sad. I really need to sell a bunch of games now hat Ulan is getting braces. It’ll be a tough decision to make which ones I want to keep. I really can’t play any retro games anymore since my new TV has no S-Video inputs. I’d have to see if I have the regular composite inputs, but it looks like ass on a high-def TV. Rats.

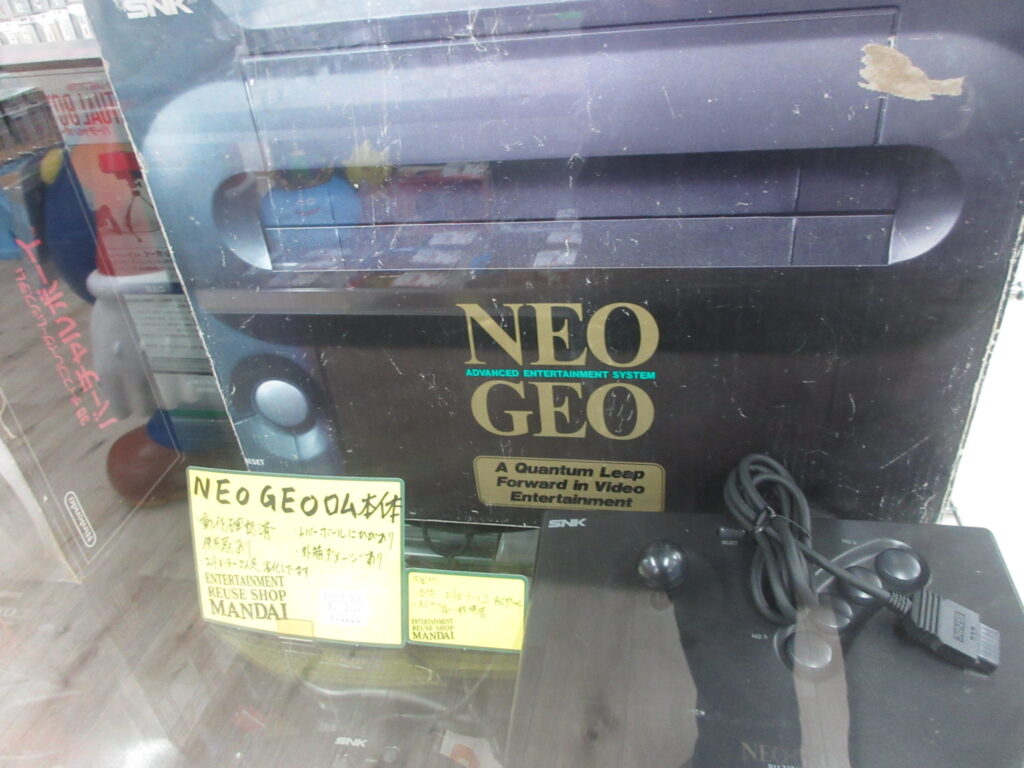
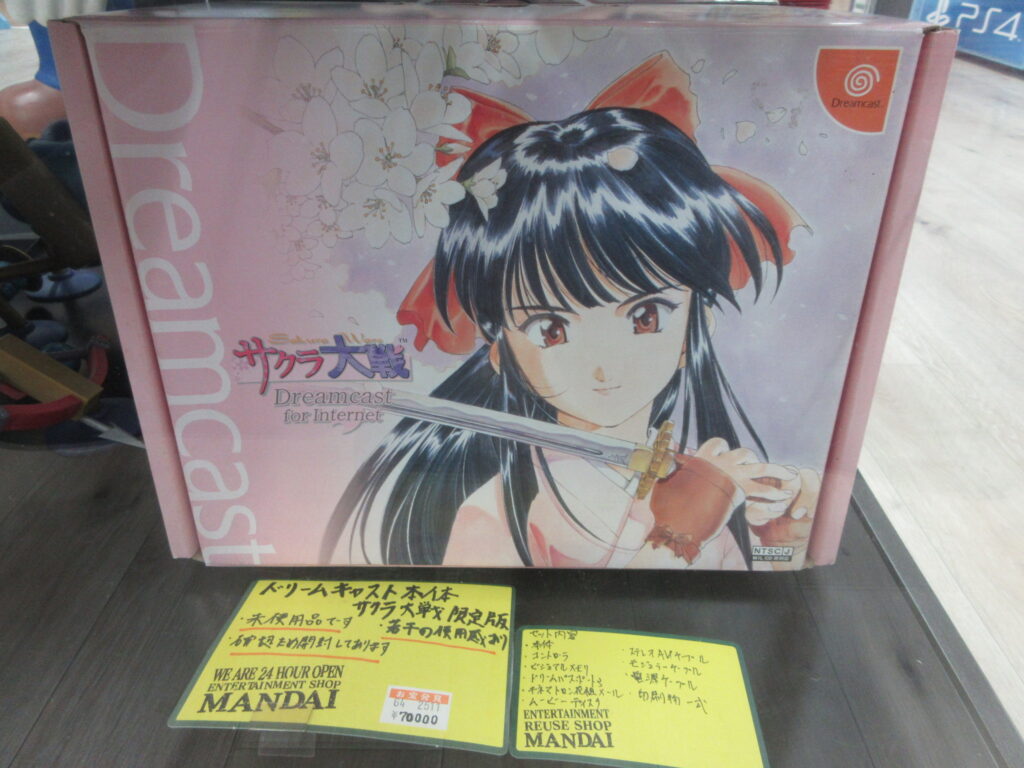
There’s a new Neo Geo console coming out that features HDMI output. Neat stuff, but I won’t be buying one. I also found a boxed Sakura Taisen Dreamcast. I bought mine when I first lived in Japan, in December 2000, IIRC. Unfortunately, the plastic has yellowed and the pretty pink color has been ruined. Rats.

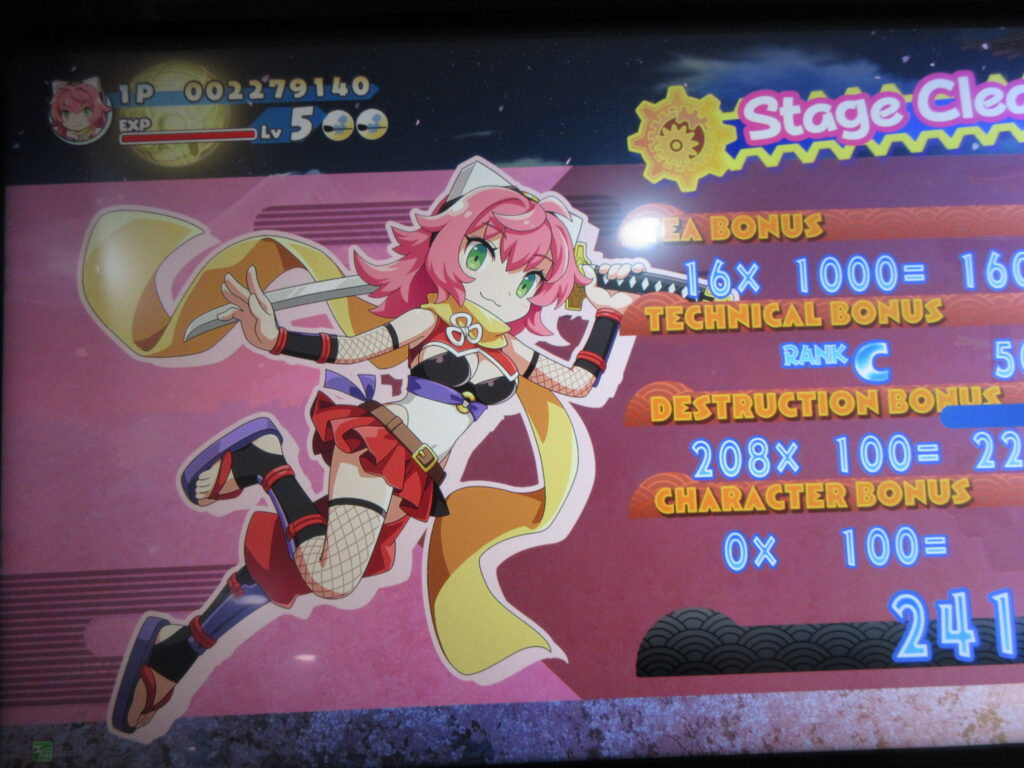
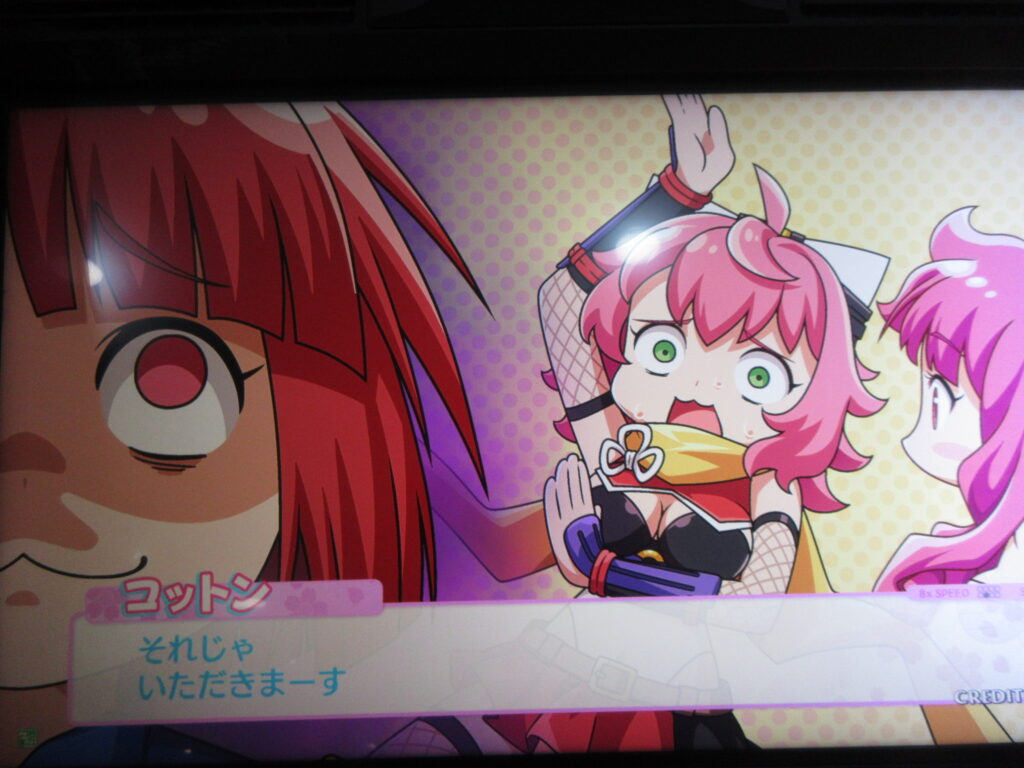
Oh yes, and when I was at the game center in the basement level, I got to play Cotton: Rock with You for the first time. You can play as Izuna, the unemployed ninja! I played those two games like crazy on the DS. Her shots are shuriken, and you can slash your sword for up-close damage and to swat enemy bullets away.

Update on my old Bandai/Imai Macross Glaug kit

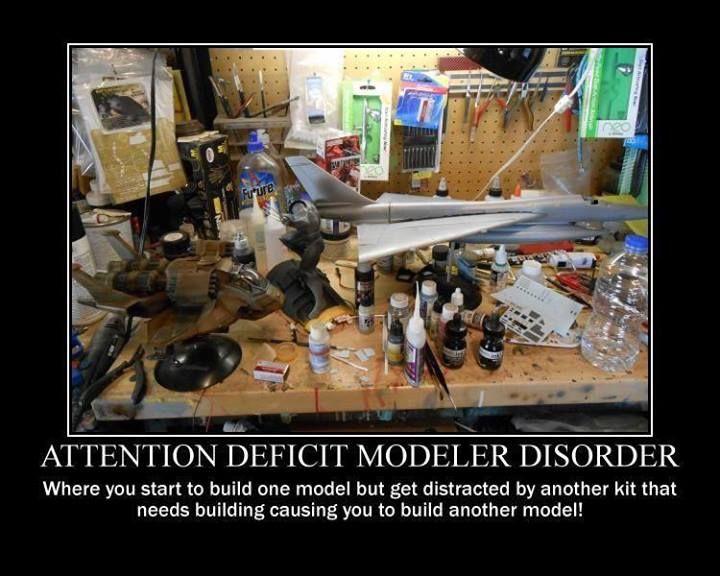
It was a quiet weekend at home, and on Sunday while I was following the events of yet another attempted presidential assassination by the “tolerant left,” I finally got around to resuming work on my old 1:100 Glaug kit I started working on last summer at the in-laws’ place while on vacation. I sort of lost track of this build for several months. I’m pretty good at starting new kits and losing track of them.

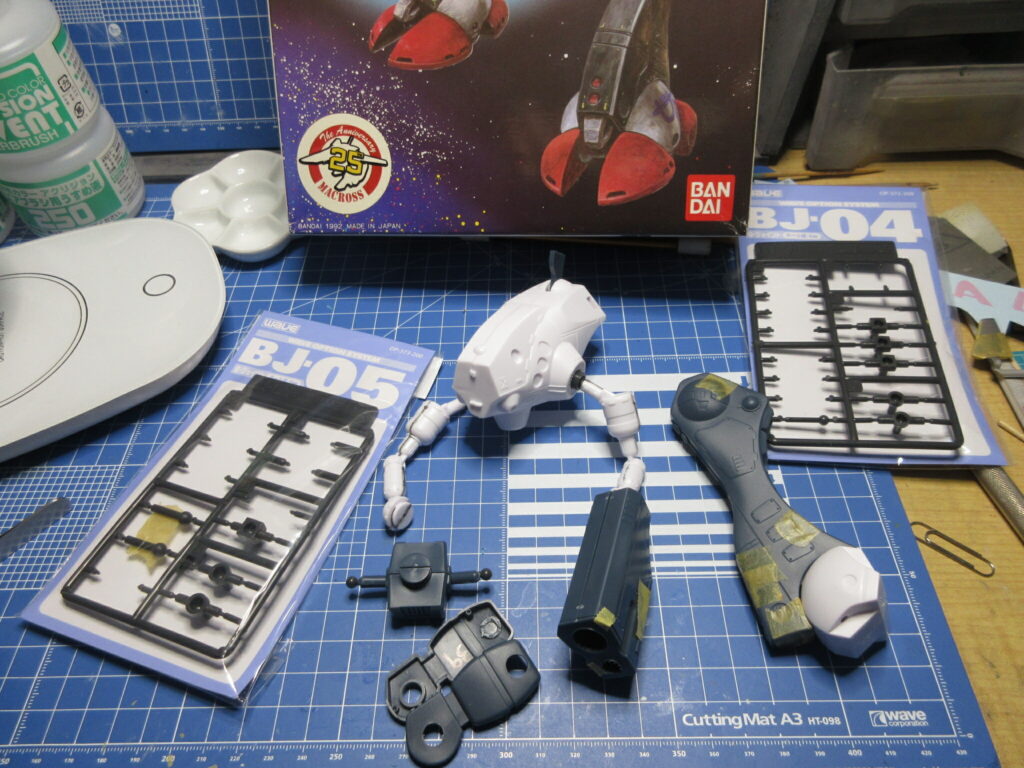
I’m inserting Wave’s ball joints to add better articulation for the shoulders and the hips. While this kit does have plastic-on-plastic swivel joints, Adding ball joints should improve mobility and allow the legs to be splayed for more natural poses. I’ve sanded down the dome-shaped protrusions and intend to replace them with Wave H-Eyes lenses. I’ve also taken a mold of the mono-eye. I plan to cut out that plastic, attach the mold, and backfill it from the inside with clear UV resin. I did this with the old Bandai/Imai Q-Rau kit.

I thought that I’d buy some more of these Wave ball joint sets, but when I looked online I saw that several of them are sold out! I can still get the BJ-05 set, and I ordered a couple from Yodobashi Camera. But I couldn’t find the BJ-04 and some other sets anywhere!

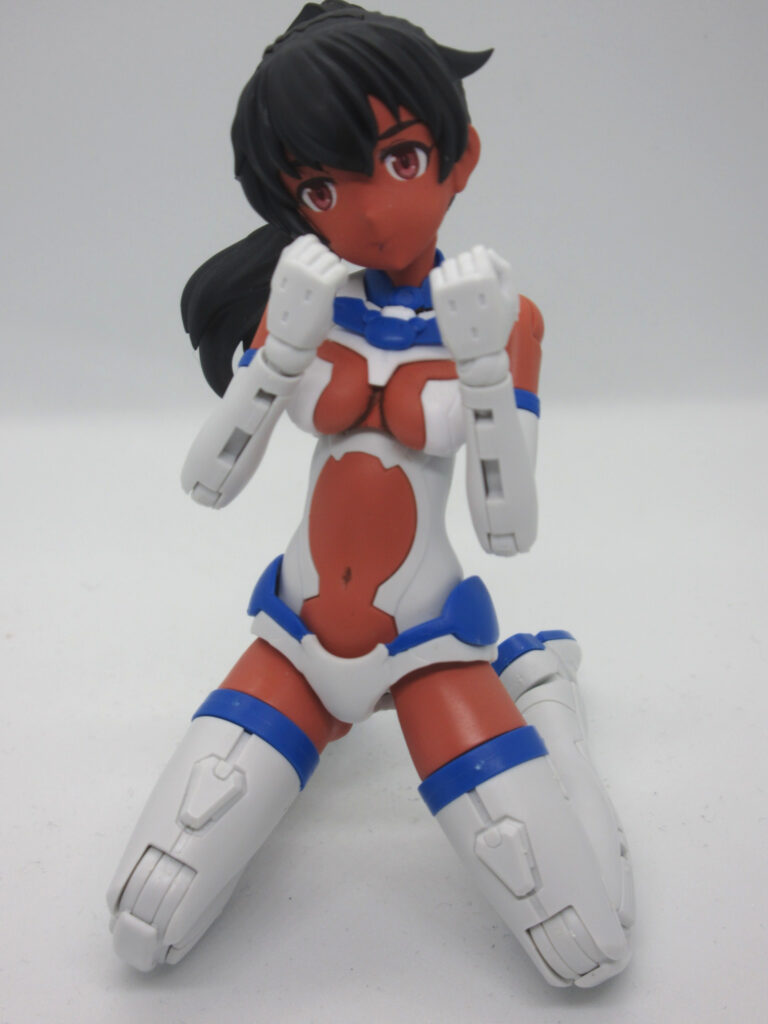
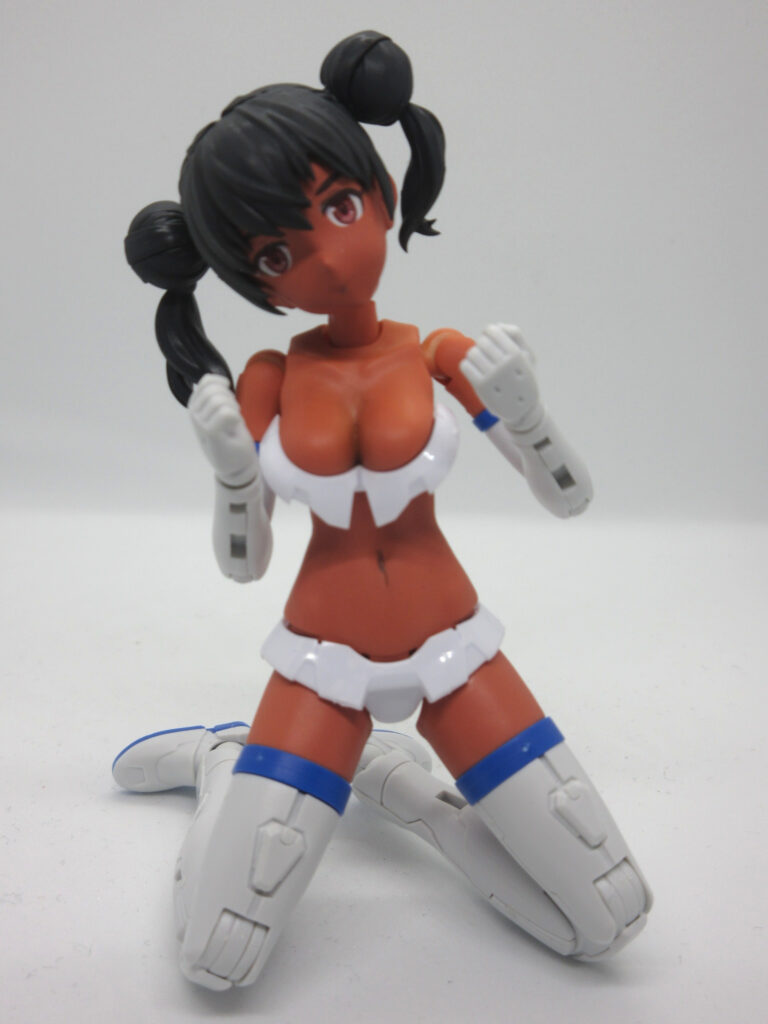
Update on my 30 Minutes Sisters customized Luluce build

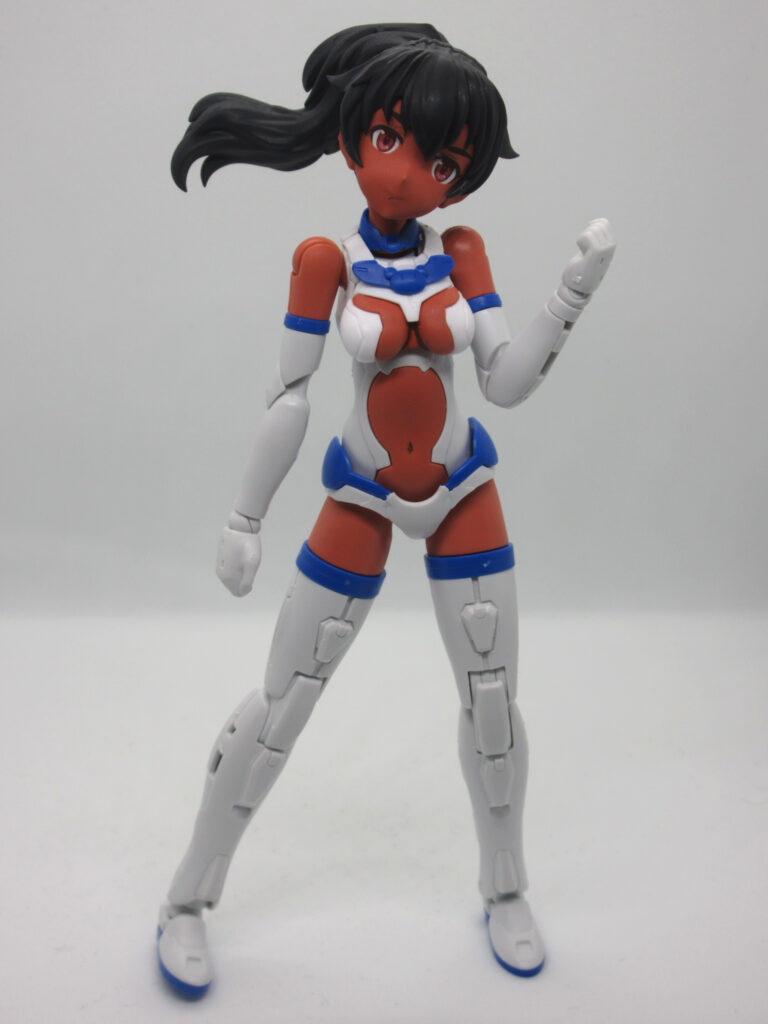
Over a year ago, I posted about how I bought Luluce with Option Body Parts A03 (color C) and some optional hair styles. I had some leftover skin color from a Shantae garage kit I built a few years ago to give her a darker, sexier skintone (in my opinion), so I used this and did some shading with burnt umber Faber Castell and artist’s chalk for her breasts and butt. I was lucky to find a set of the official 30MS eye waterslide decals, which I don’t see often. Her hair color is Mr. Color Lascivus Aura CL103 Black Hair with Tamiya Panel Line Accent Color Black for shading. I sealed these with a flat coat. The rest of the parts are the original plastic. Her “assault rifle” is made by a company called Yamada, which I bought at a Seria 100 yen shop.
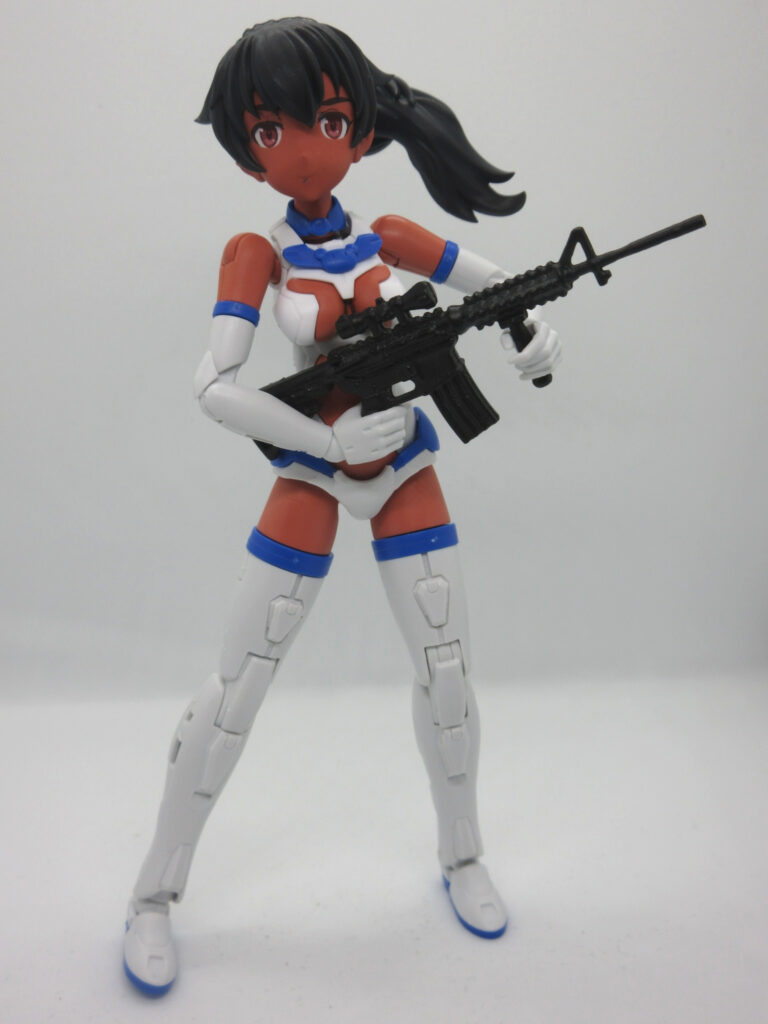
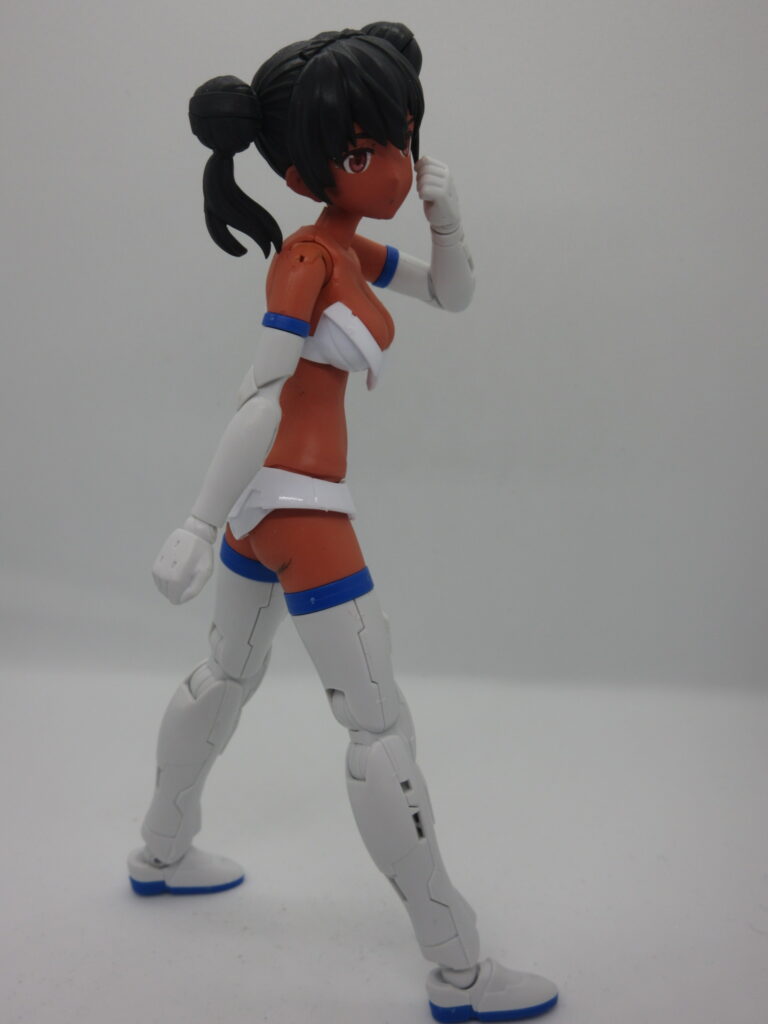
I want to work on her underboobs a bit more, because the shading I did is a bit too dark. I’ll pop that piece off and see what I can do.

I bought this bikini-like body parts set when I was nerd shopping with my friend Lou in March. I haven’t been able to find the bare legs and arms sets at any hobby stores, so I will probably buy a set on Yahoo Auctions Japan.