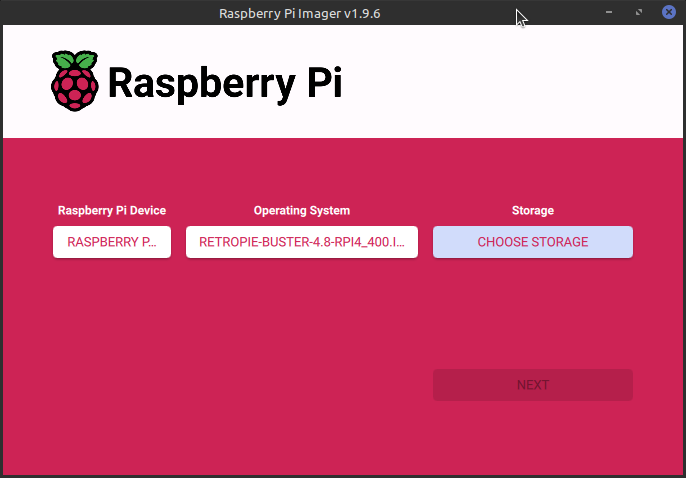

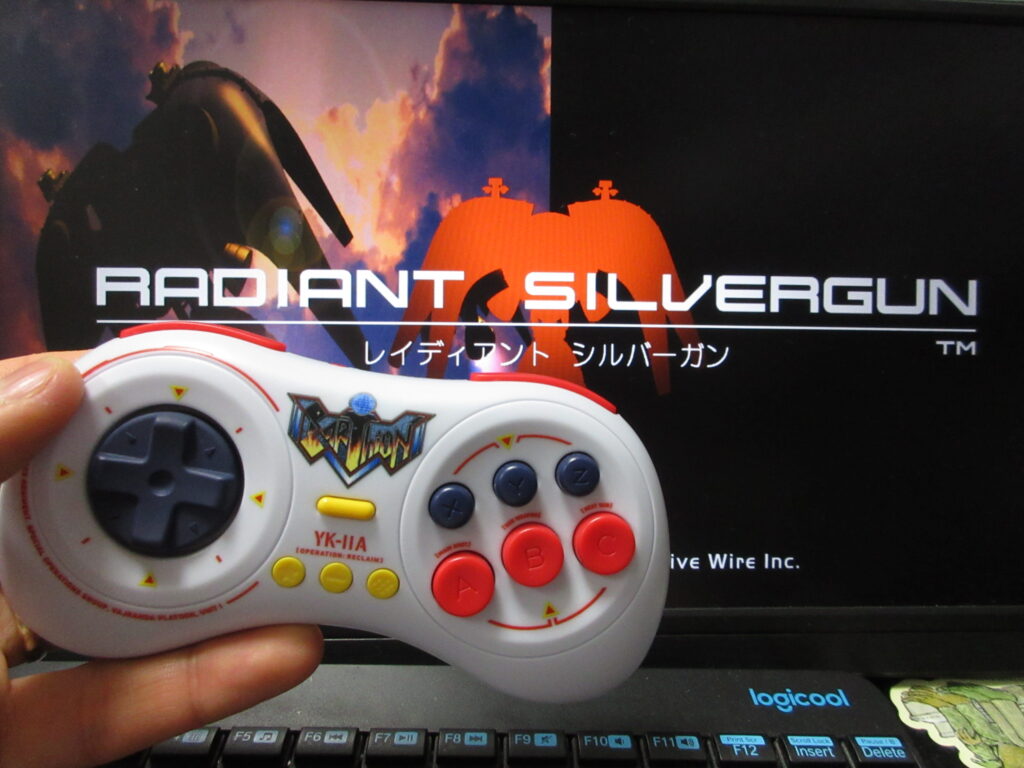
Last summer I posted a video on my YouTube and Odysee channels of testing out this LE Earthion Saturn-style gamepad by 8BitDo on Steam via Linux Mint as well as RetroPie. I recently bought Radiant Silvergun on Steam and it works great on Bazzite (I couldn’t get it to work on my Mint desktop). My desktop computer does not have built-in Bluetooth, so I bought a USB Bluetooth dongle. The results were a bit crappy. The controller works fine using the USB cable, but I have had many problems with my install of Steam on my desktop ever since I upgraded to a bigger HD. After a while, Steam forgets that the controller is connected and I have to reboot. When using the Bluetooth, the controls are floaty and is not very responsive. Fortunately with my Optiplex minicomputer with Bazzite as its OS. I am relieved, because I thought that the controller had some compatibility issue with Linux. The problem is either with the USB dongle or (most likely) the bad install of Steam I have on the Mint desktop.
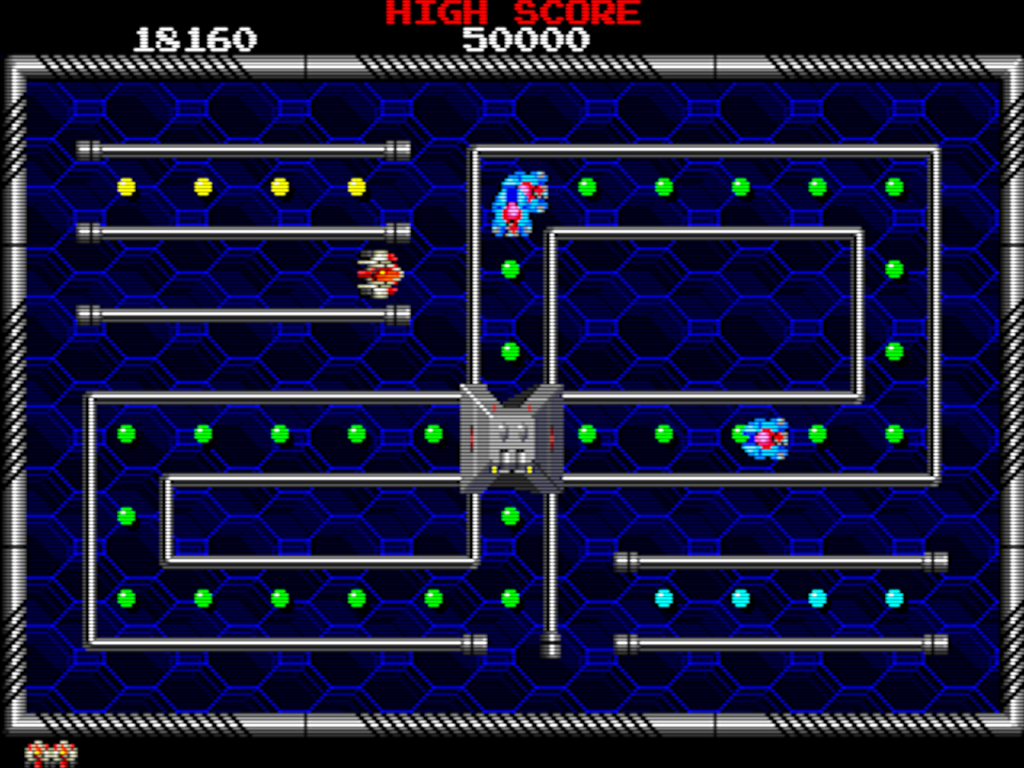
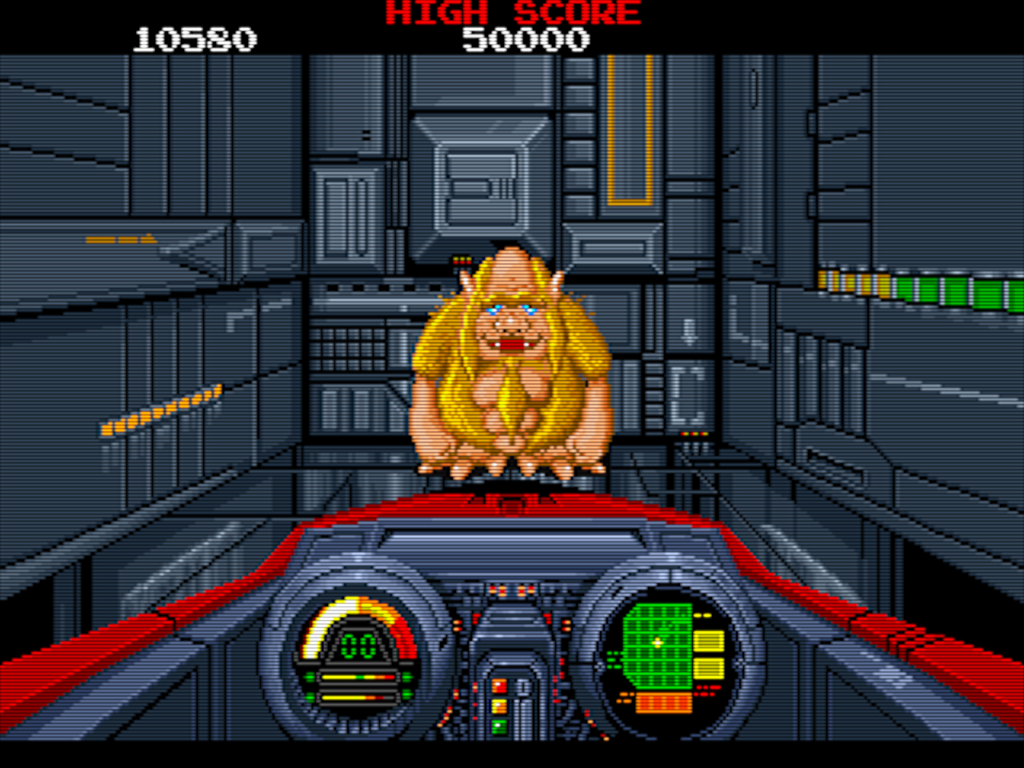
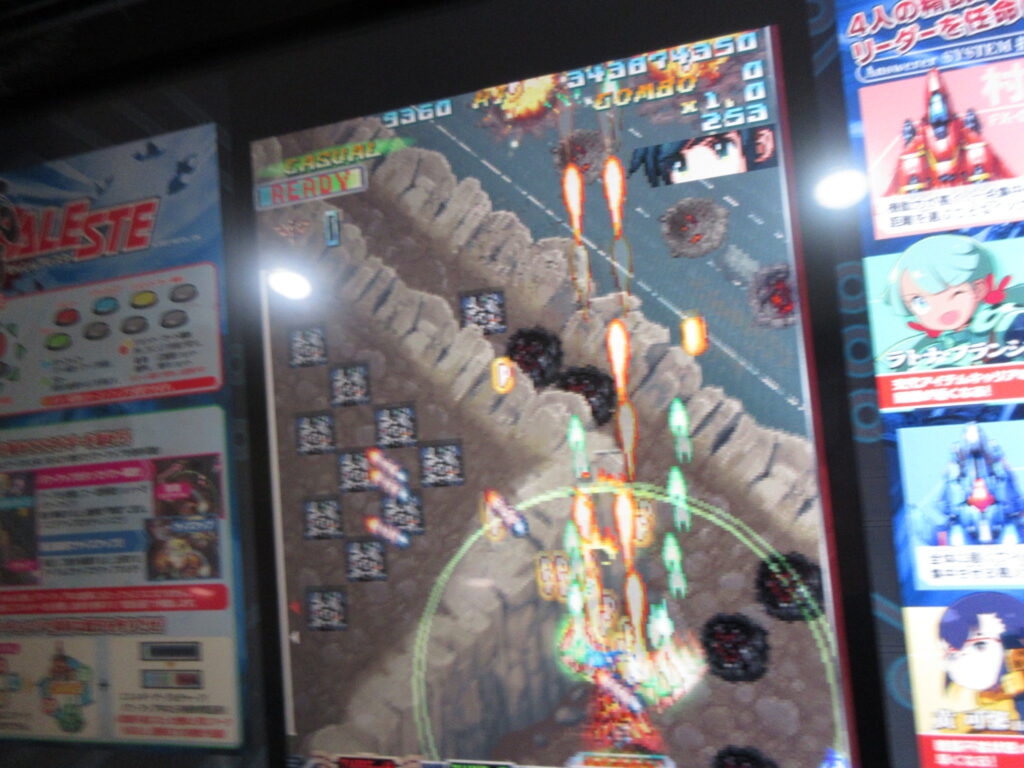
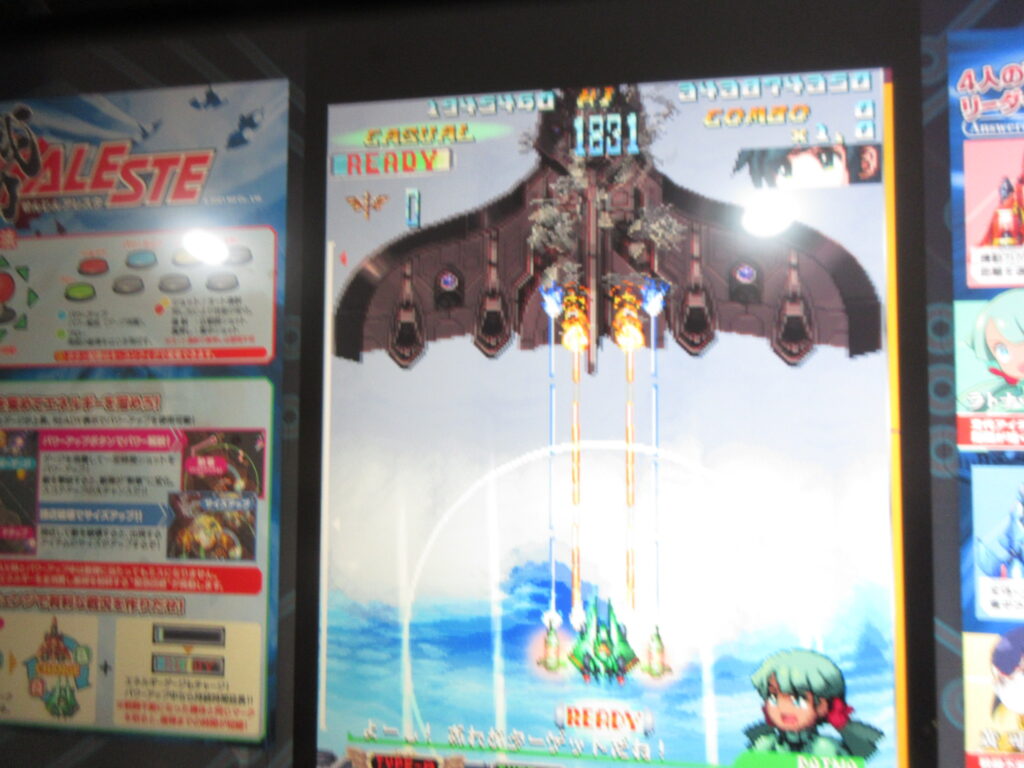
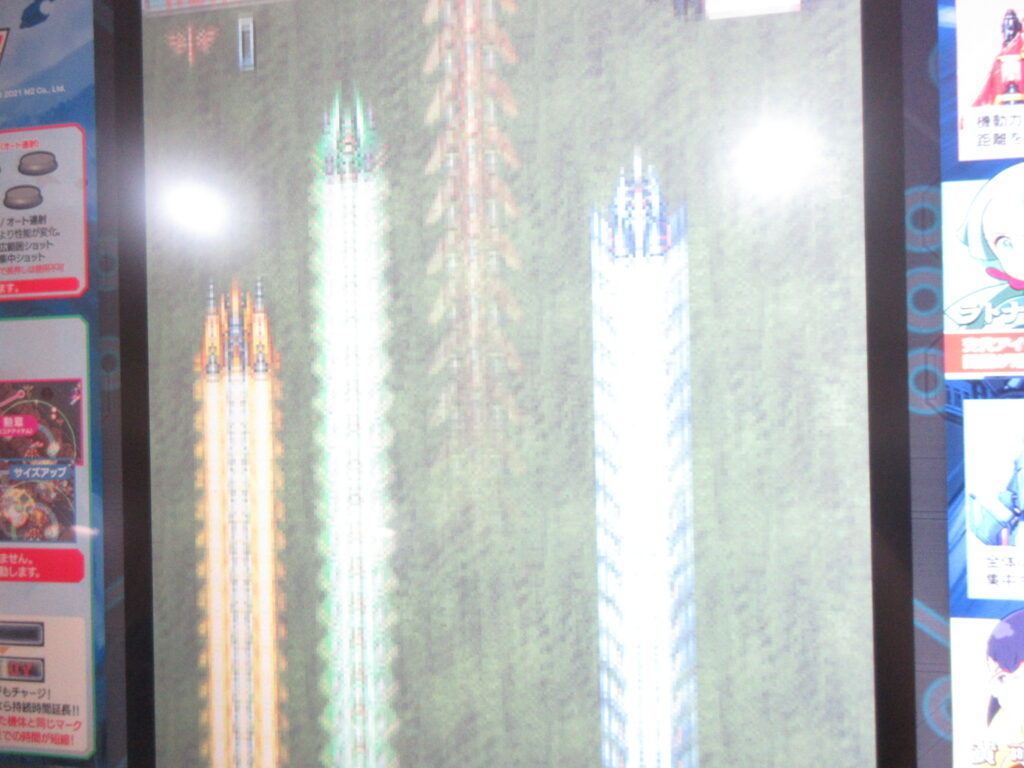
RSG on Steam features English subtitles! I was not expecting this. Mayu-chan bought this game for my Saturn back in 1997 for only 3,000 yen, when she was still my pen-pal! (Or was that in 1999?) It’s one of my most-prized Saturn games in my collection.
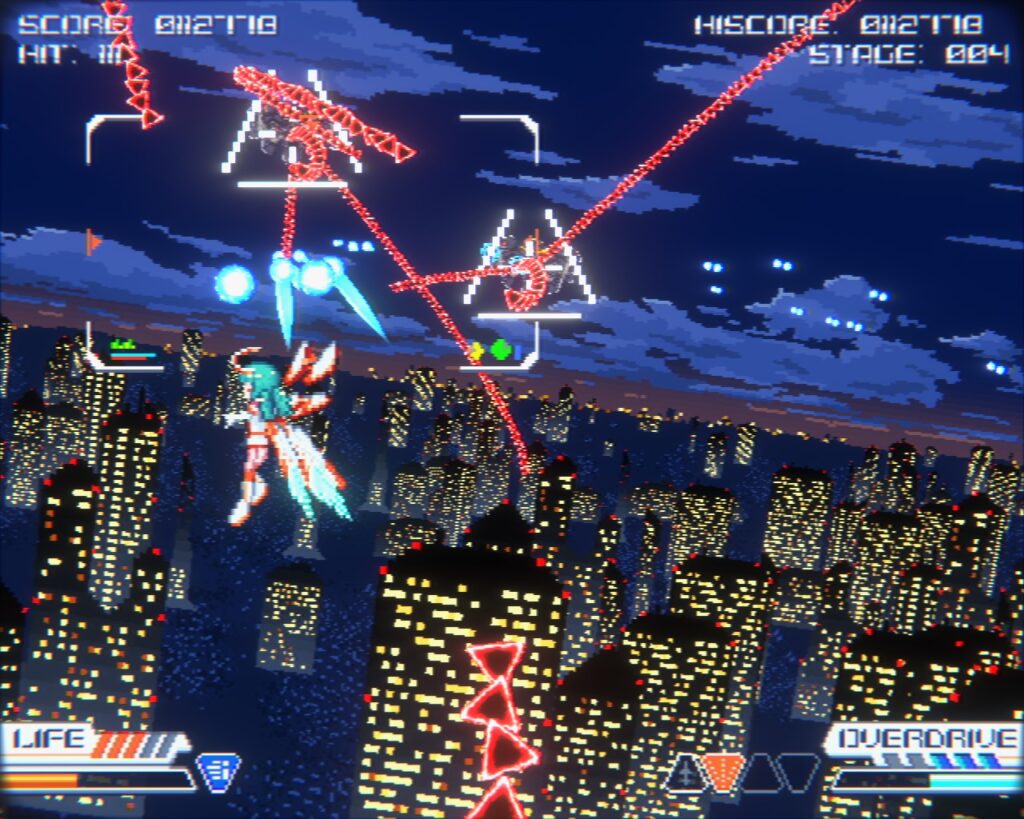
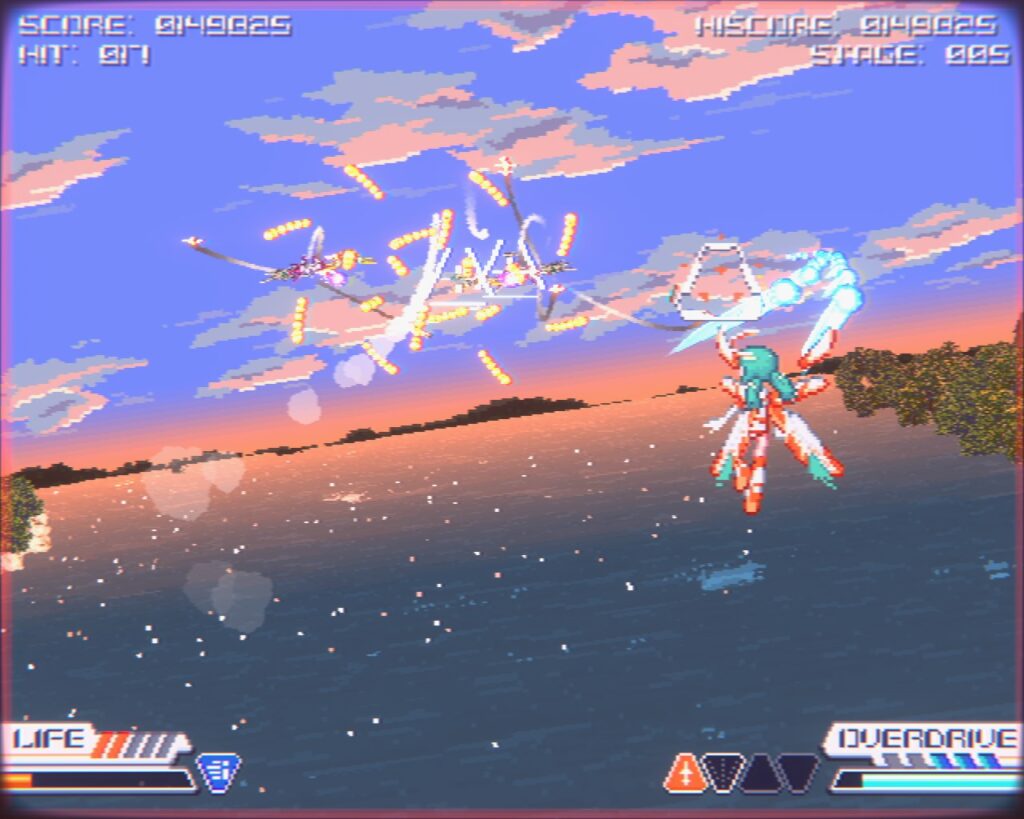
However, the game is too awkward playing on a Playstation-style controller (I have a Logitech F310), but if you’ve played the game on the Saturn then an 8BitDo M30 Saturn-style retro gamepad works exactly as you’d expect. After nearly 3 decades of playing RSG, I know the buttons by heart and I was expecting that I’d have to configure the buttons to get it to feel normal to me. It turns out that it wasn’t necessary at all!
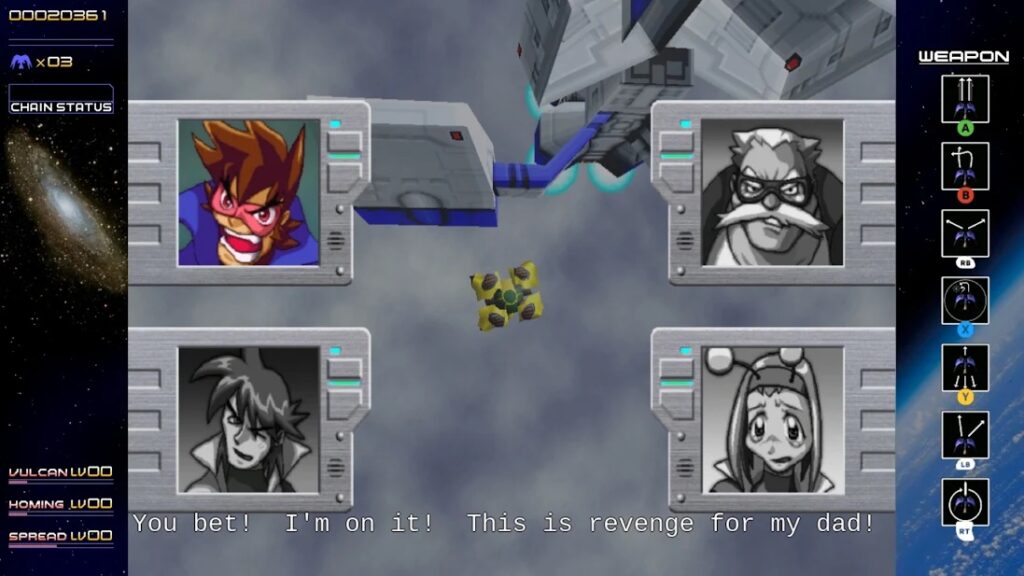
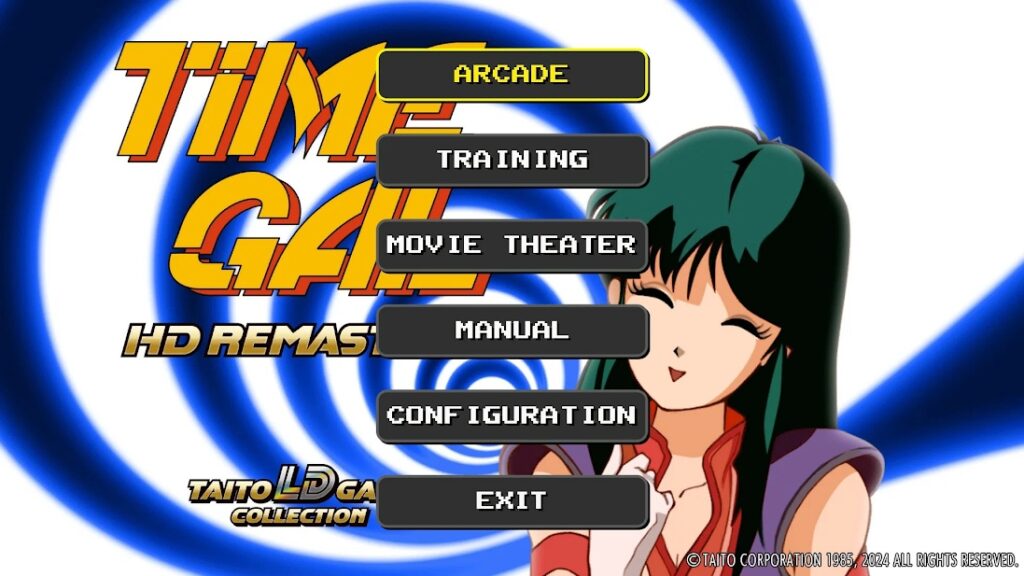
I’ve tried this M30 controller out on many games and even when Steam says that the controller may not work, it actually works fine most of the time. So this is great news as it works on nearly all of the shmups I’ve played it on so far, as well as Saturn games I own that I’ve repurchased on Steam. King of Fighters, Metal Slug, Time Gal, Gunbird, Twinkle Star Sprites, Gradius Origins and many other games.
Unfortunately, not all of the Saturn Tribute (“S-Tribute”) games by City Connection do not automatically support the M30, which is a real shame. Elevator Action Returns, Layer Section and Cotton Boomerang work with this controller, but unfortunately Cleopatra Fortune and Metal Black do not. I haven’t tried reconfiguring the Steam Input on such games yet.
I bought several discounted games on Steam’s summer sale, which is unfortunately now over. (Although it’s probably for the best as I already have so many games as it is.) I mostly bought a lot of shmups and other retro games.