December 2013
The funny thing about this model is that I didn't really intend to buy it, originally. I had my eyes set on building the MPC A-Wing Fighter. After landing an auction of one on YAJ, I was shocked at how completely ridiculous the pilot figure for that model was. MPC obviously neither was given the designs for the A-Wing pilots from Lucasfilm nor did they attempt to obtain source material. Regardless, they didn't even try to make the pilot figure look genuine. They could have at least sculpted an X-Wing pilot. The pilot figure is simply half-assed and not even to scale for the A-Wing's cockpit.
So asking around on the Starship Modeler forum about this absurdity, I was told that the pilot figure that came with MPC's TIE Interceptor was actually much more accurate to the A-Wing pilot's design. So again, MPC clearly either did not know what they were doing, or they simply just didn't care. Maybe they just figured that people would buy the model regardless of accuracy.
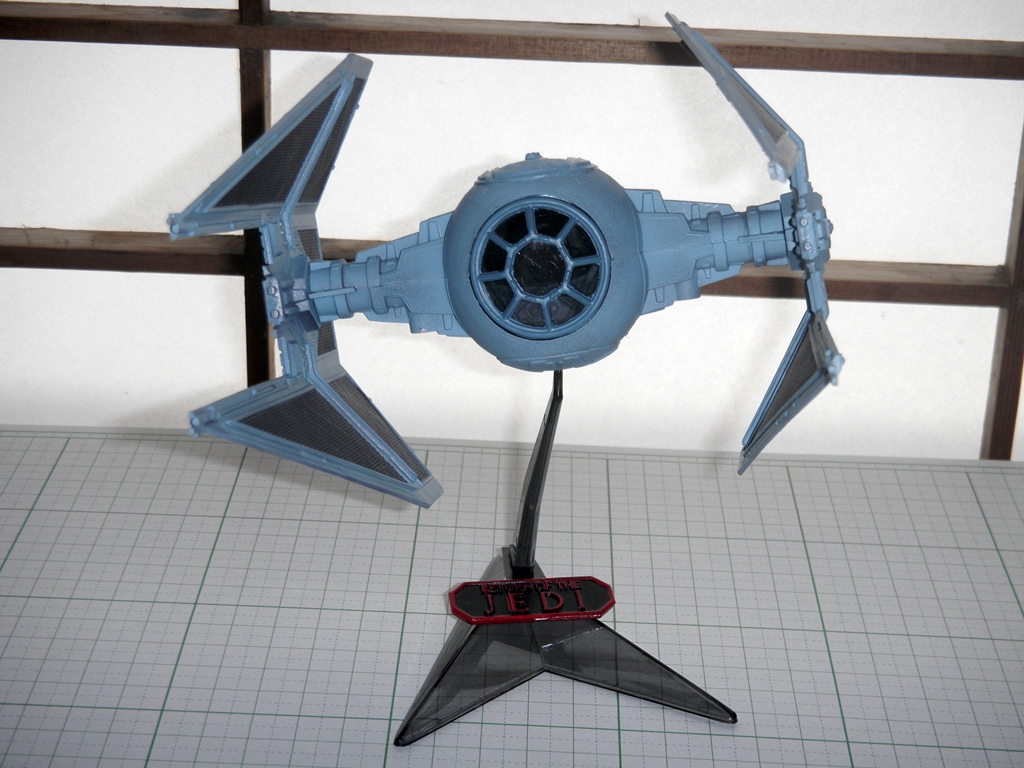
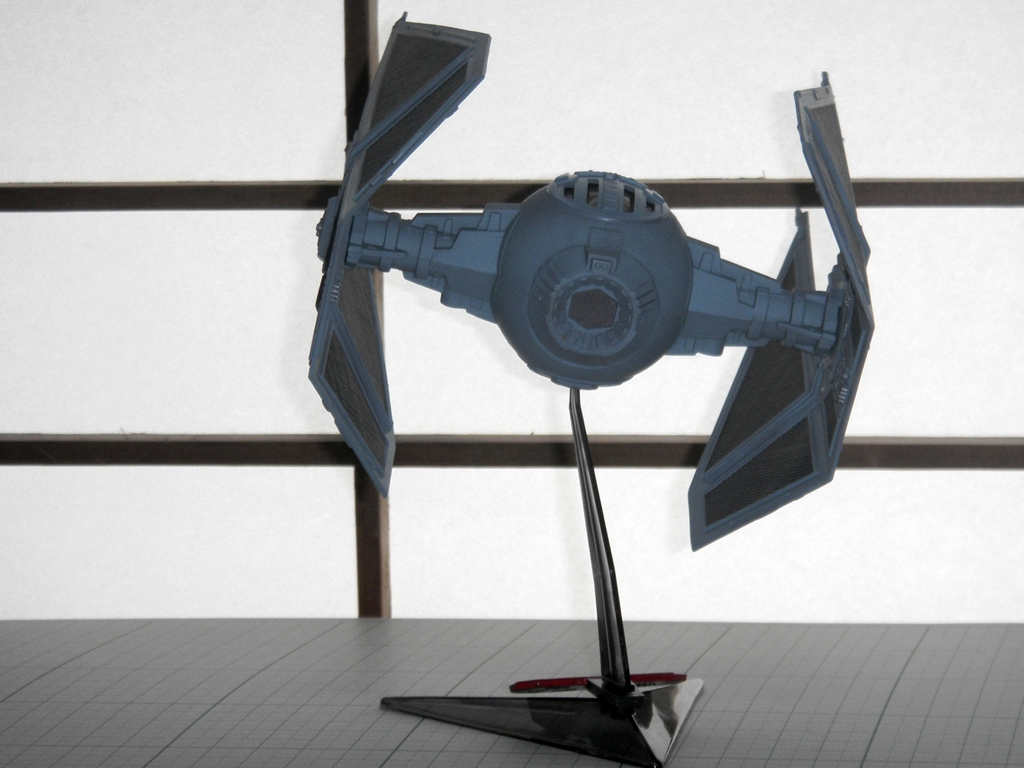
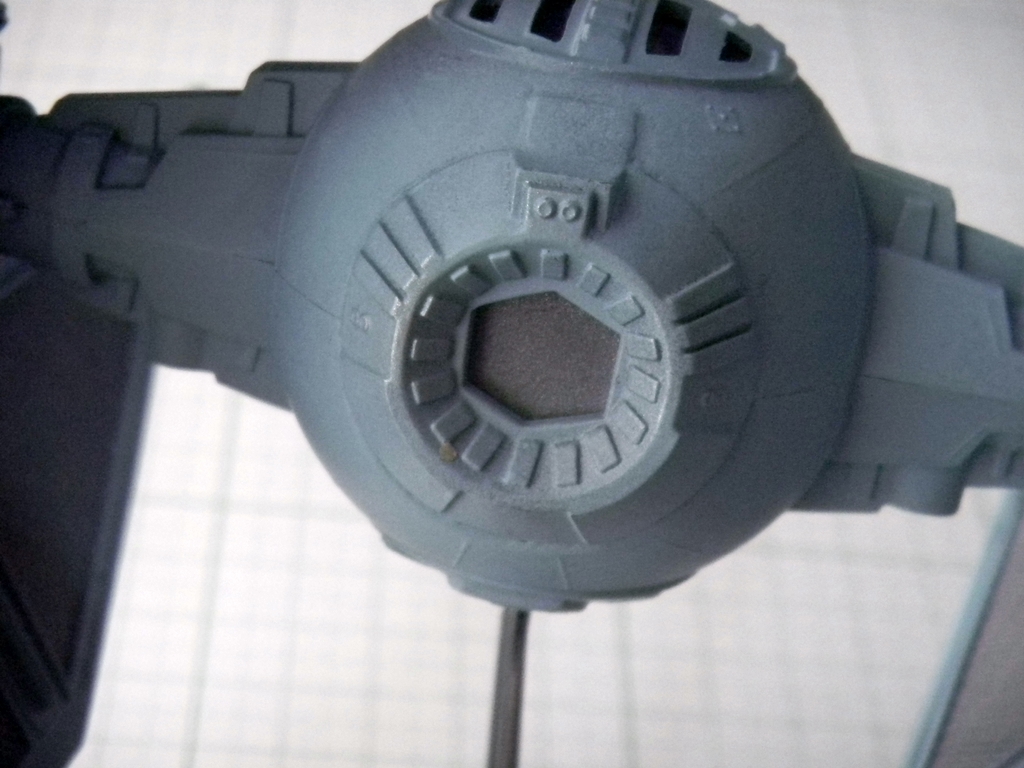
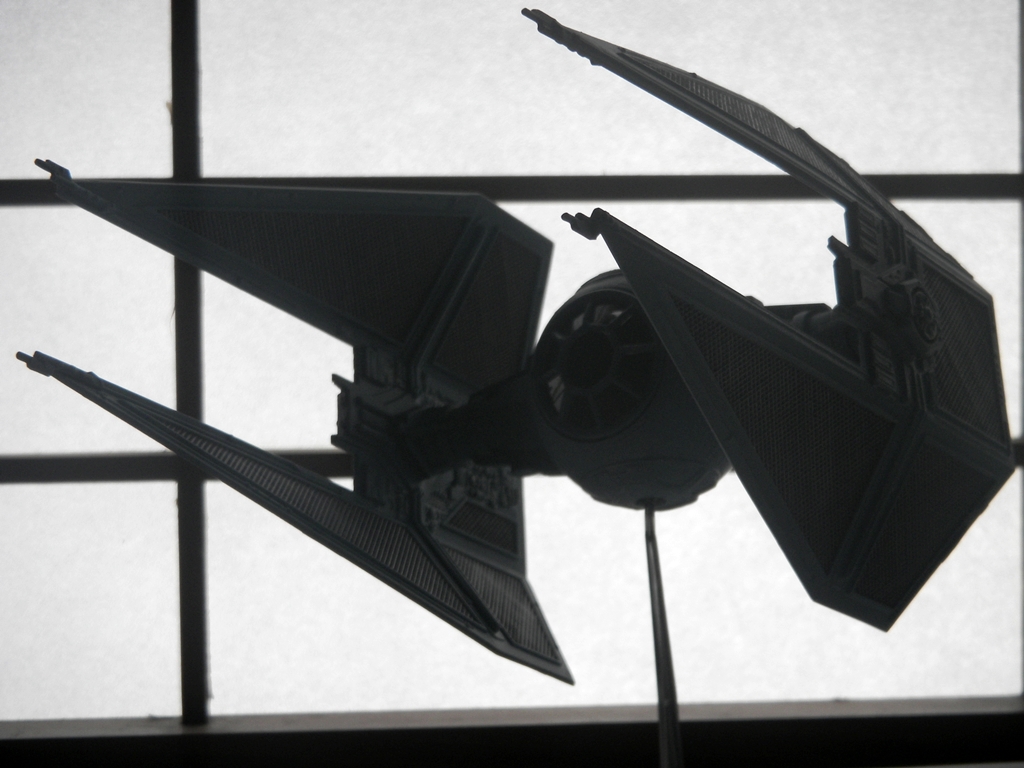
Well, speaking of accuracy, this TIE Interceptor model is fairly accurate, despite some flaws. The top hatch is actually not movable, and instead MPC thought that the back of the cockpit "ball" was where a hatch should be. I read somebody's post that originally, this may have been the idea behind the TIE Fighters, however with the Kenner TIE Fighter toy's hatch being on top, that changed the way that the hatch was conceived. Well, either way, this TIE Interceptor model has a hinged back door that looks pretty lousy if left alone. I glued and puttied it into place. I think I did a fairly good job at sanding the puttied area to make it look better.
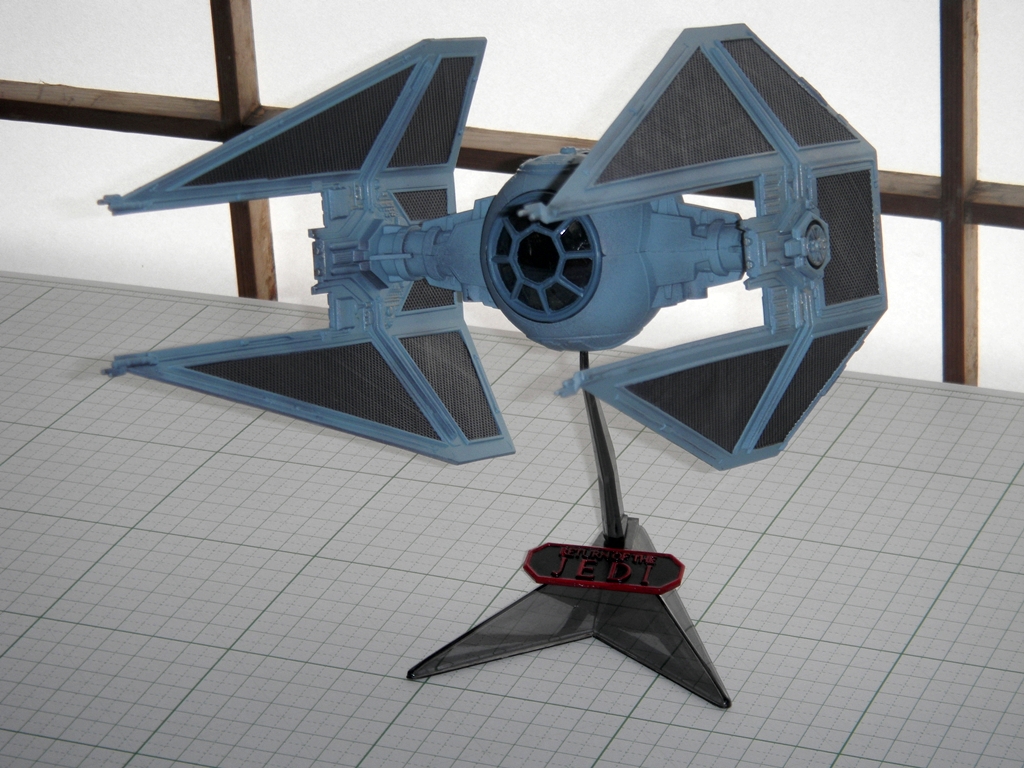
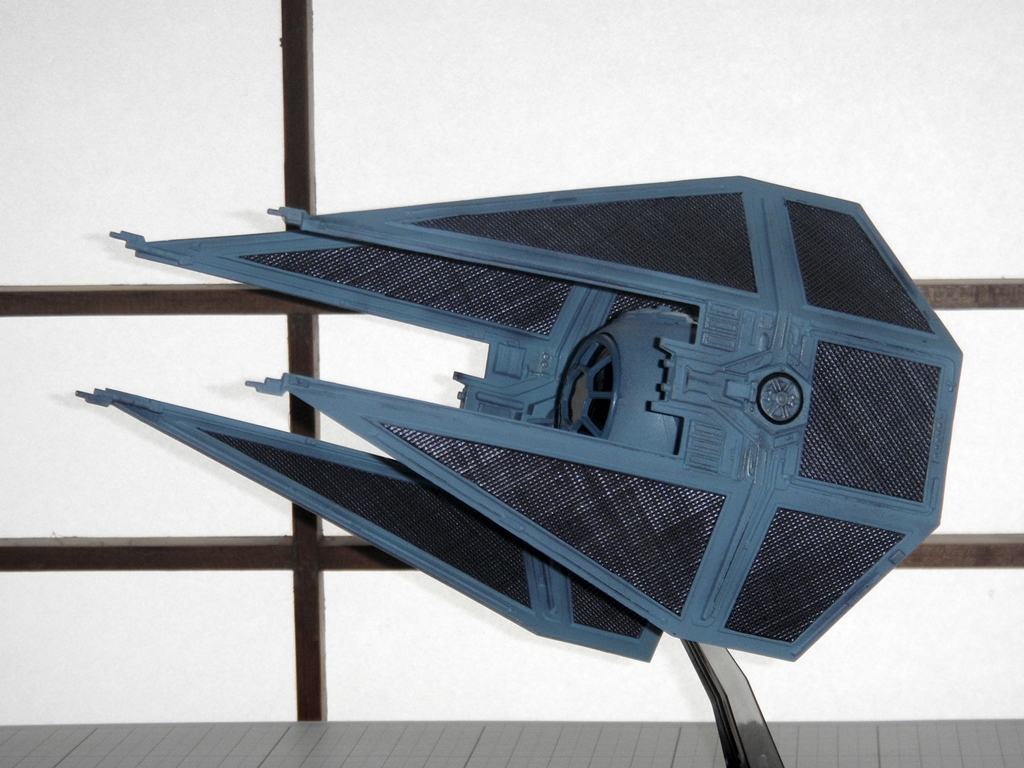
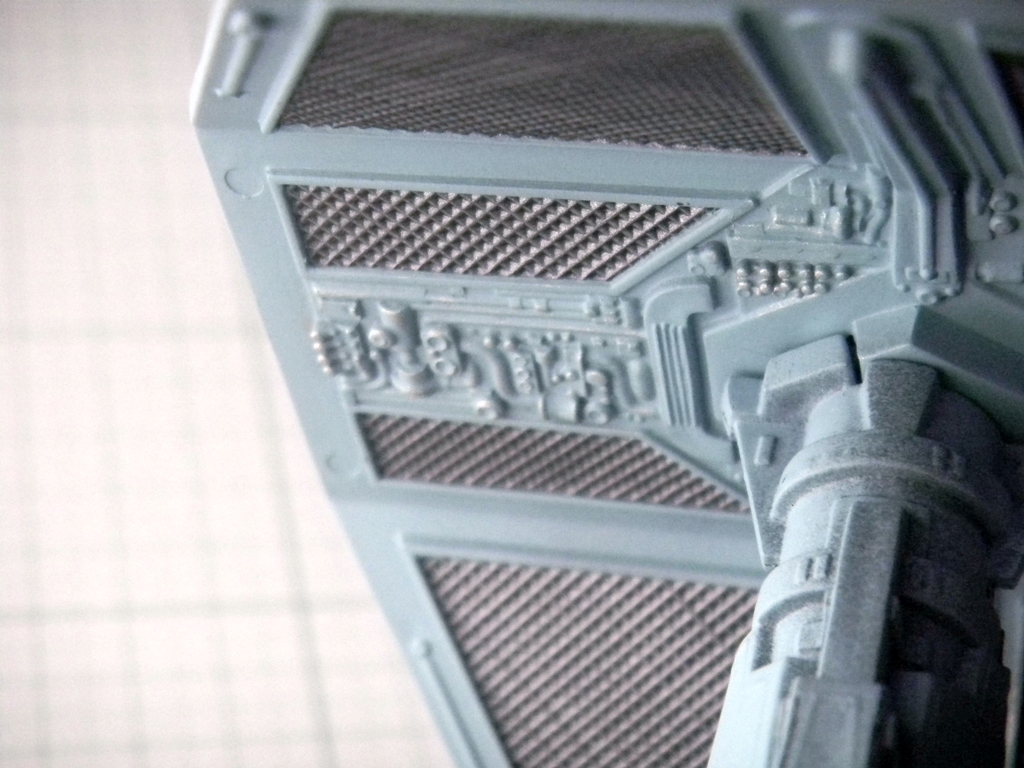
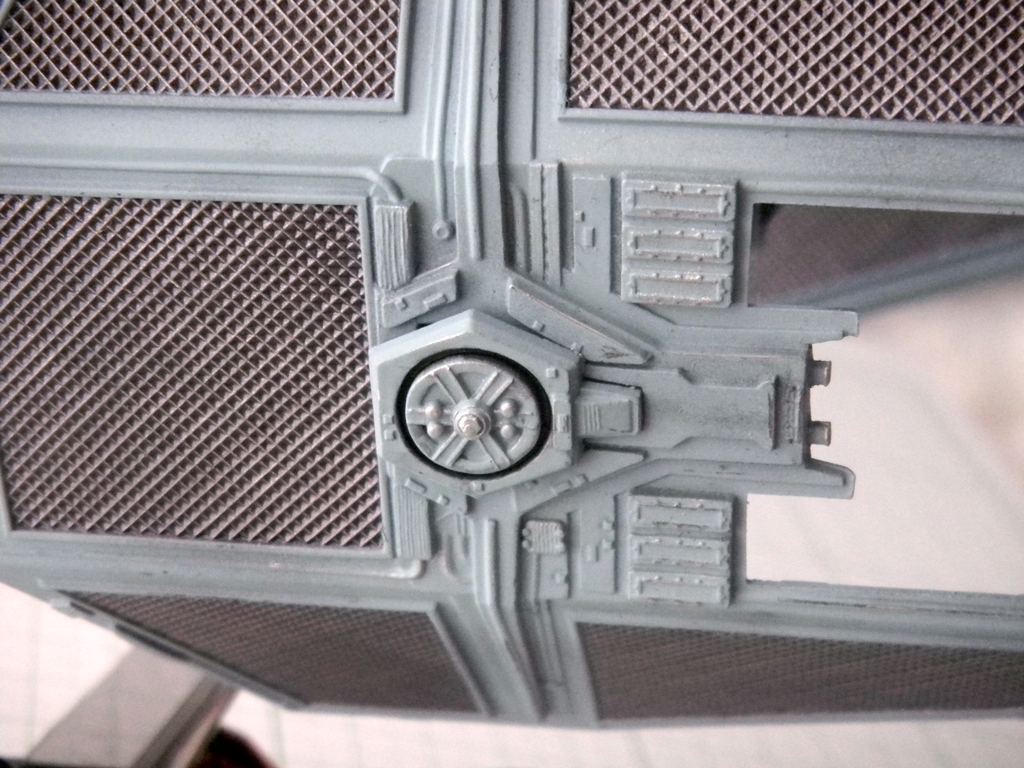
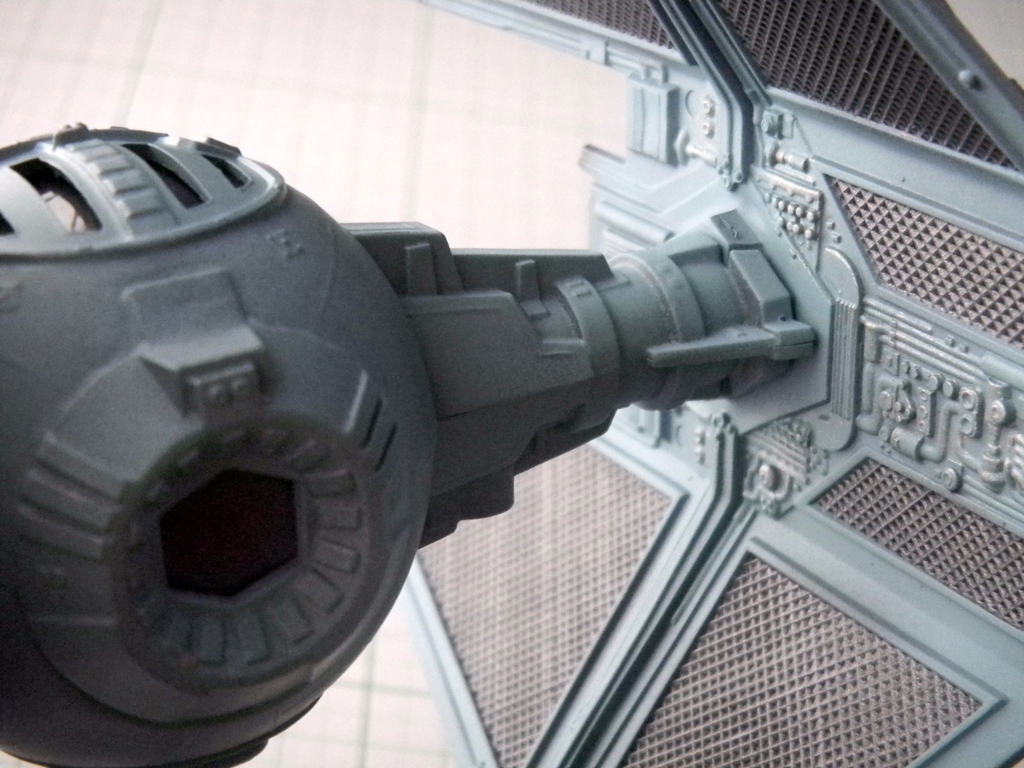
Other points of inaccuracy are the lack of laser cannons under the cockpit window (although I don't think it was ever established that those are actual cannons or just the mounts of cannons since that is where they are located on the regular TIE Fighter) and the lack of detail to the sides of the cockpit window. Other than that, there's some detail missing in the middle area of each solar panel (the actual Interceptor detail is a bit wider than what you get with this model). The nice thing is that the solar panels come molded solid and that there are few pieces to assemble.
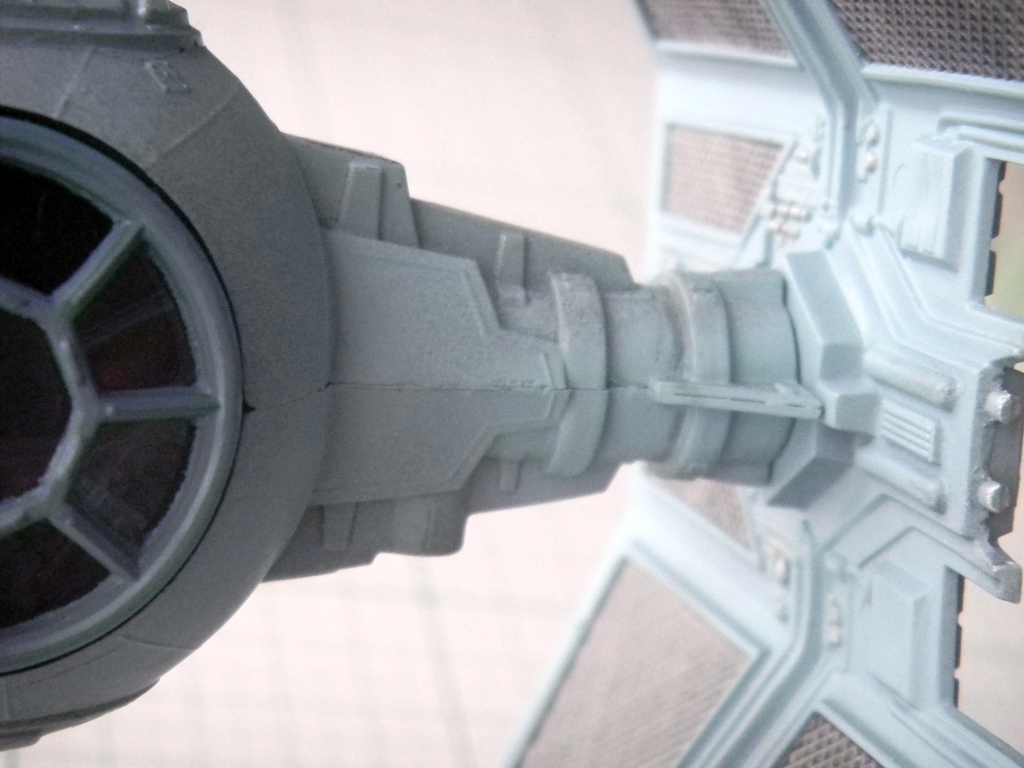
First, naturally, was priming the parts. The interior of the cockpit was to be matte black. I had Tamiya TS-6 Matte Black, so that was easy. The interior of the cockpit was not really detailed, but it wouldn't be very visible after assembly anyway. Furthermore, the clear parts were dark tinted. I just used some Testors Silver to highlight some buttons and used Posca pens to bring out some color.
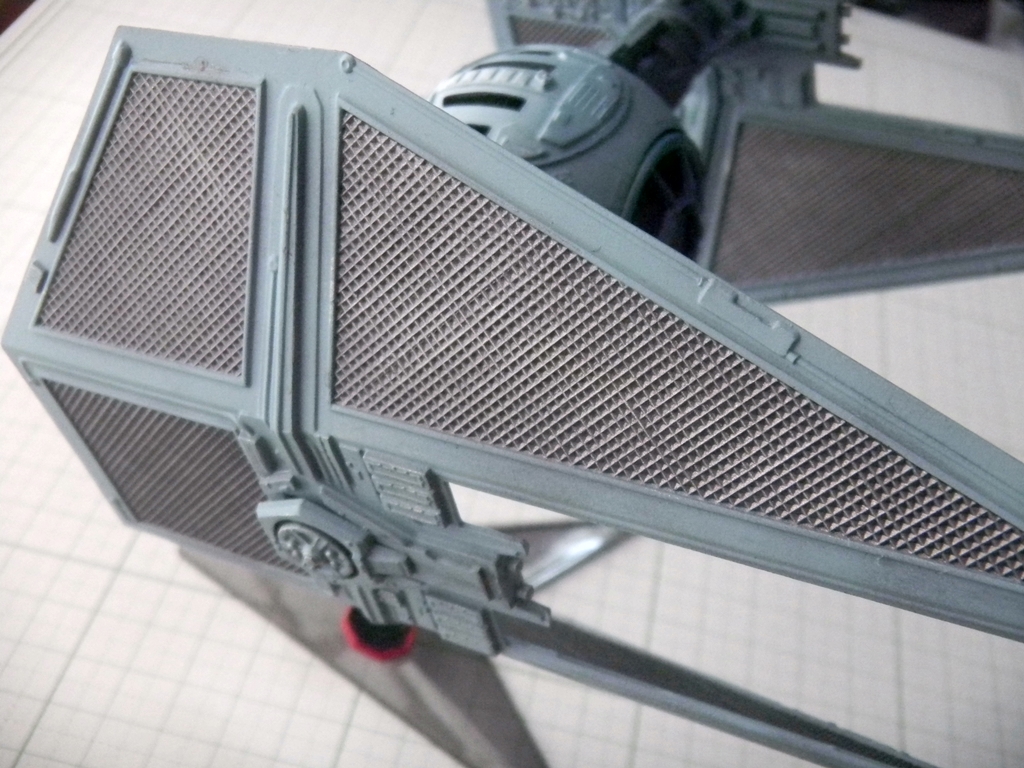
I painted the solar panels Tamiya TS-38 Gun Metal (spray can) because it was a dark metallic gray. The instructions called for "slate gray," but I happened to have Gun Metal on hand. It was also just before I bought my airbrush in September. This would be the dark color of the solar panels, so my plan was to paint the whole parts this color, mask off these sections, and then spray on the body color. But it turns out that MPC failed to specify the main body color. It just says to look at the box cover for a reference. Hey MPC, why didn't you look at the box cover when you designed this model? Then you would have made a more accurate kit. Well, whatever. Both Fine Molds's TIE Interceptor and Darth Vader's TIE Advanced model kits call for Mr. Hobby C74 Air Superiority Blue for the body color. (Either that or a complex concoction of Tamiya's acrylics.) For a while, before I bought my airbrush, I'd decided to paint the model with Tamiya's AS-5 Light Blue because it was a spray can, a blue-gray, and also because I already had it, leftover from the Gradius Vic Viper model. I masked off the circular front canopy and painted it with the Tamiya spray can.
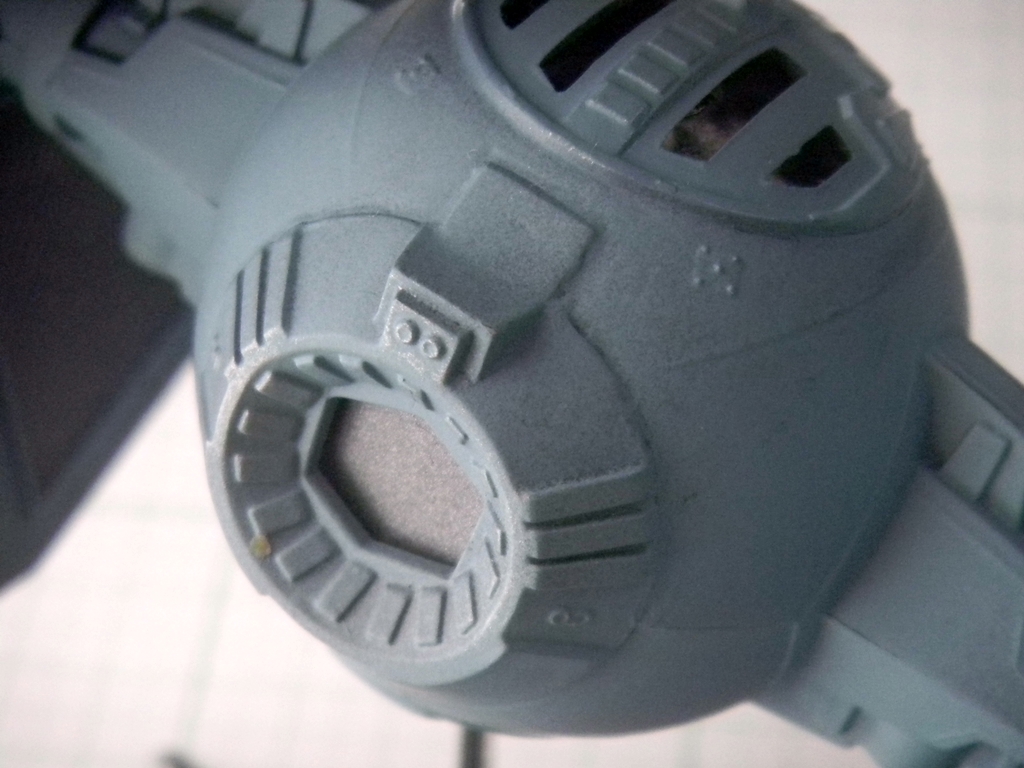
The dilemma I had was that the top hatch is molded together with the cockpit. The Fine Molds TIE kits have this hatch as a separate clear part, which you can mask off and paint. Piece of cake. However on this MPC kit, the "glass" part is separate and is attached to the underside. I knew that the two main halves of the body needed to have the seams worked on, sanded and puttied. But I couldn't just paint the model it all at once, because I would need to remove the top "glass" clear part before painting the hatch, and then replace it once the masking tape was removed. But I couldn't do this after the seams were filled! After all, this clear part doesn't sit flush with the hatch, so masking it while in place would have been difficult. I wanted to protect the clear top as well as the black interior of the cockpit. So, I masked the hatch from underneath and sprayed the top half with the Gun Metal. I knew that if I didn't, the hull color would be a bit lighter than that of the wings. Or, solar panels, I mean.
Anyhow, by this time I had my airbrush, so when I finally got around to this step, I'd already bought the Air Superiority Blue paint. I painted just this top part of the body with this. It was my first time painting with my new Wave airbrush! After the paint dried, it was time to attach the clear parts and put everything together. Having the cockpit interior sit inside the main body proved to be a little tricky. The canopy had to be attached to it, and you have to cradle it in there just right or else it will be off-center. I then stuck the halves of the hull together with glue. The seams required sanding and puttying. I then masked the top hatch as well as the canopy and painted the completed piece with the Gun Metal spray can. After that, it was just a matter of painting everything with the Air Superiority Blue.
If this all sounds like it was too much work, let me reiterate my hesitations. The top clear part does not sit flush with the hatch part, and properly painting it would require more masking than I thought was possible once construction was completed. I was also weary of the possibility of that clear part falling off and rattling around inside the model after everything has been puttied and glued together! Additionally, I'd decided to leave the cockpit canopy a different color than the rest of the body.
So after airbrushing, I noticed that there were a few areas where the application wasn't perfect, and the Gun Metal showed through slightly. I decided that to leave this alone, since it added a bit of flavor. At the same time, I didn't want to weather the model like I was weathering the Galaga starfighter model I was simultaneously working on. Traditionally, Imperial craft are not beat up and weathered like the "Rebel scum" craft are, since the Empire has the funding, personnel, and resources to upkeep their machinery more than the Rebel Alliance does. So I only did a very light application of drybrushing Testors Steel enamel in some places, and I applied some black artist's chalk very sparingly. Lastly, I spray painted the stand's "Return of the Jedi" plaque with Tamiya TS-40 Metallic Black and painted the lettering and border with Testors Red gloss enamel.
What's nice about this kit is that since it is a "Snap Kit" (although I certainly recommend gluing and puttying where necessary), the solar panels can be easily removed for storage.


 Go back to the model gallery