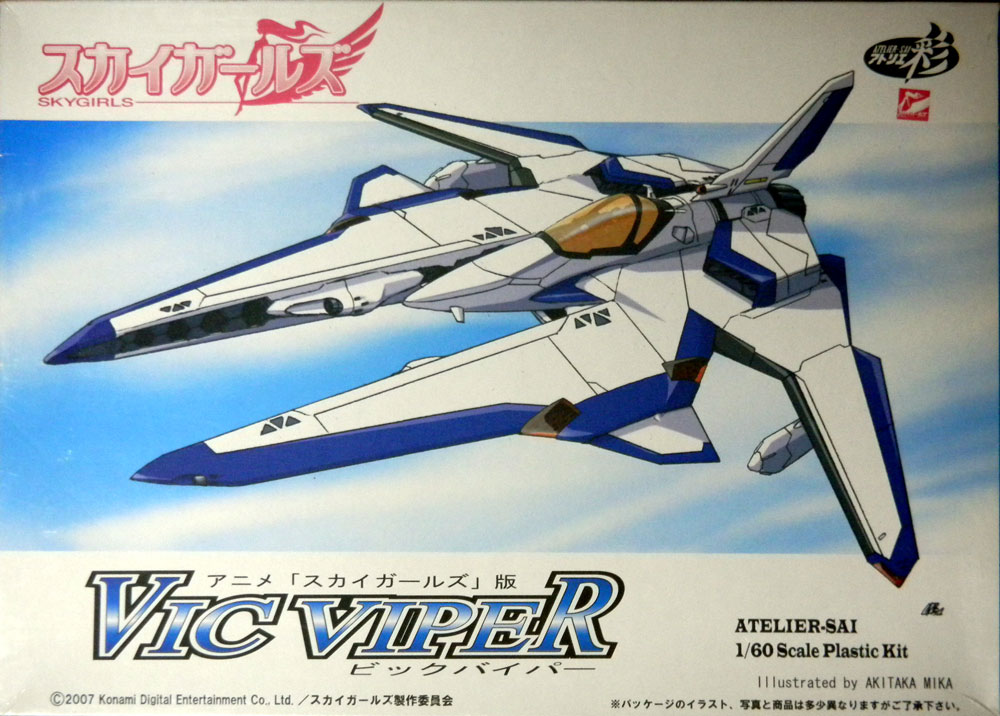
Vic Viper (Sky Girls version)
August 2012
The Vic Viper from the Gradius series has been featured in different anime, one being the boring Sky Girls show. The show features cute, flat-chested adolescent girls who are somehow the only ones who can pilot these completely impractical mecha frames to save the world from some weird stuff that turns out to not be some Evangelion-esque curse from God but actually some evolved super virus or something. While the show didn't really piss me off, it bored me because really relied on the whole moe thing to drive the show. Honestly, I just wanted to see the Vic Viper make an appearance in the show. Fortunately, it is featured rather prominently, at least at the end climax of the show.
Konami commissioned a company called Atelier Sai to produce Vic Viper models first for the version of the ship that appeared in the Sky Girls show, then for those in the video games. Atelier Sai is a company known for making anime figures, and apparently this is apparently their first attempt at producing model kits. They tried to emulate the style of model building that Bandai and Kotobukiya are known for, that being the different colored plastics and stickers so that painting and gluing aren't necessary. Well, these two companies do it very well, but there are many flaws with the Atelier Sai model. This kit has a lot of fit issues and design flaws, and many of them could have been circumvented if they had chosen to not bother going the "no paint necessary" route. The parts don't fit together properly, the plastic is waxy and has a weird eggshell texture that first needs to be sanded, and so on and so on. For fans of the Gradius games who bought this model who've never really put together a plastic model before, this kit will certainly be a challenge to make it look nice.
Since many shmup fans probably bought these Gradius kits but do not know how to make it look nice, I made a series of videos on my YouTube channel as a guide for them. I chose not to use an airbrush or anything fancy like that, and instead tried to put together this kit using rattle cans and as few tools as necessary.
Part 1:
Part 2:
Part 3:
Part 4:
Part 5:
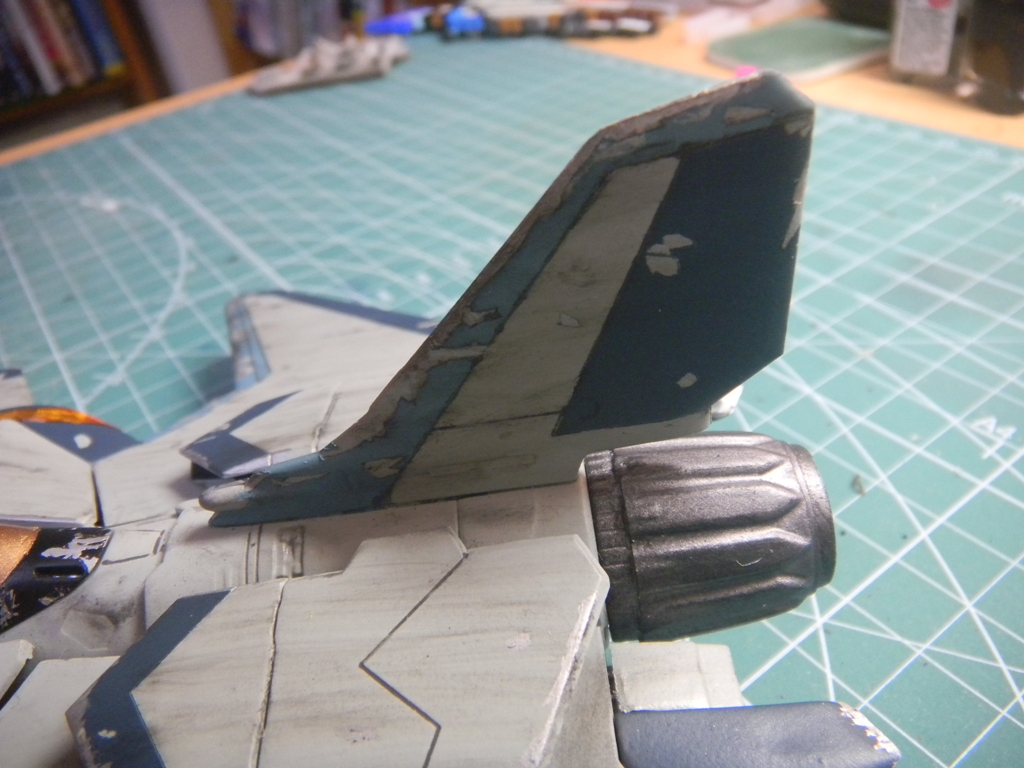
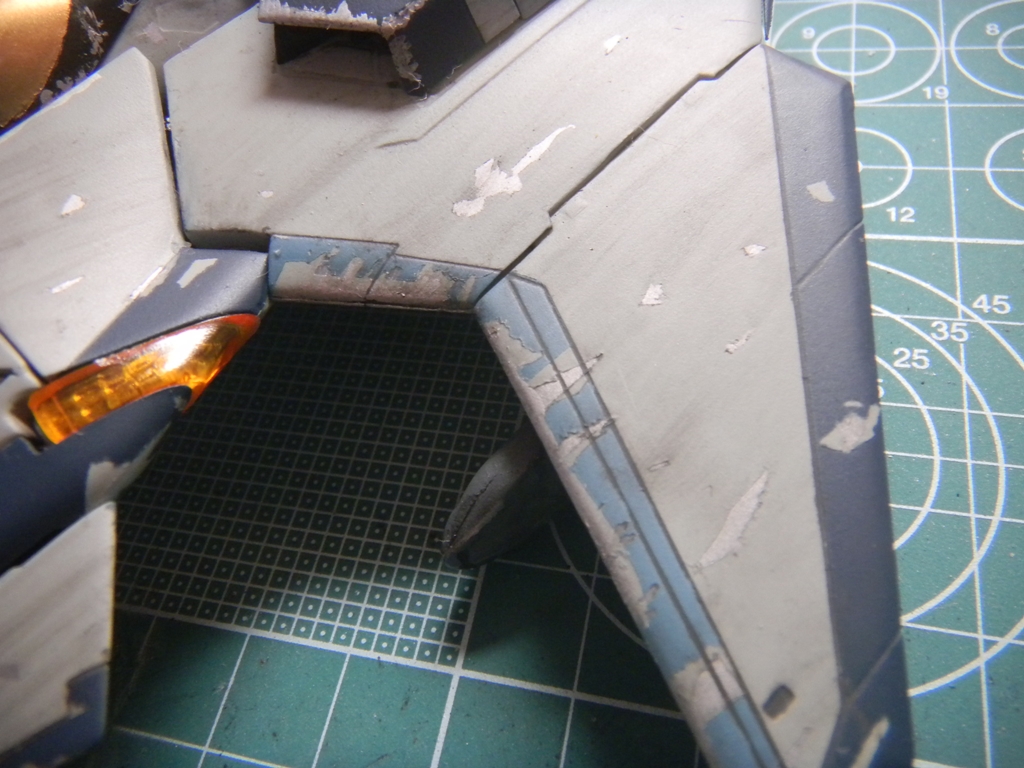
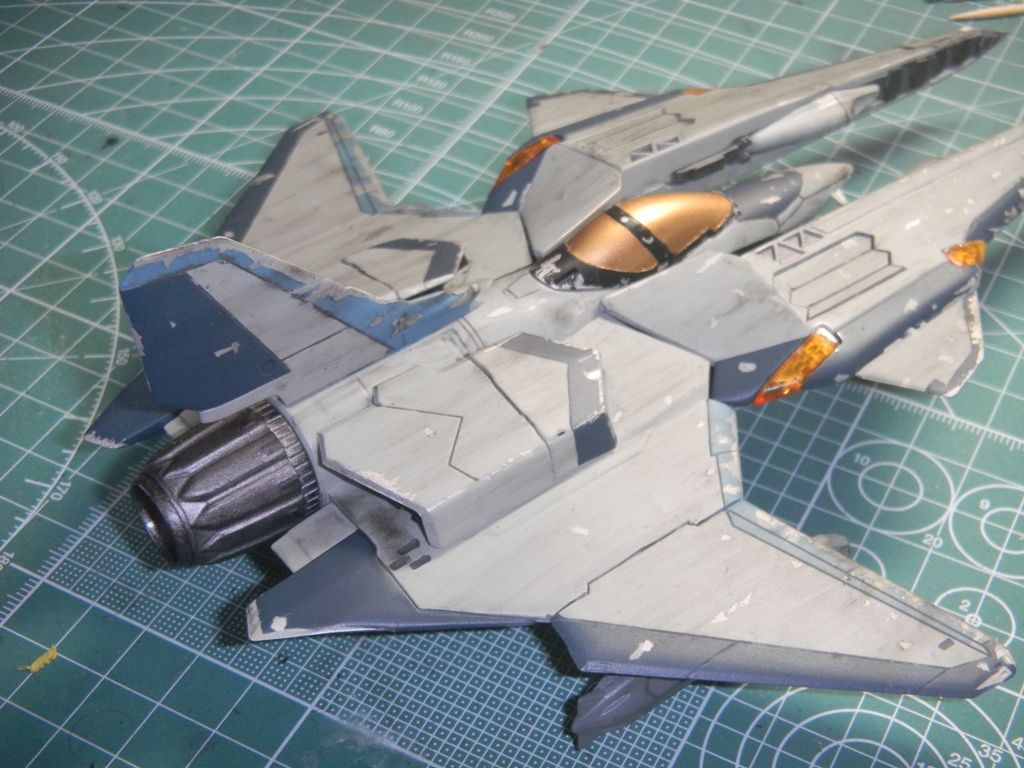
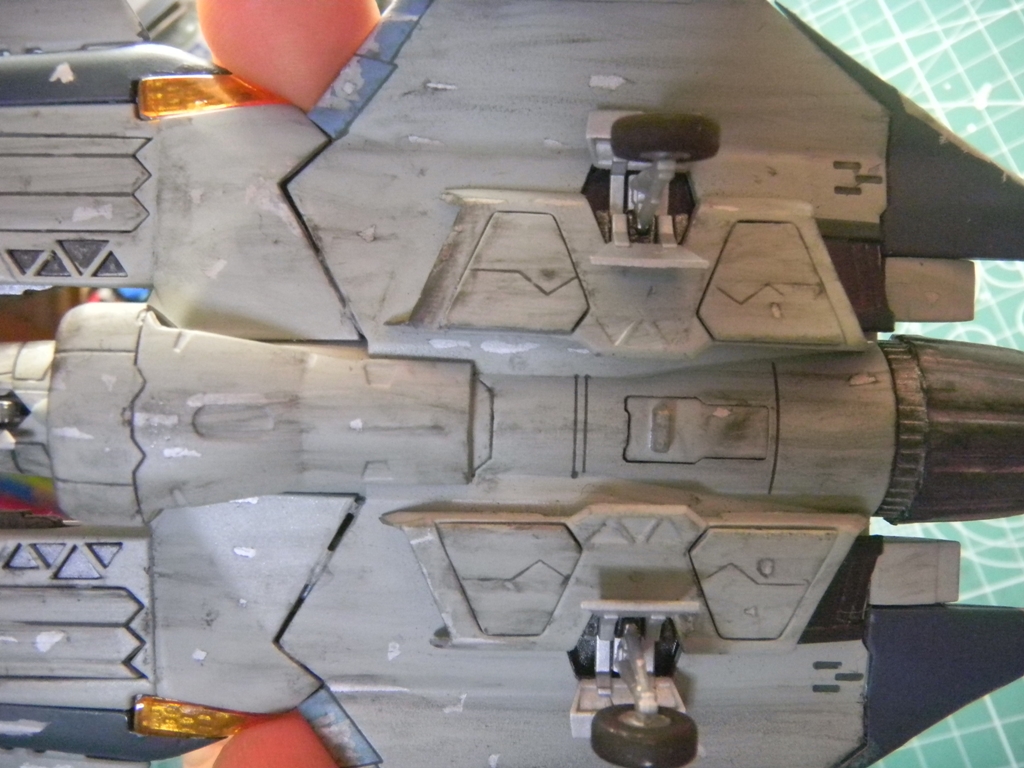
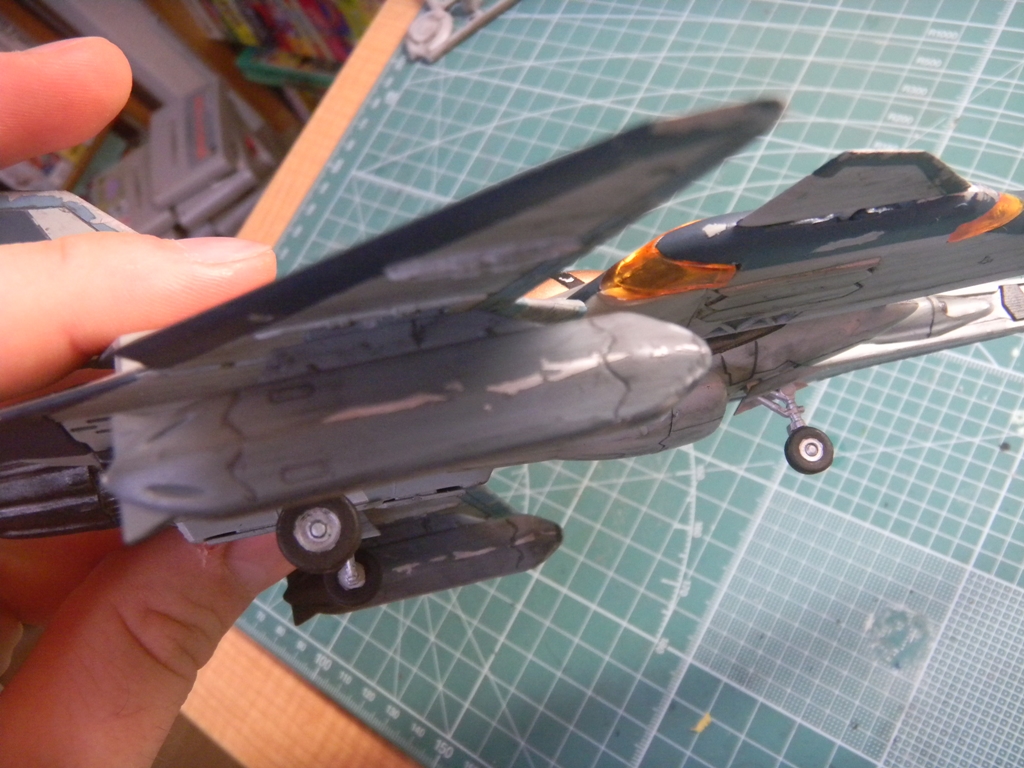
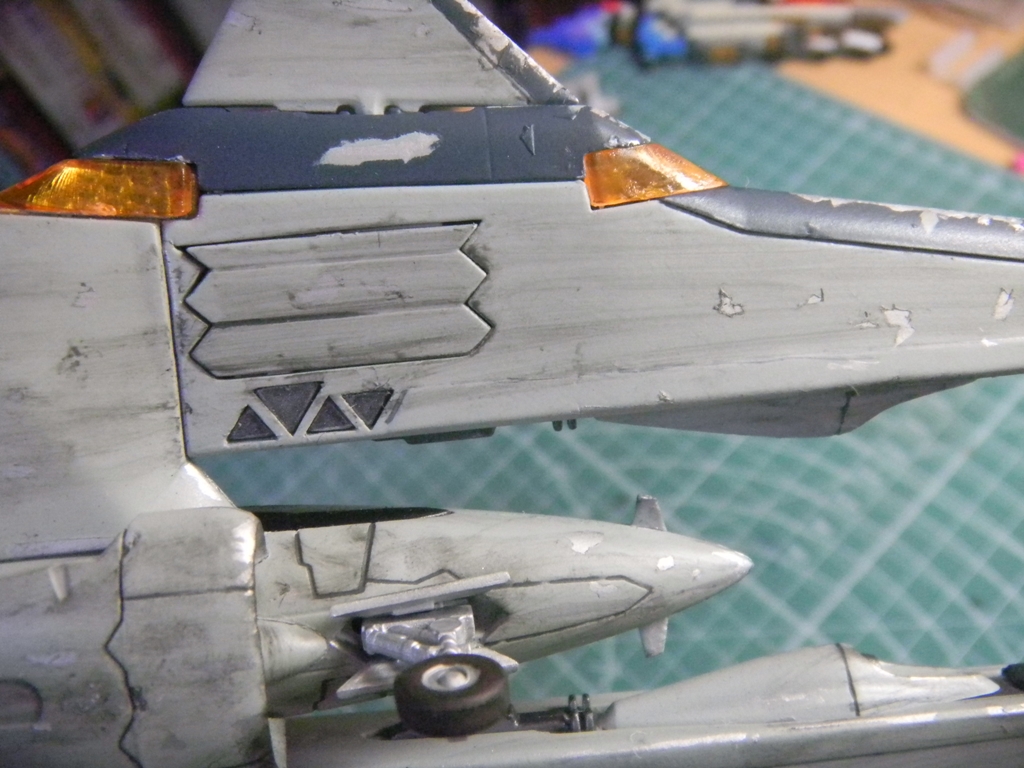
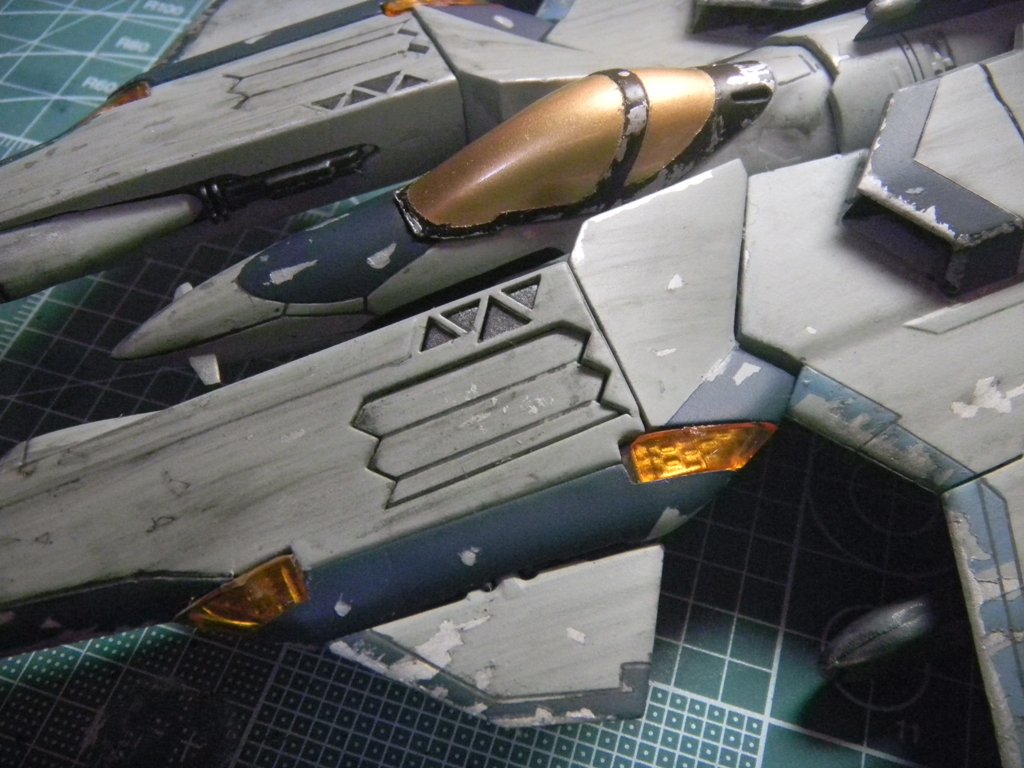
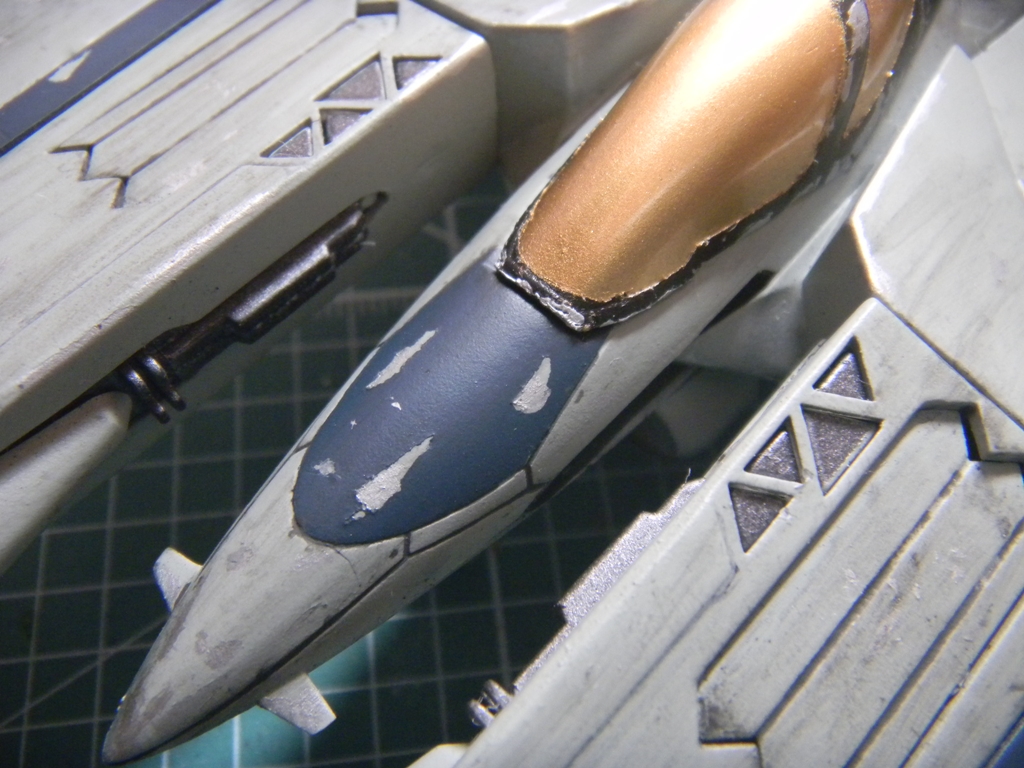
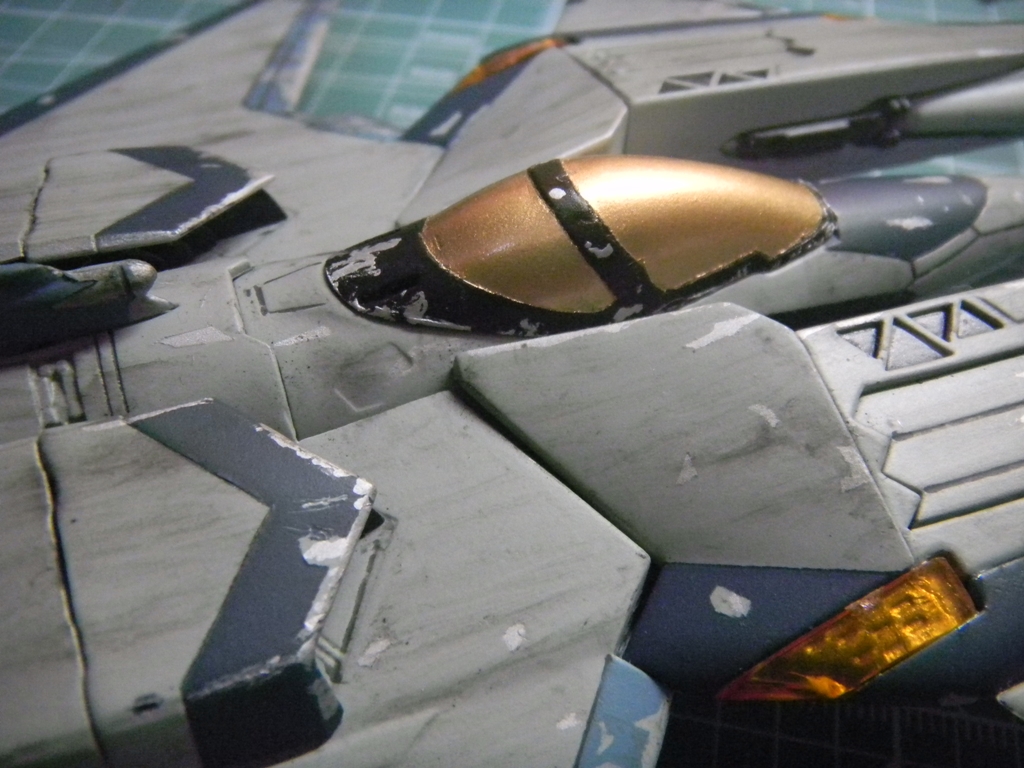
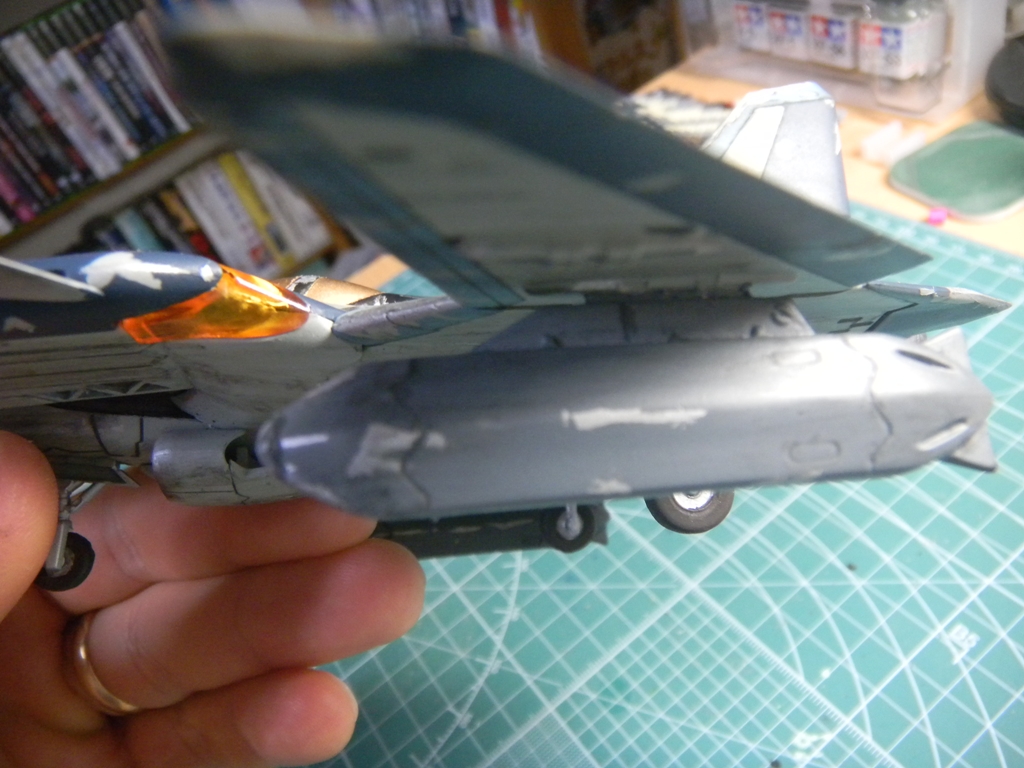
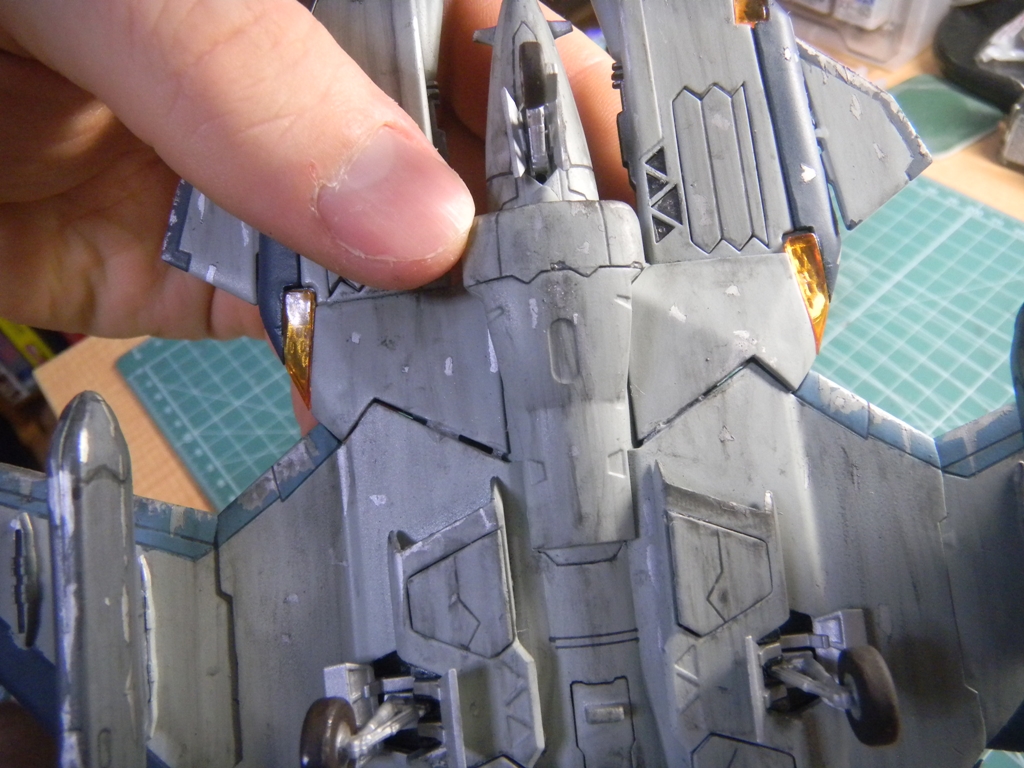
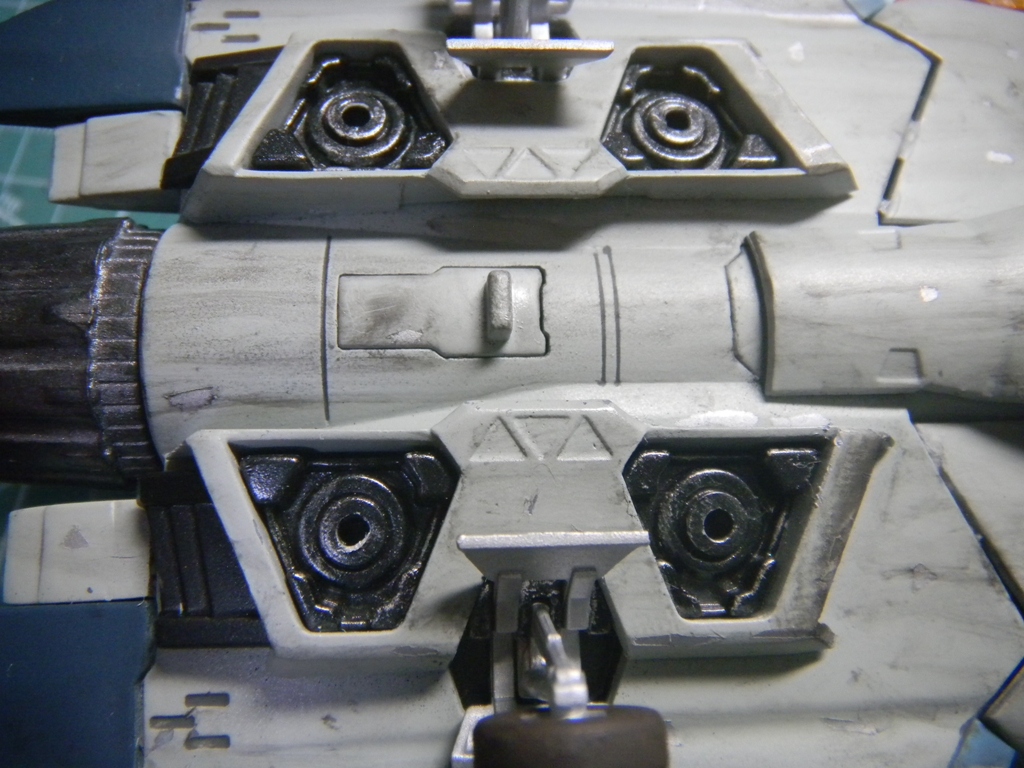
Here is a gallery of the finished result. Please click on the images below for larger views.