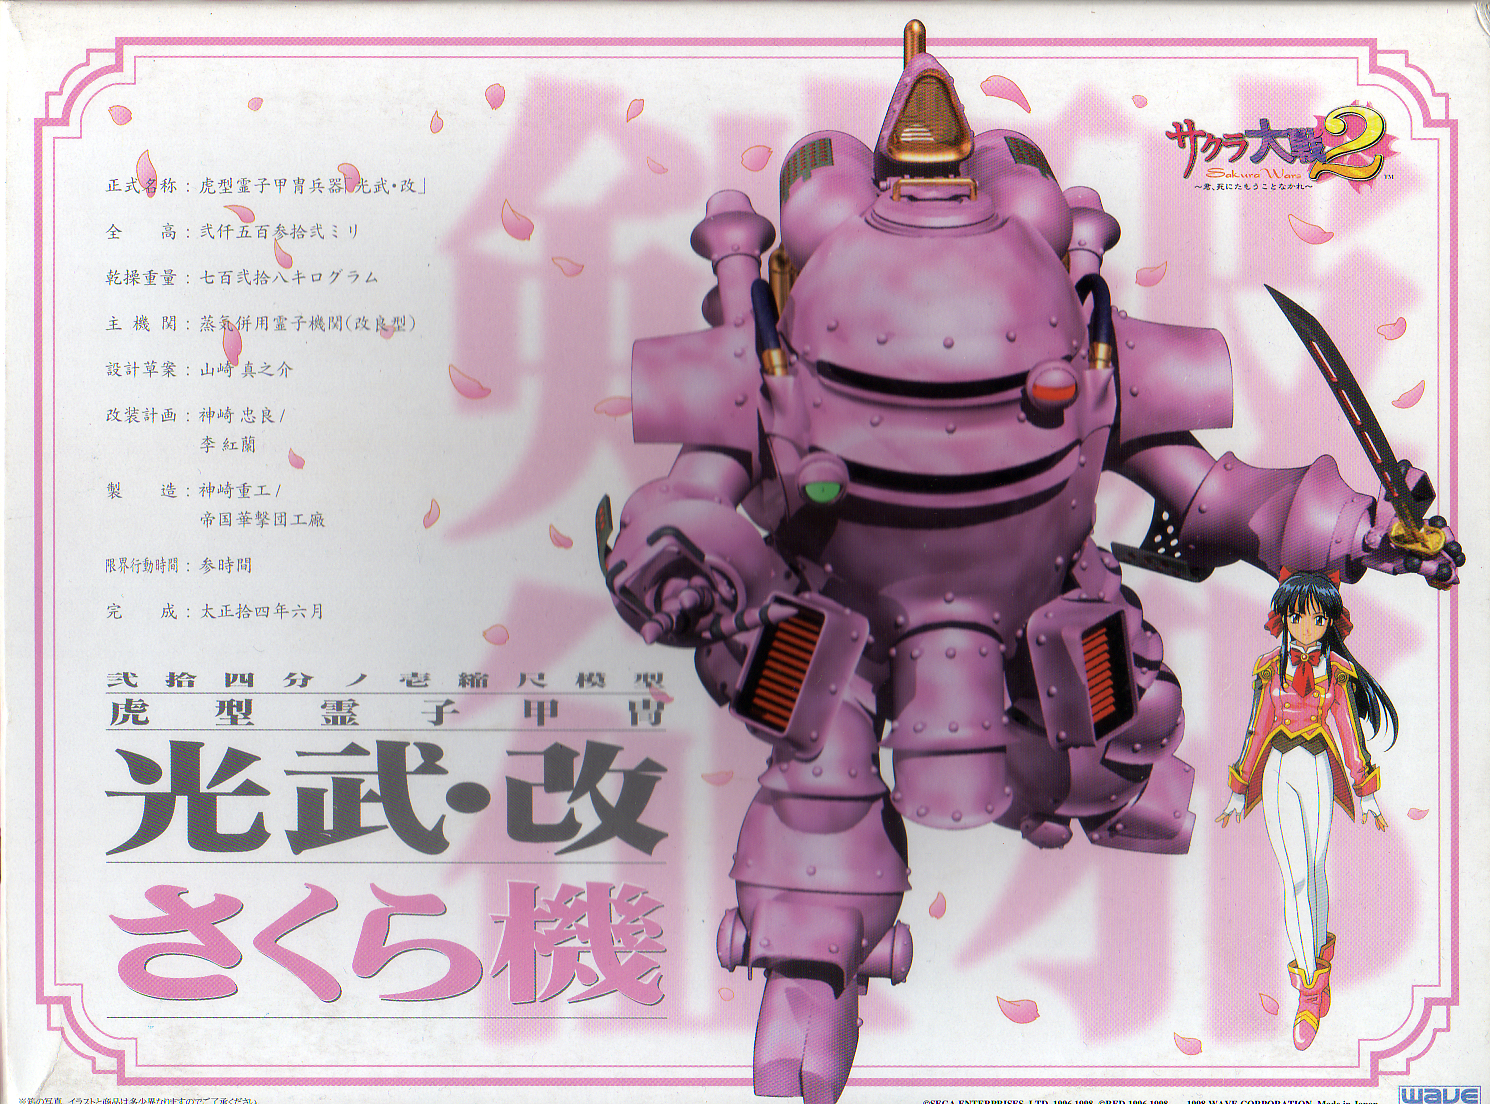
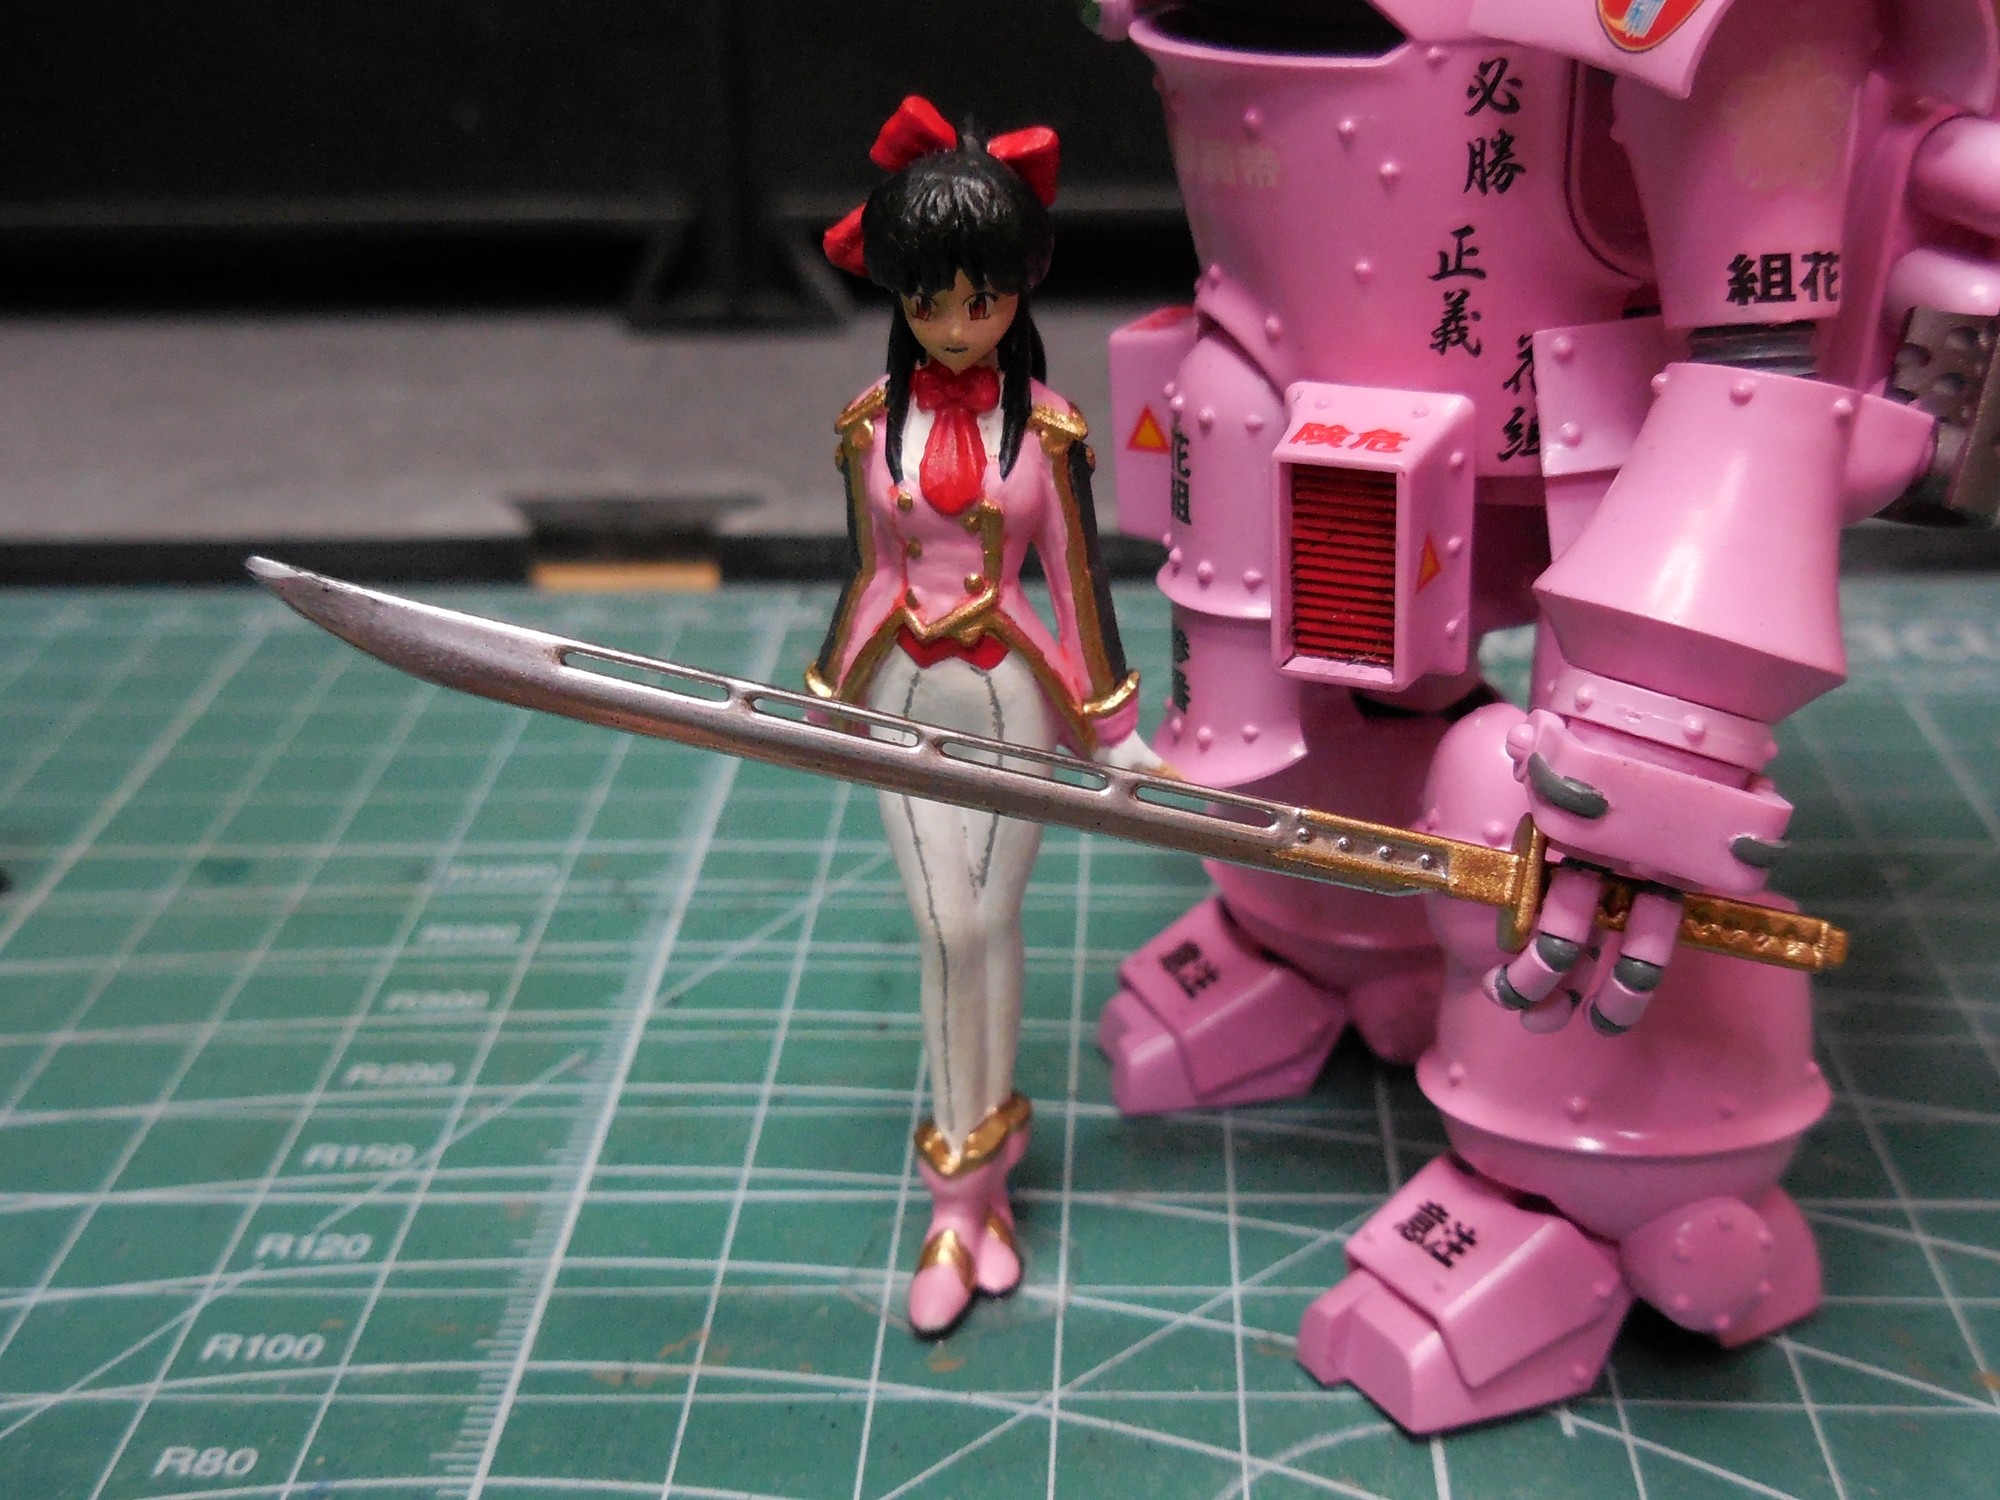
1:24 scale Sakura Shinguji's Koubu-kai from Sakura Taisen 2 by Wave
April 2014
I bought this kit in December 2013 and began working on it in January. It was just too exciting of a subject to ignore, I guess. In the mid-90s, I was enjoying the import gaming scene with Super Famicom and Sega Saturn games. Discovering the Sakura Taisen series was one of the best experiences in import Japapnese gaming for me, and thanks to the translated walkthroughs provided by a guy calling himself Lando or Kayama, this was a fantastic Japanese gaming experience for me.
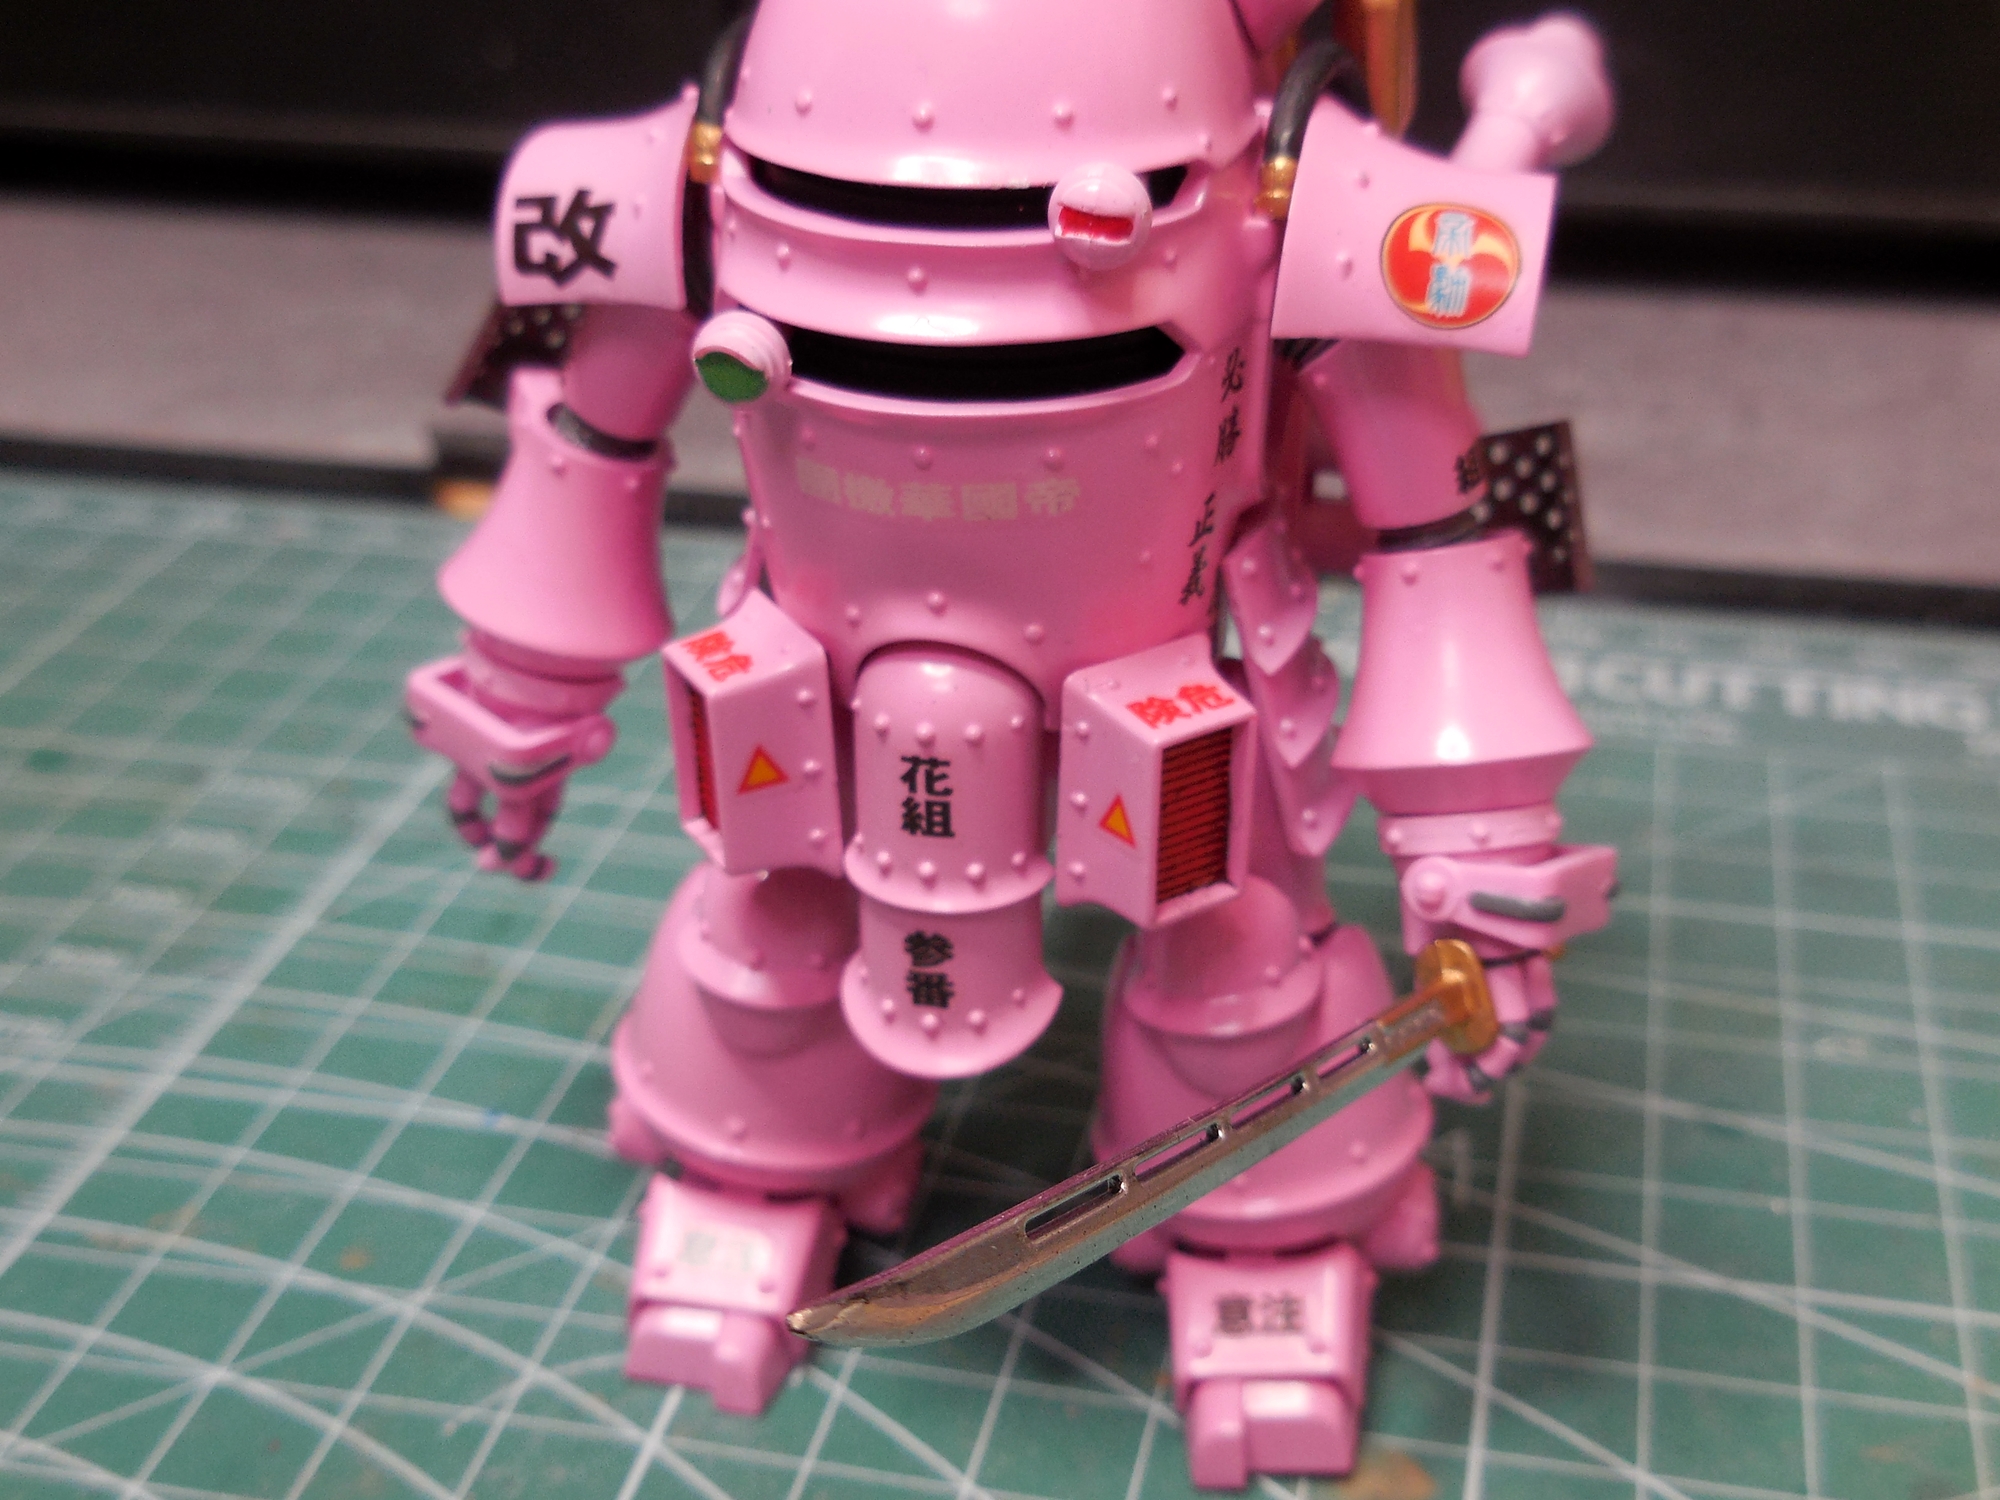
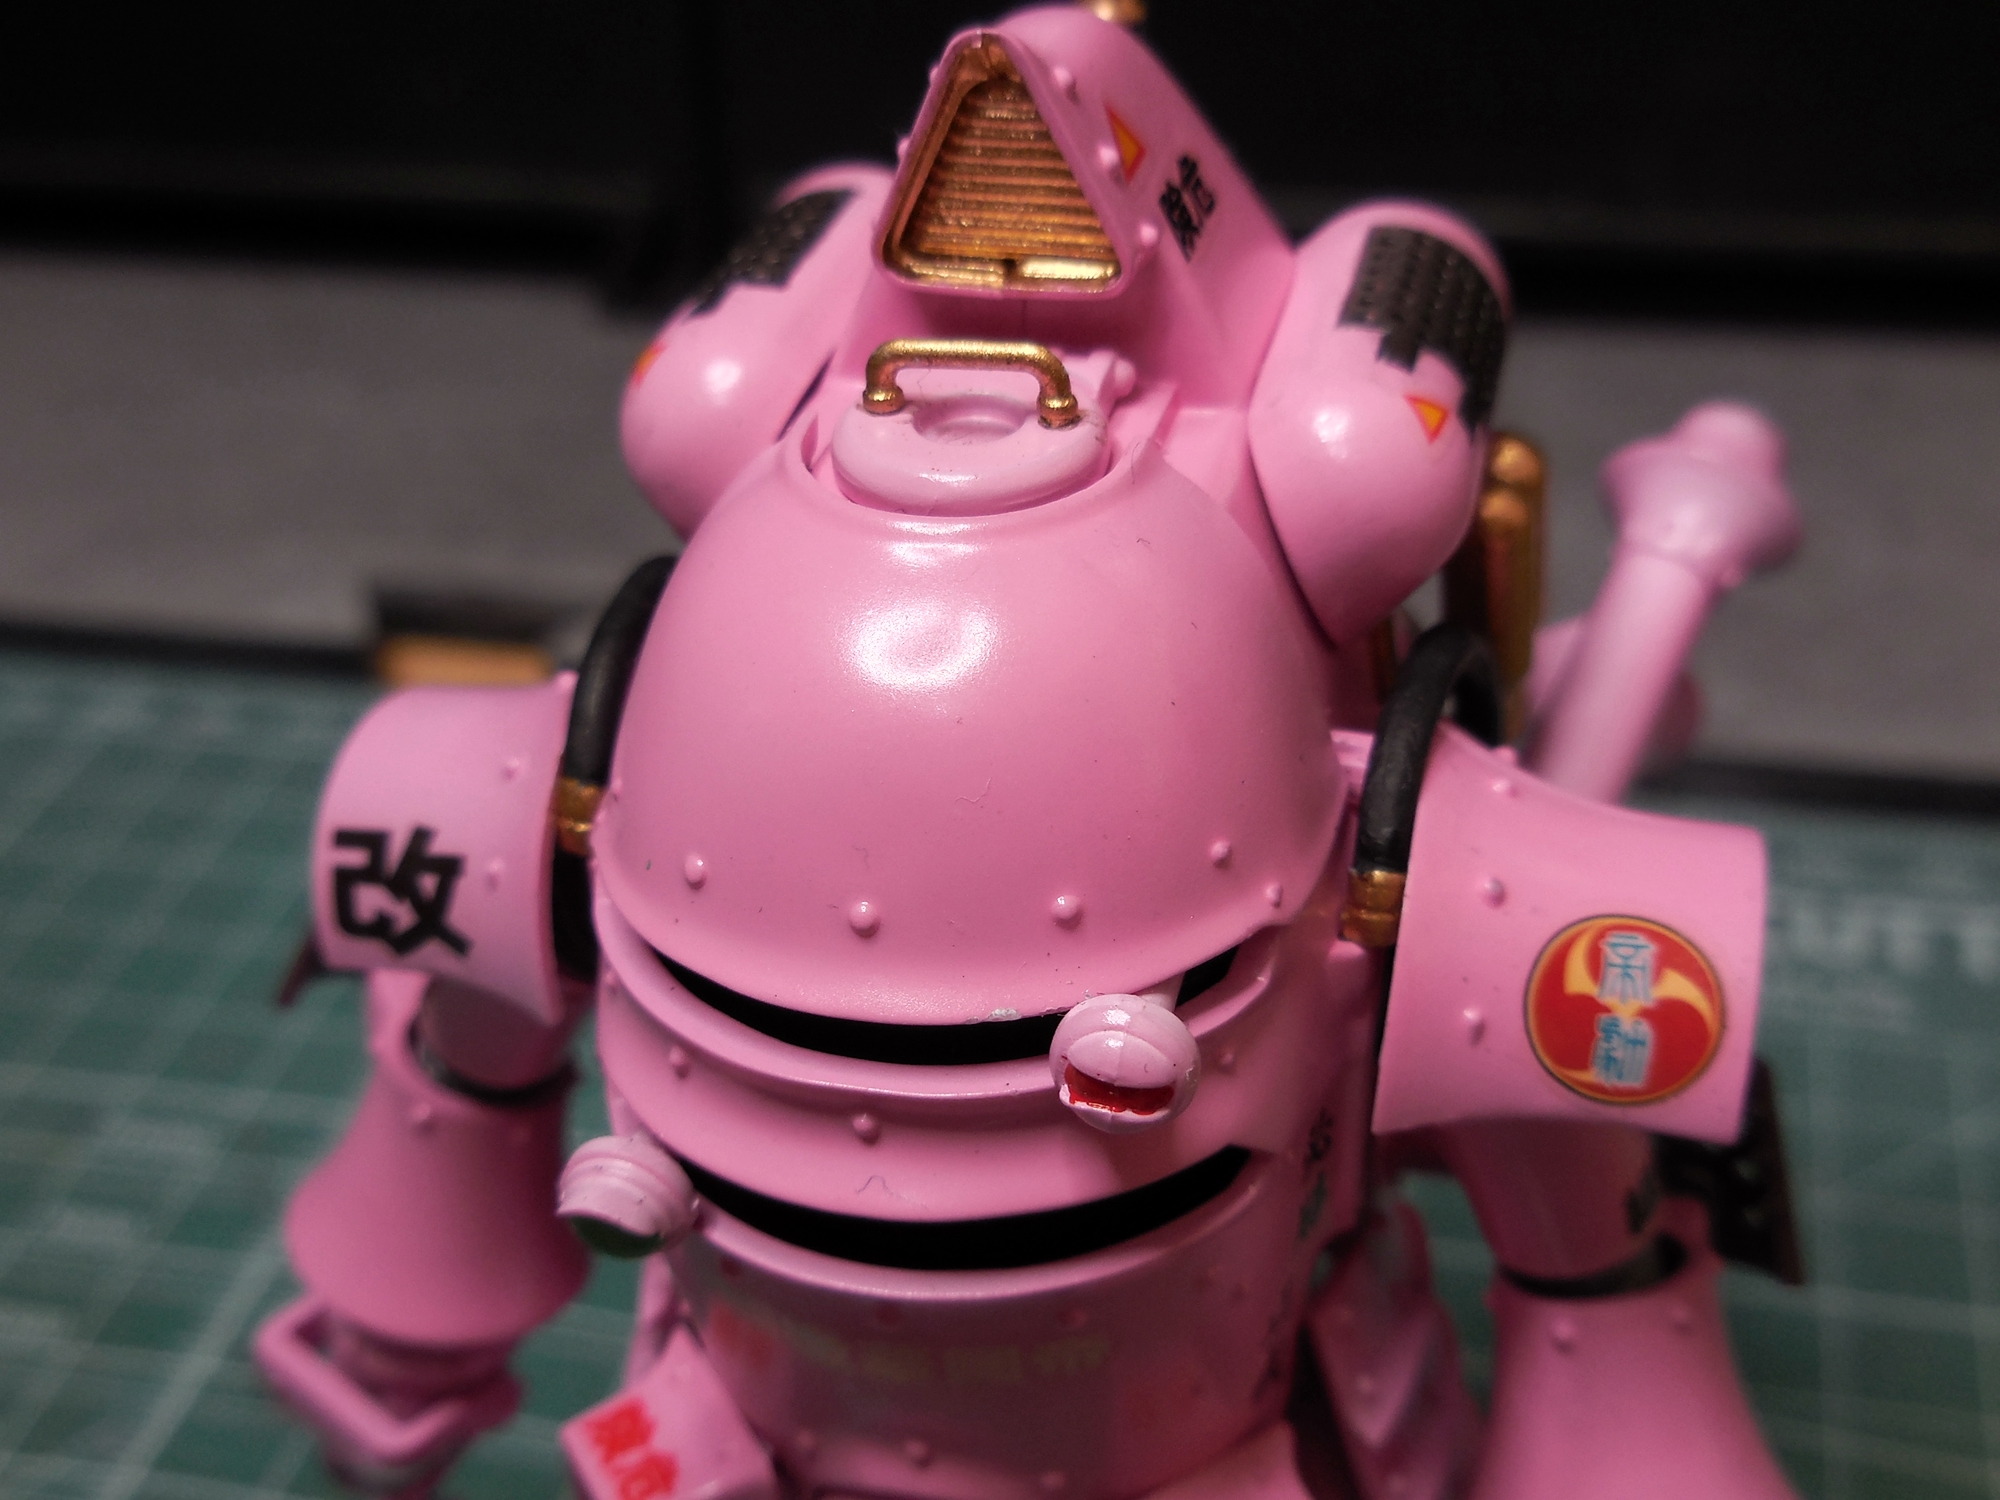
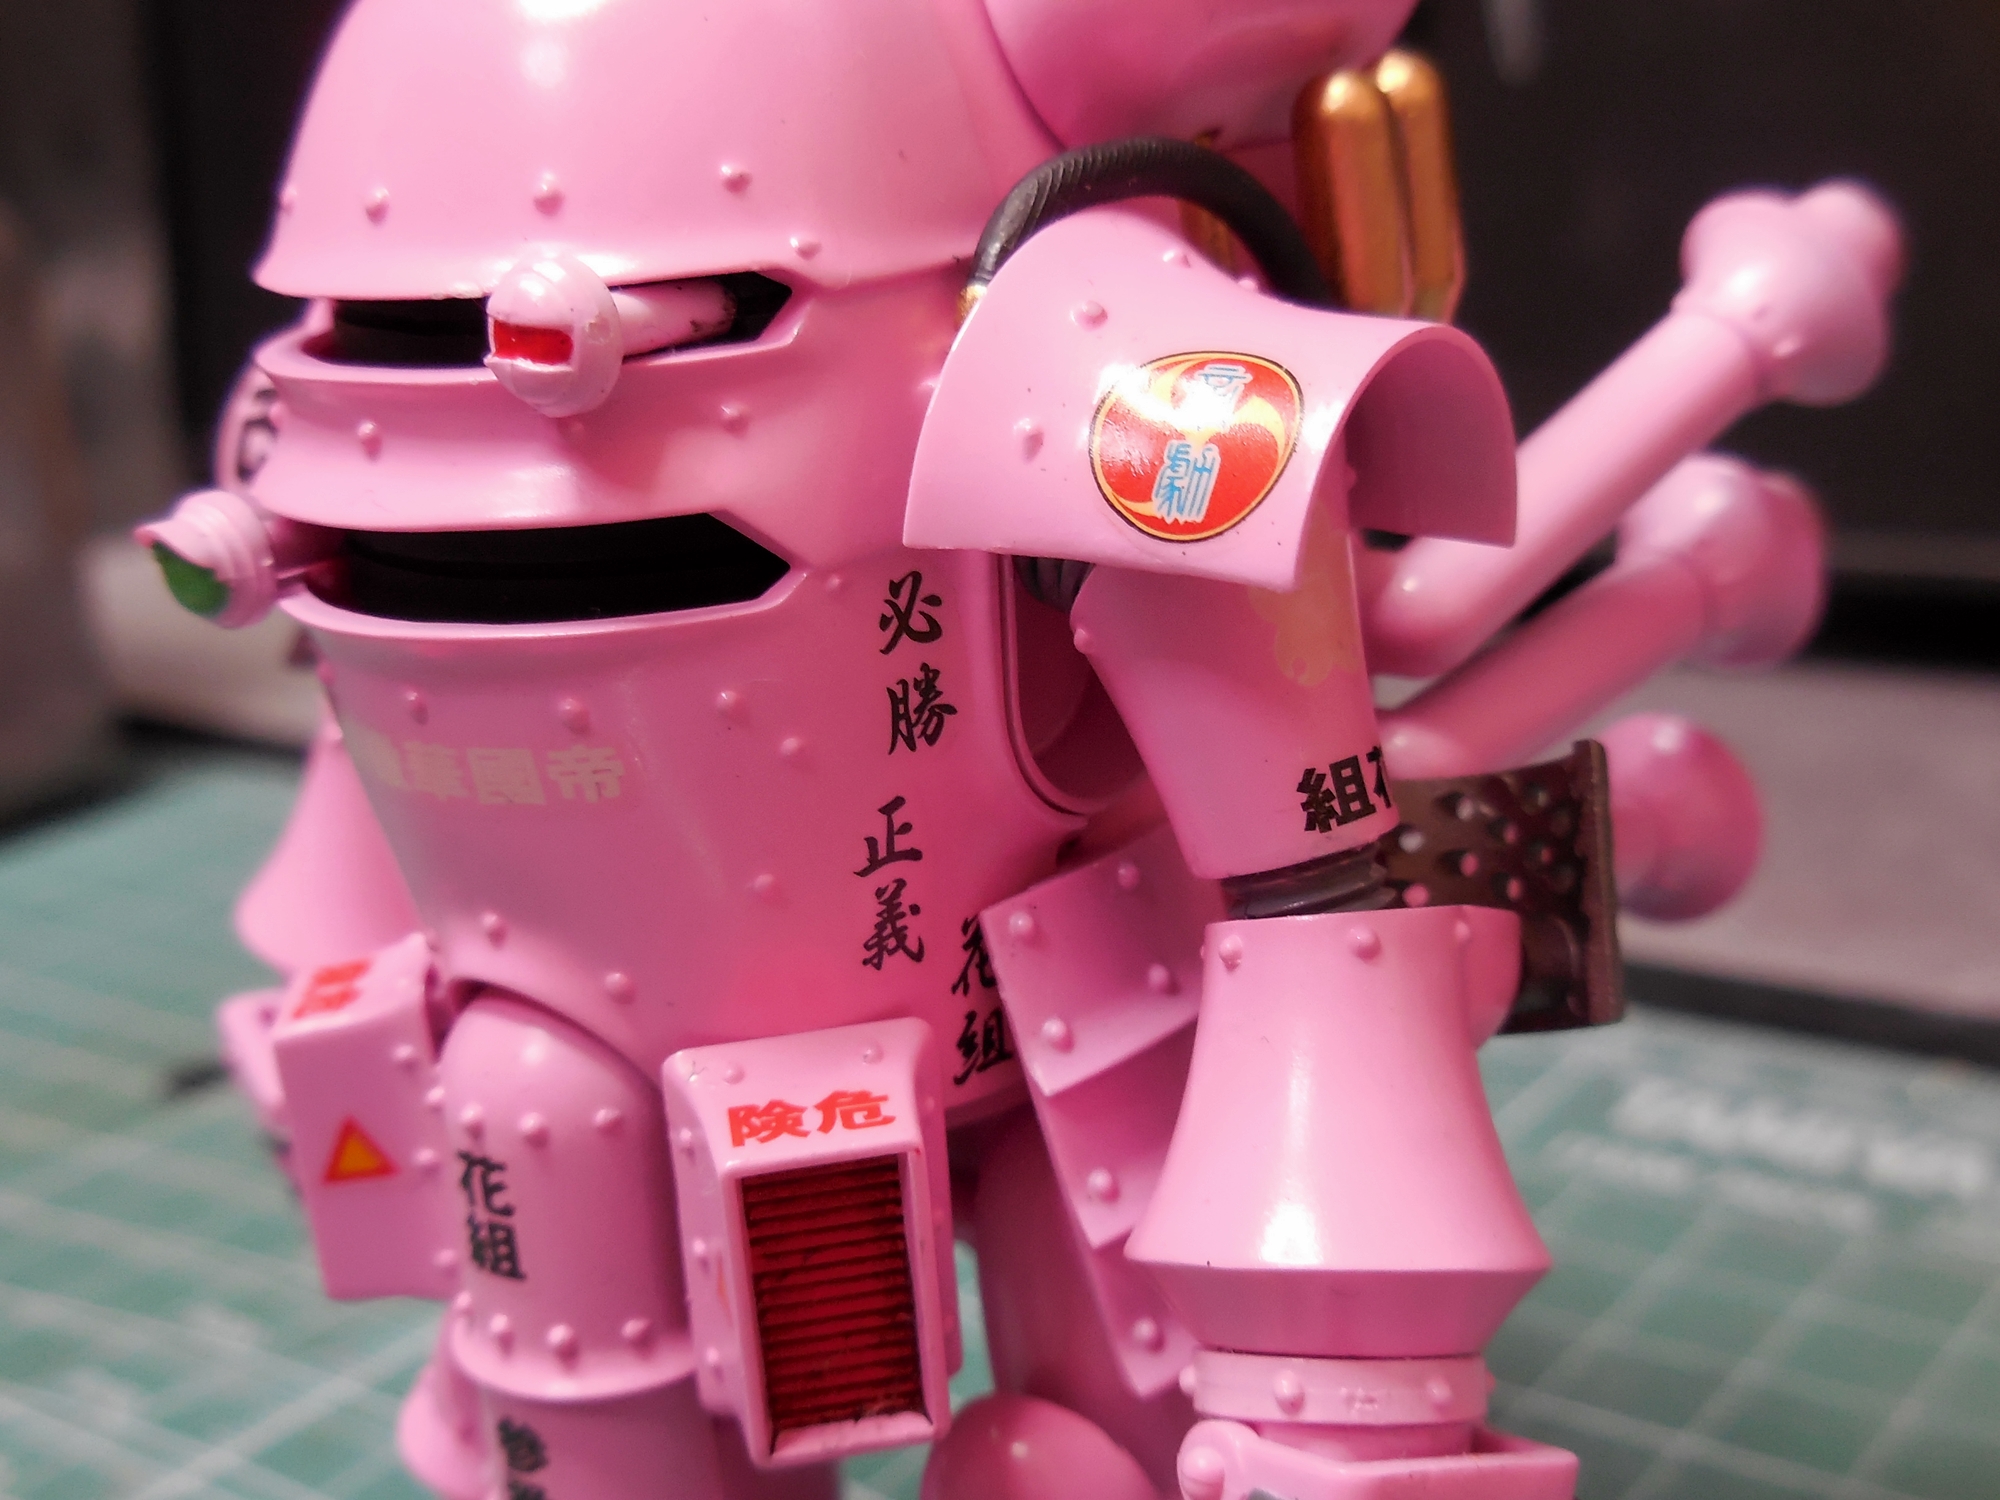
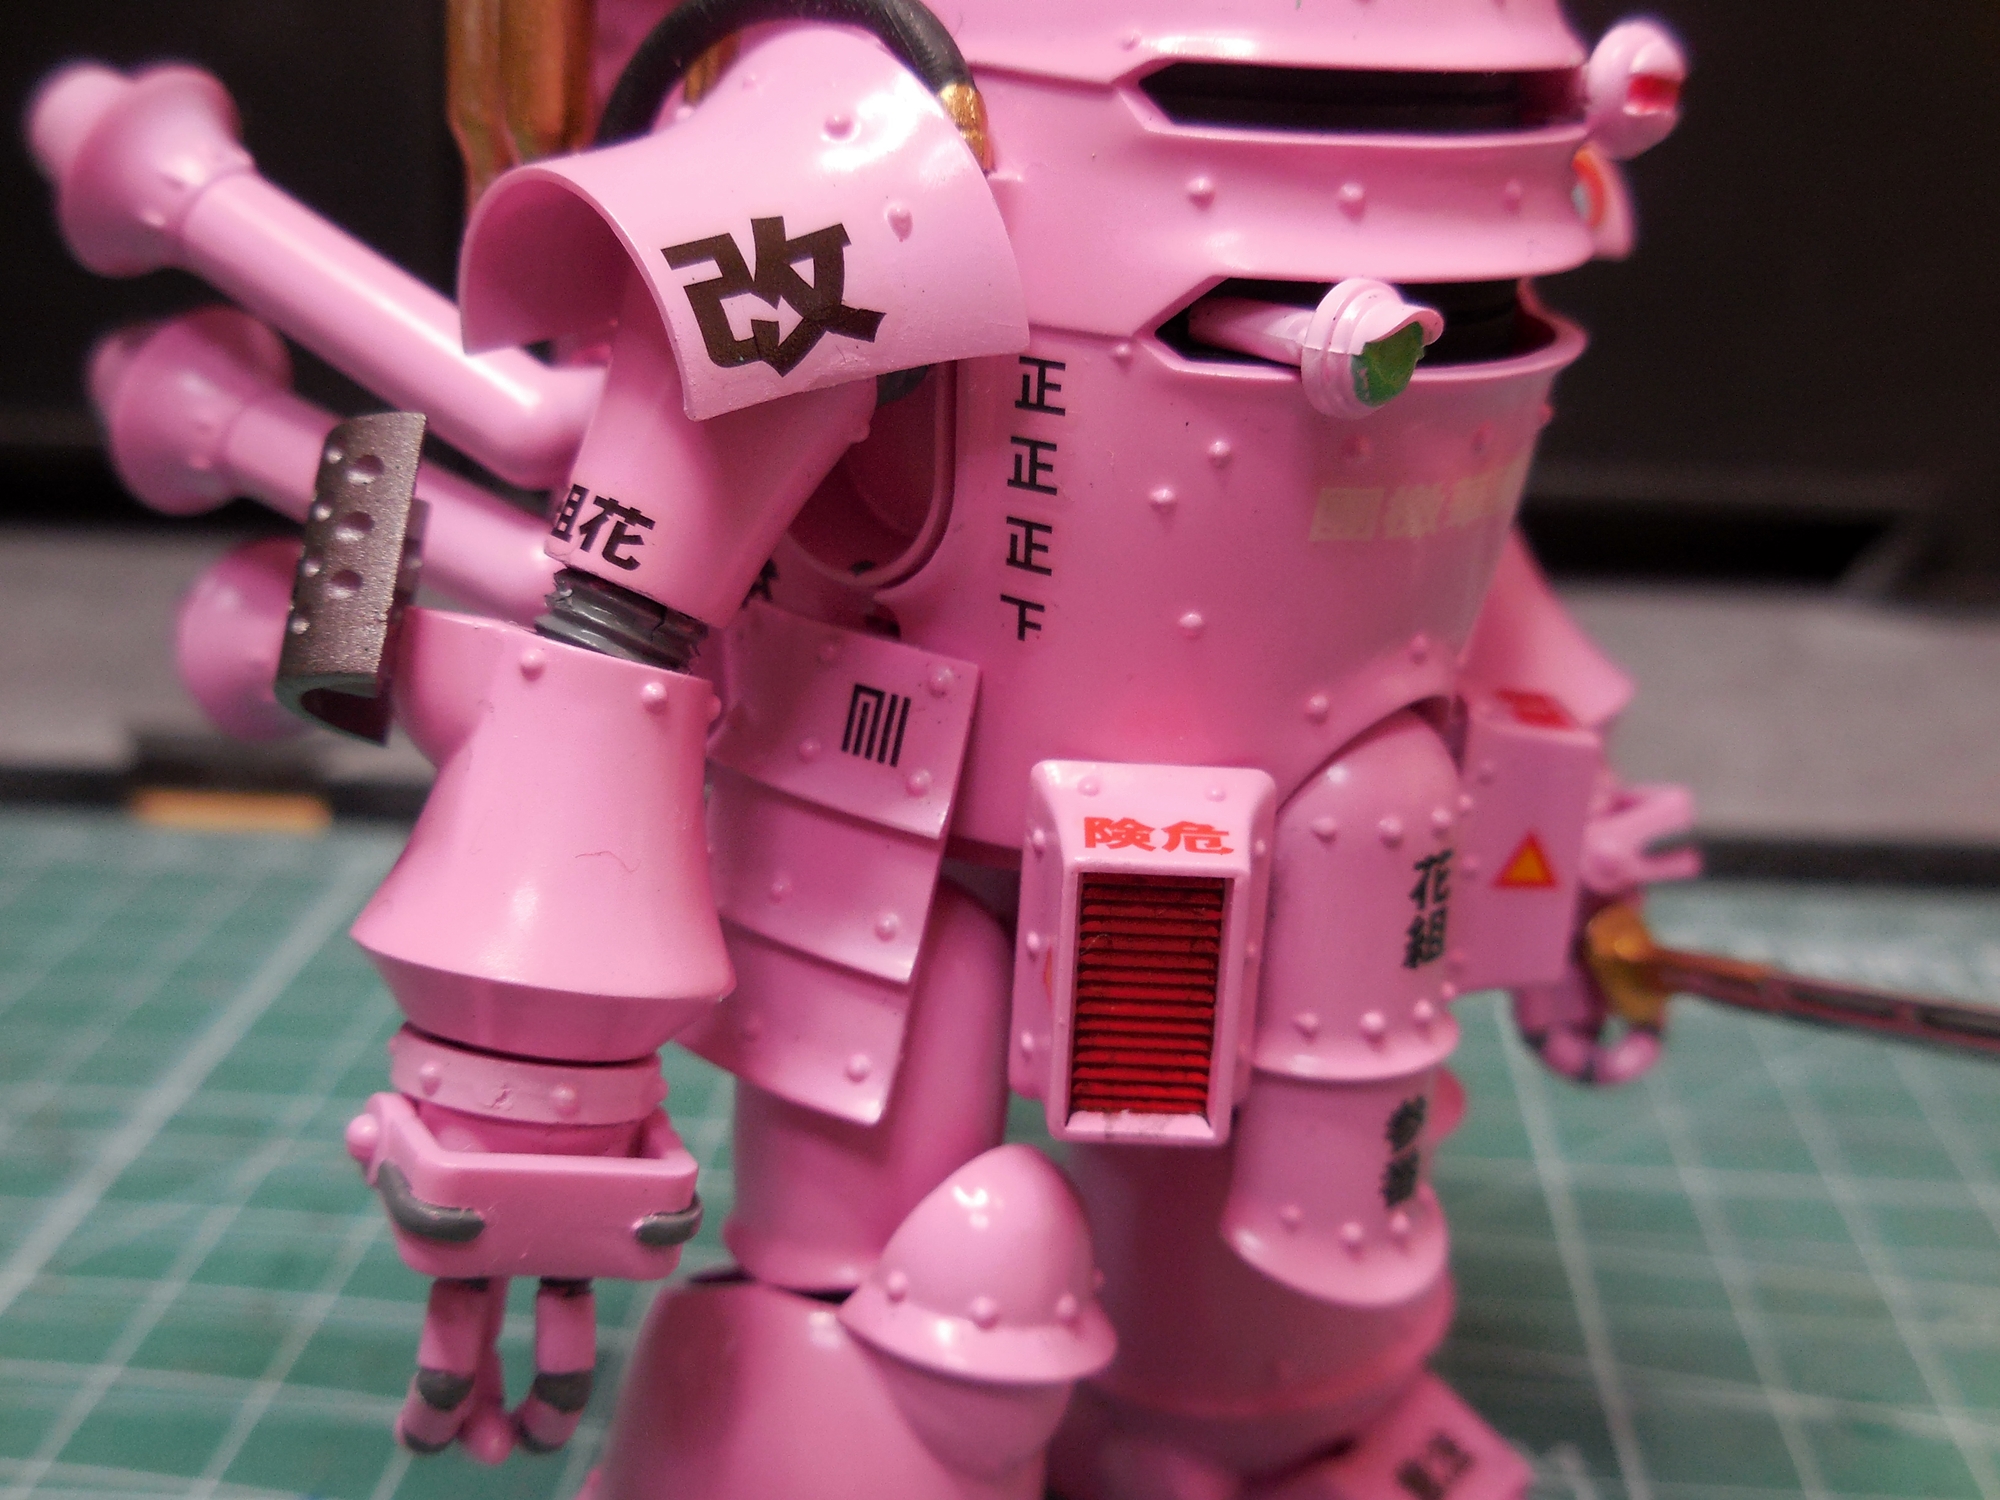
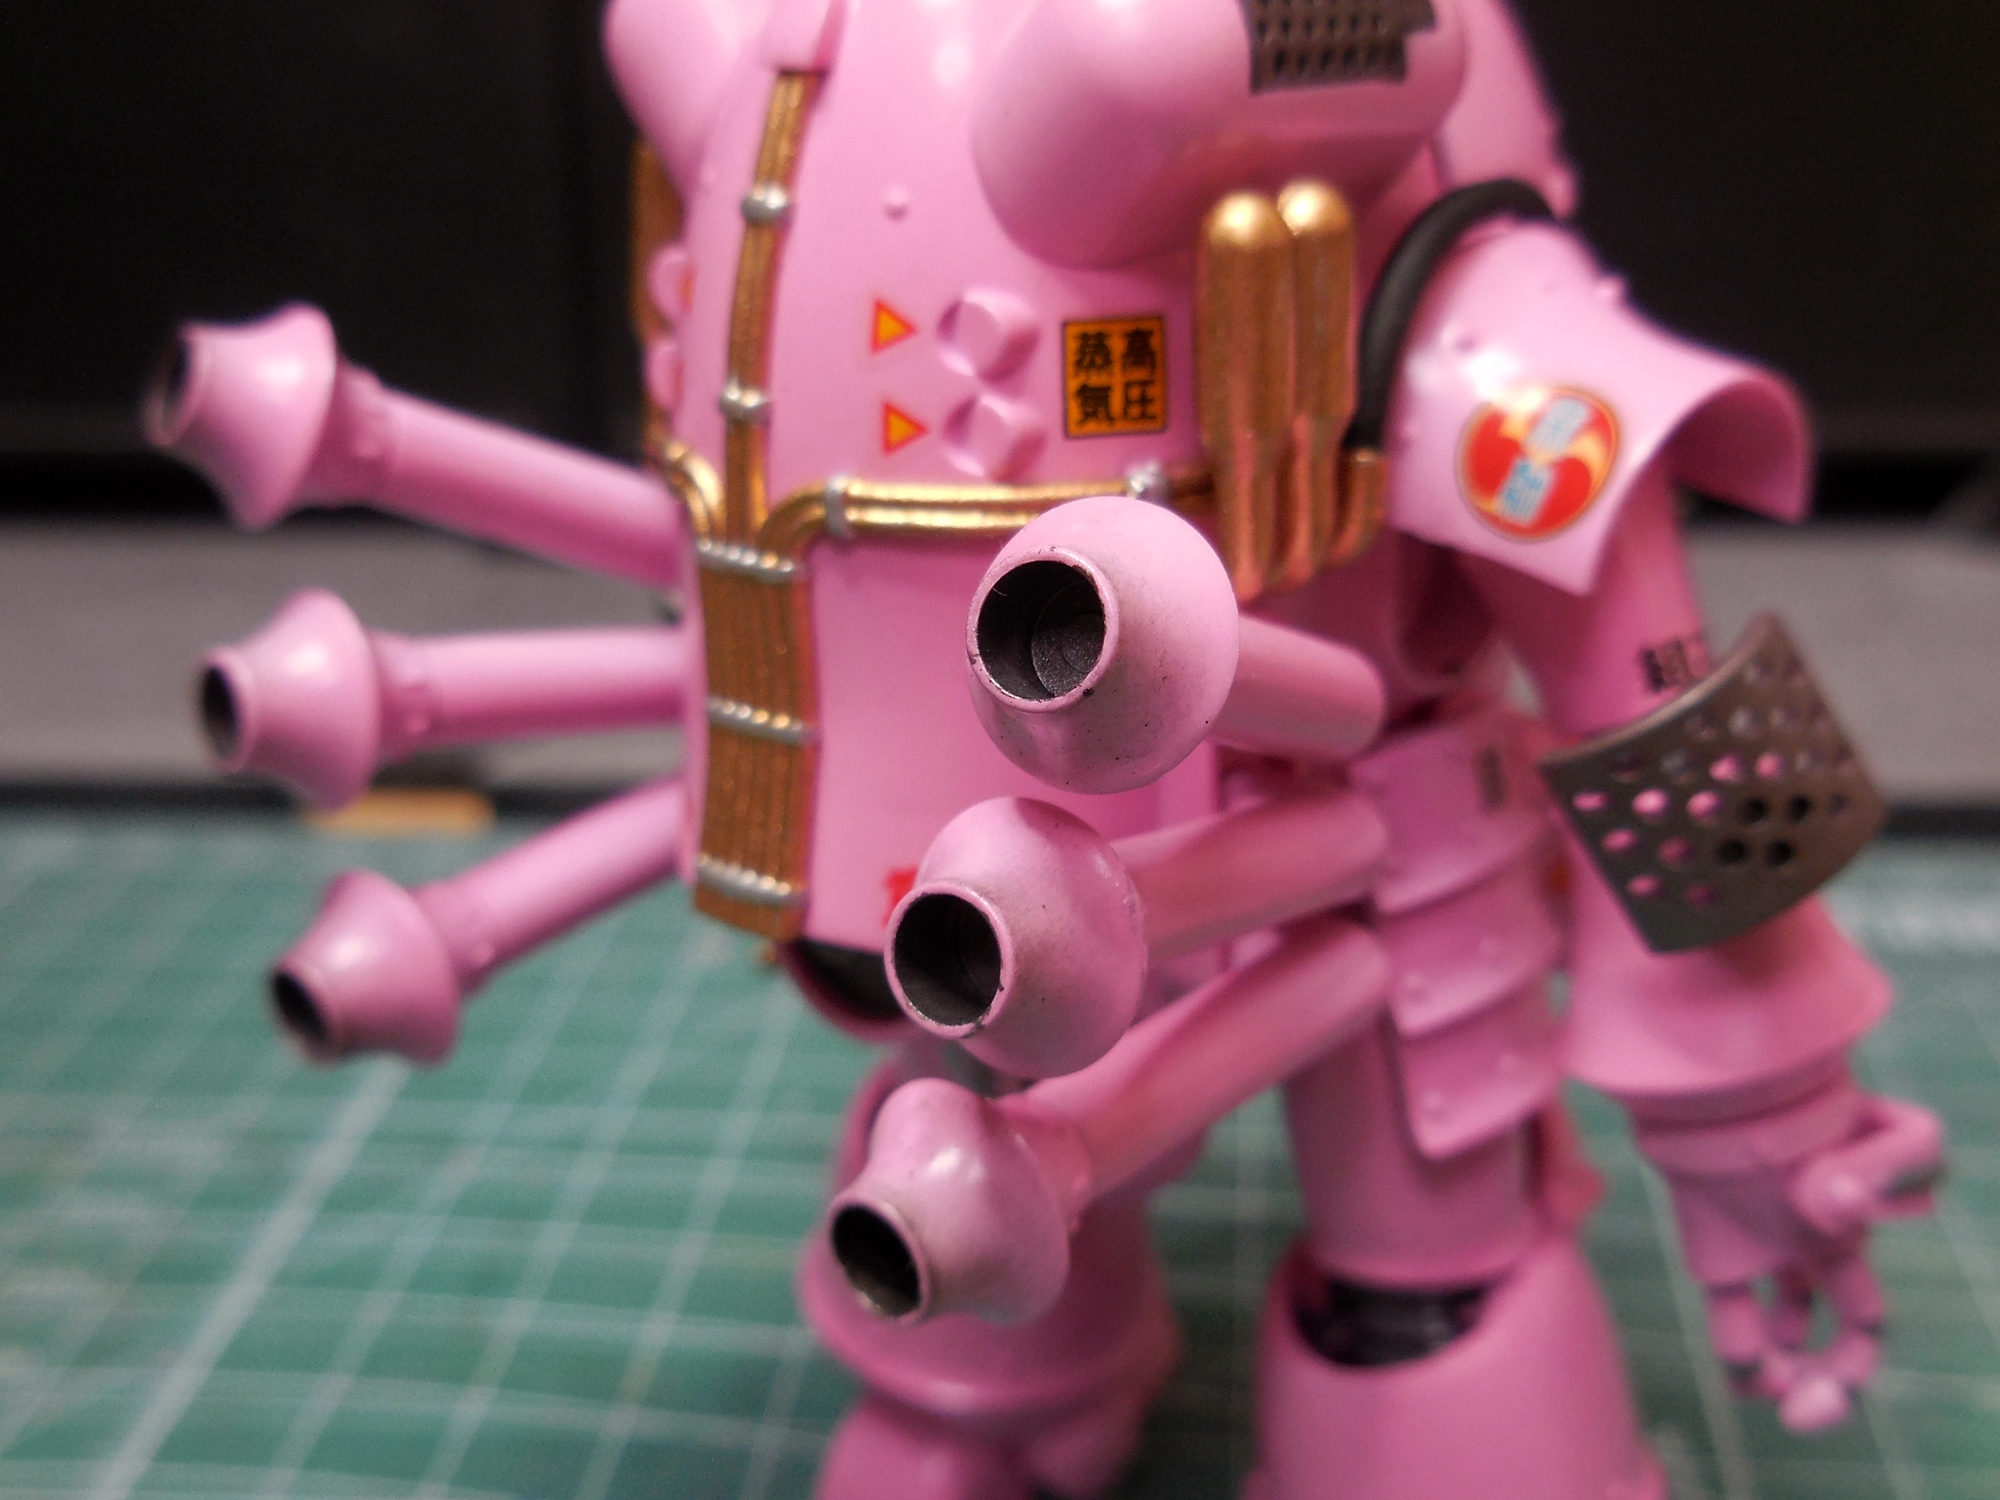
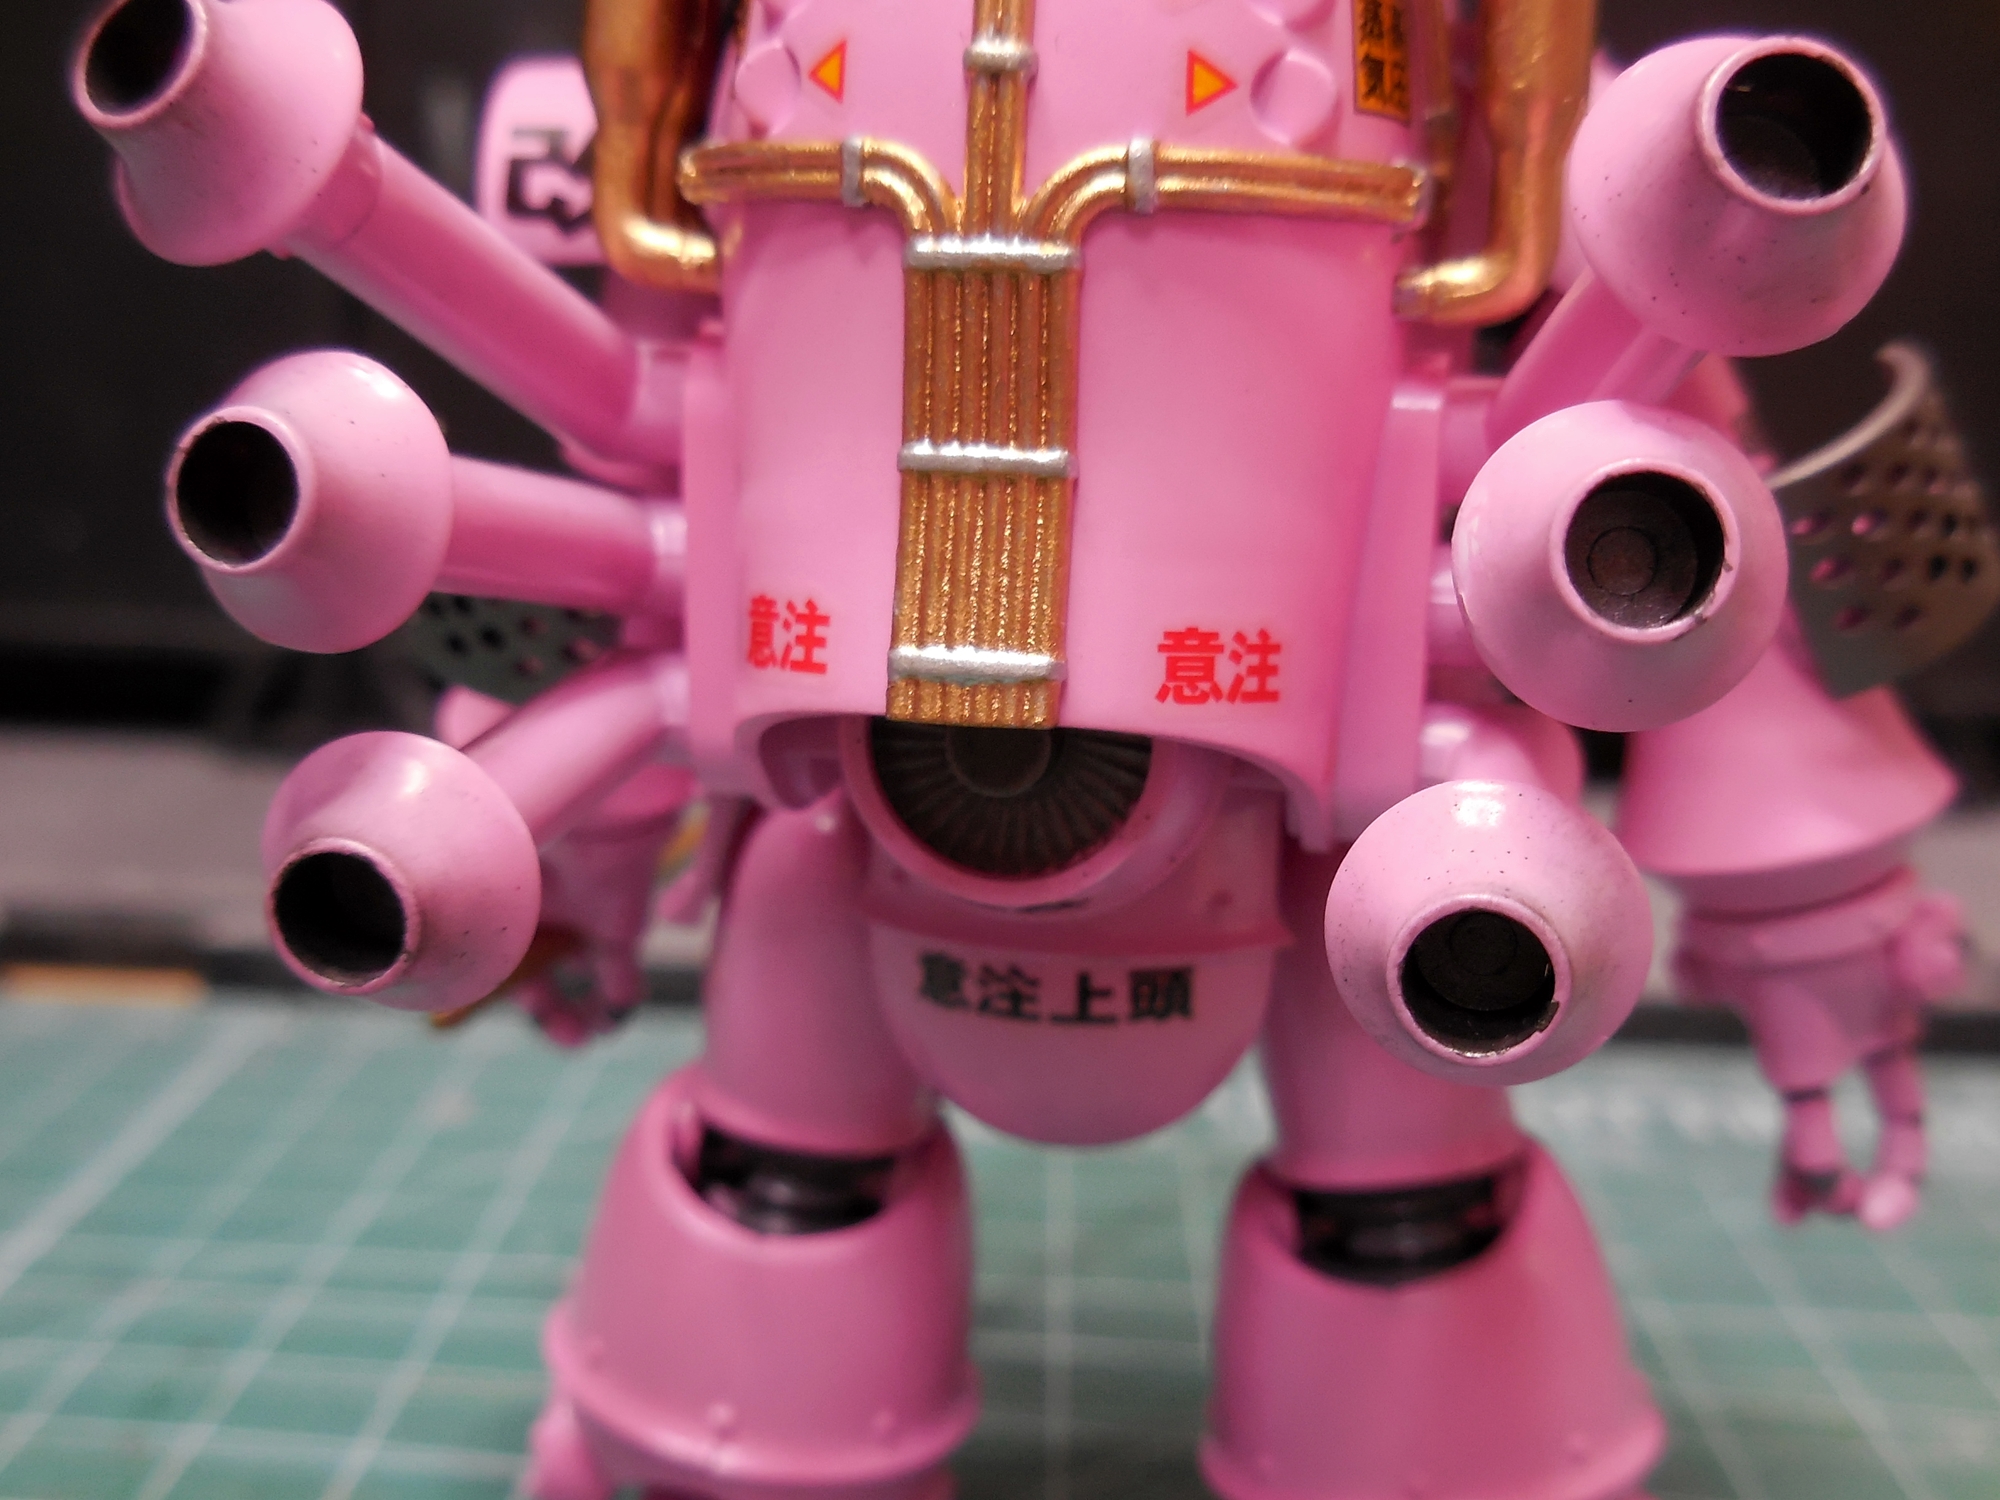
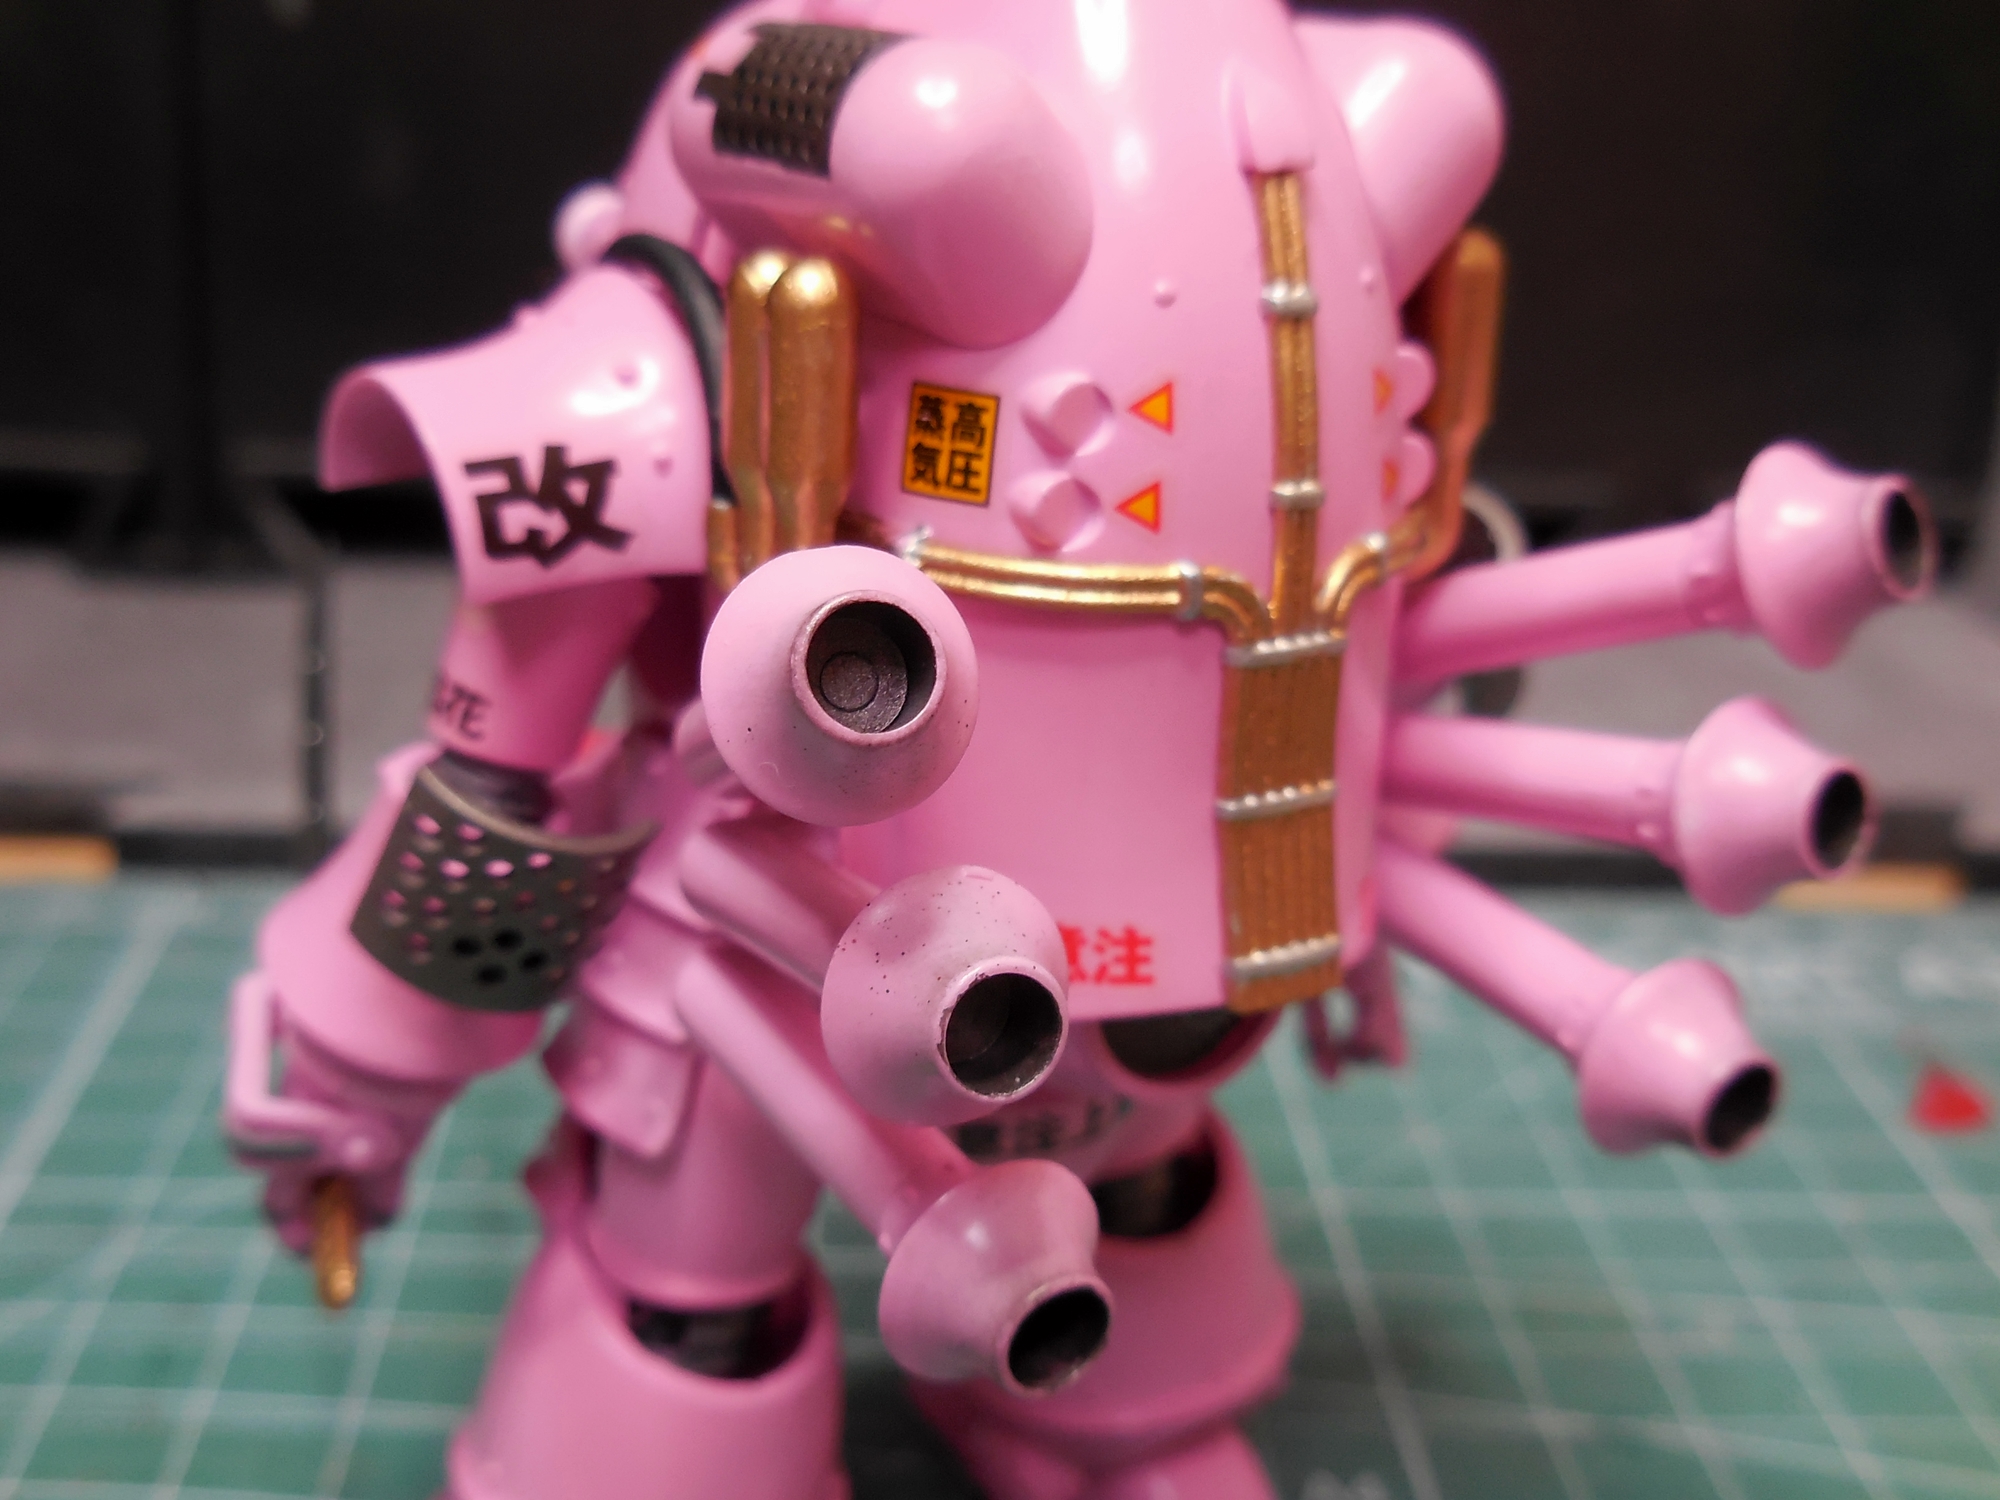
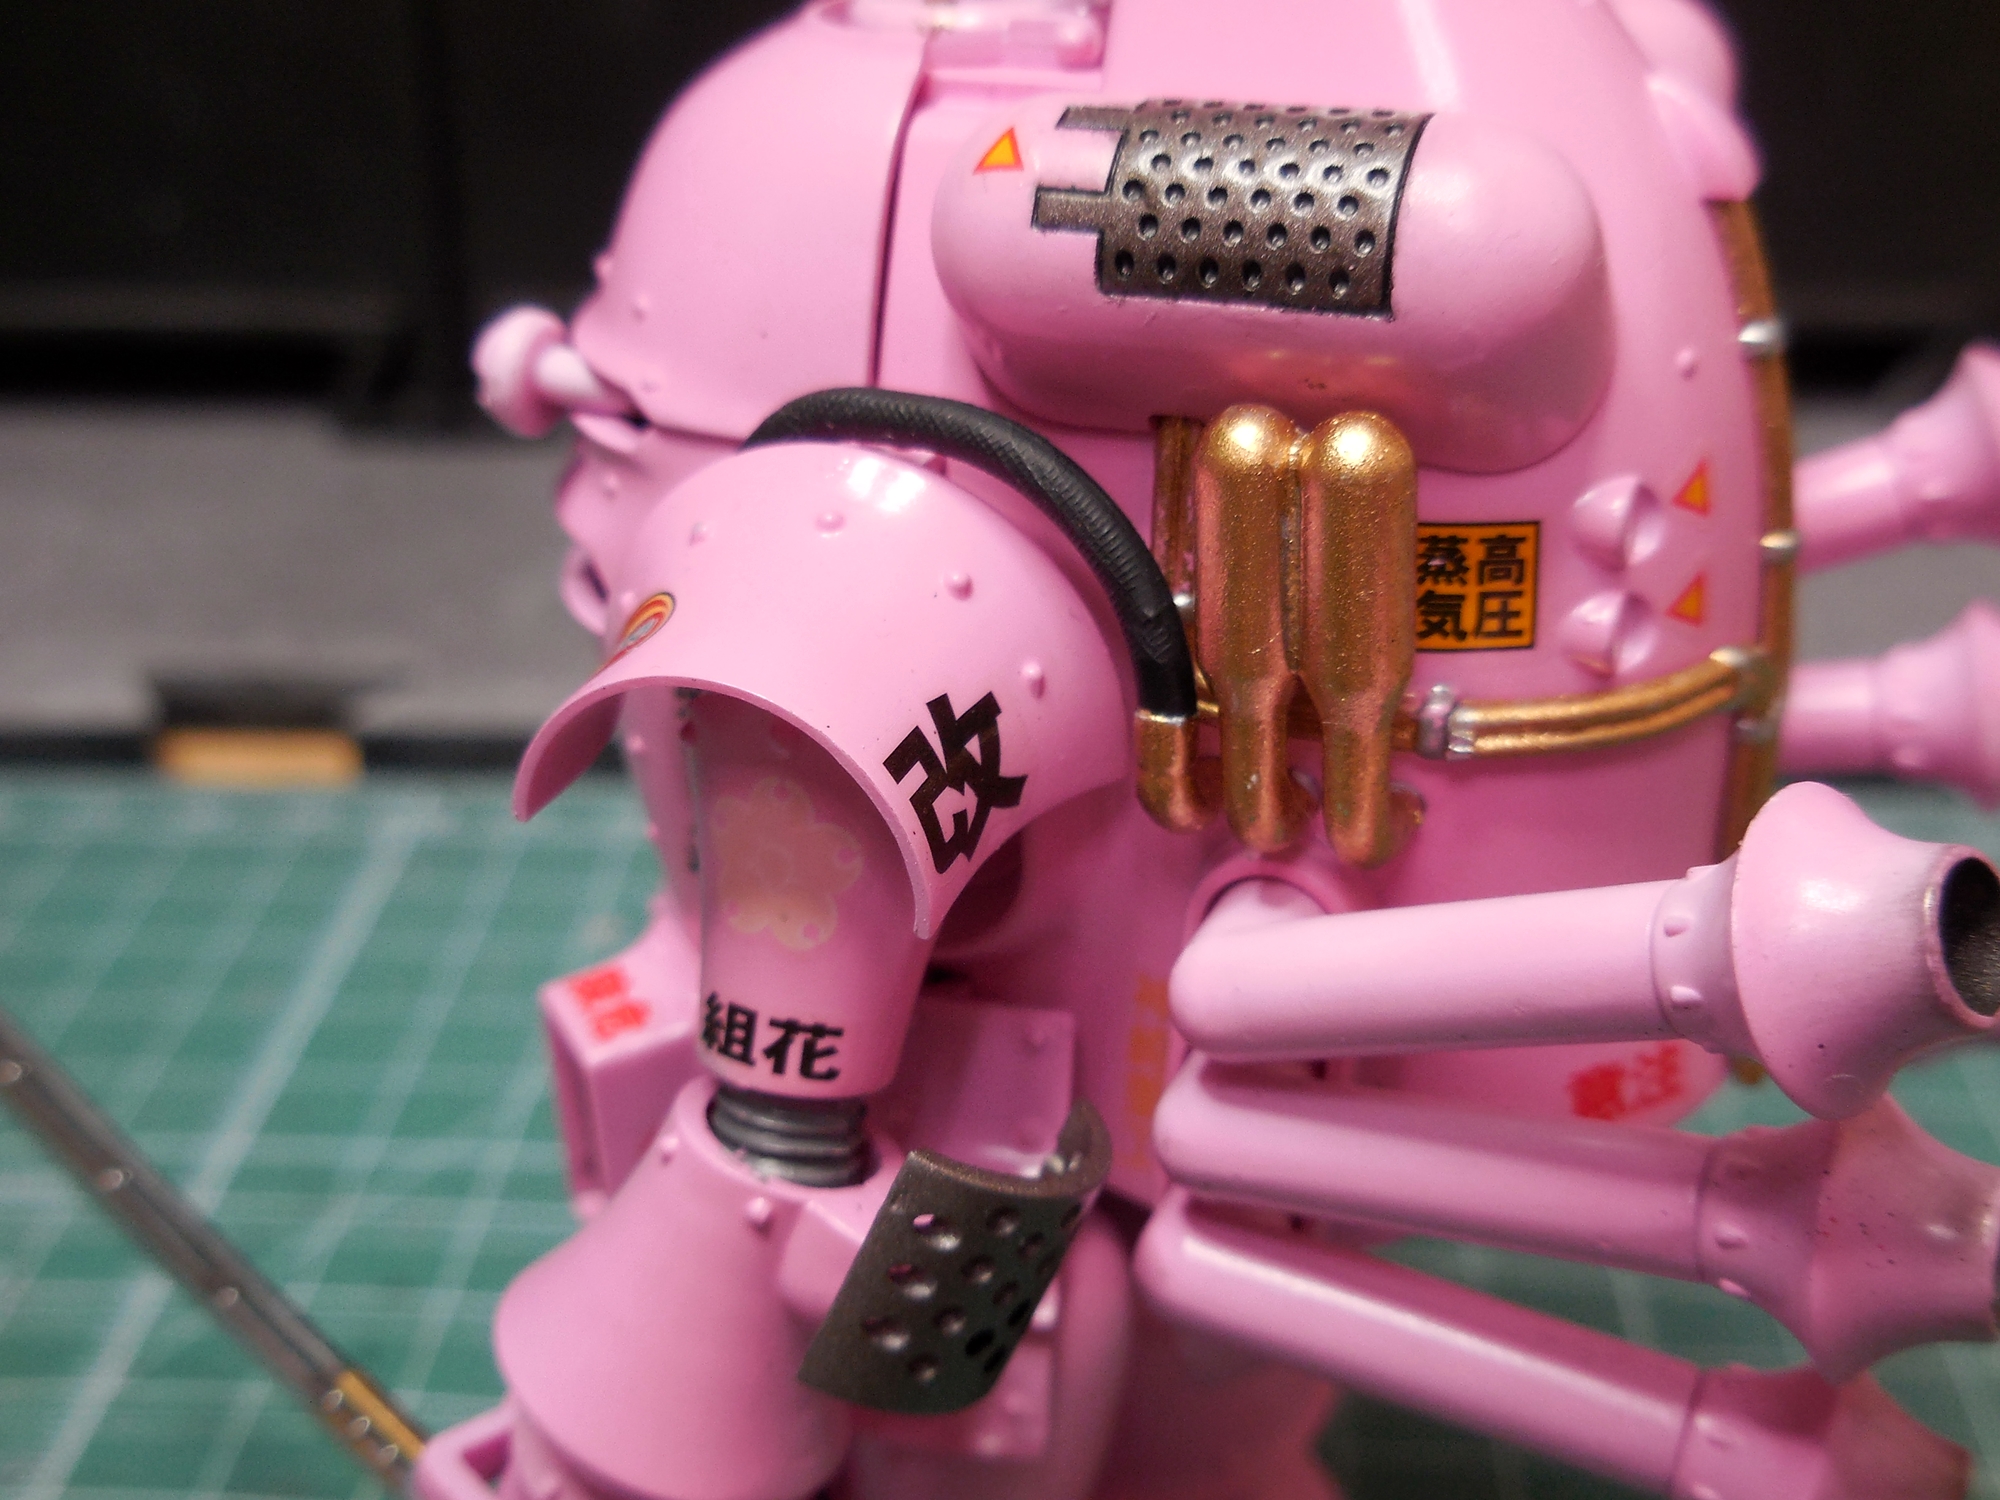
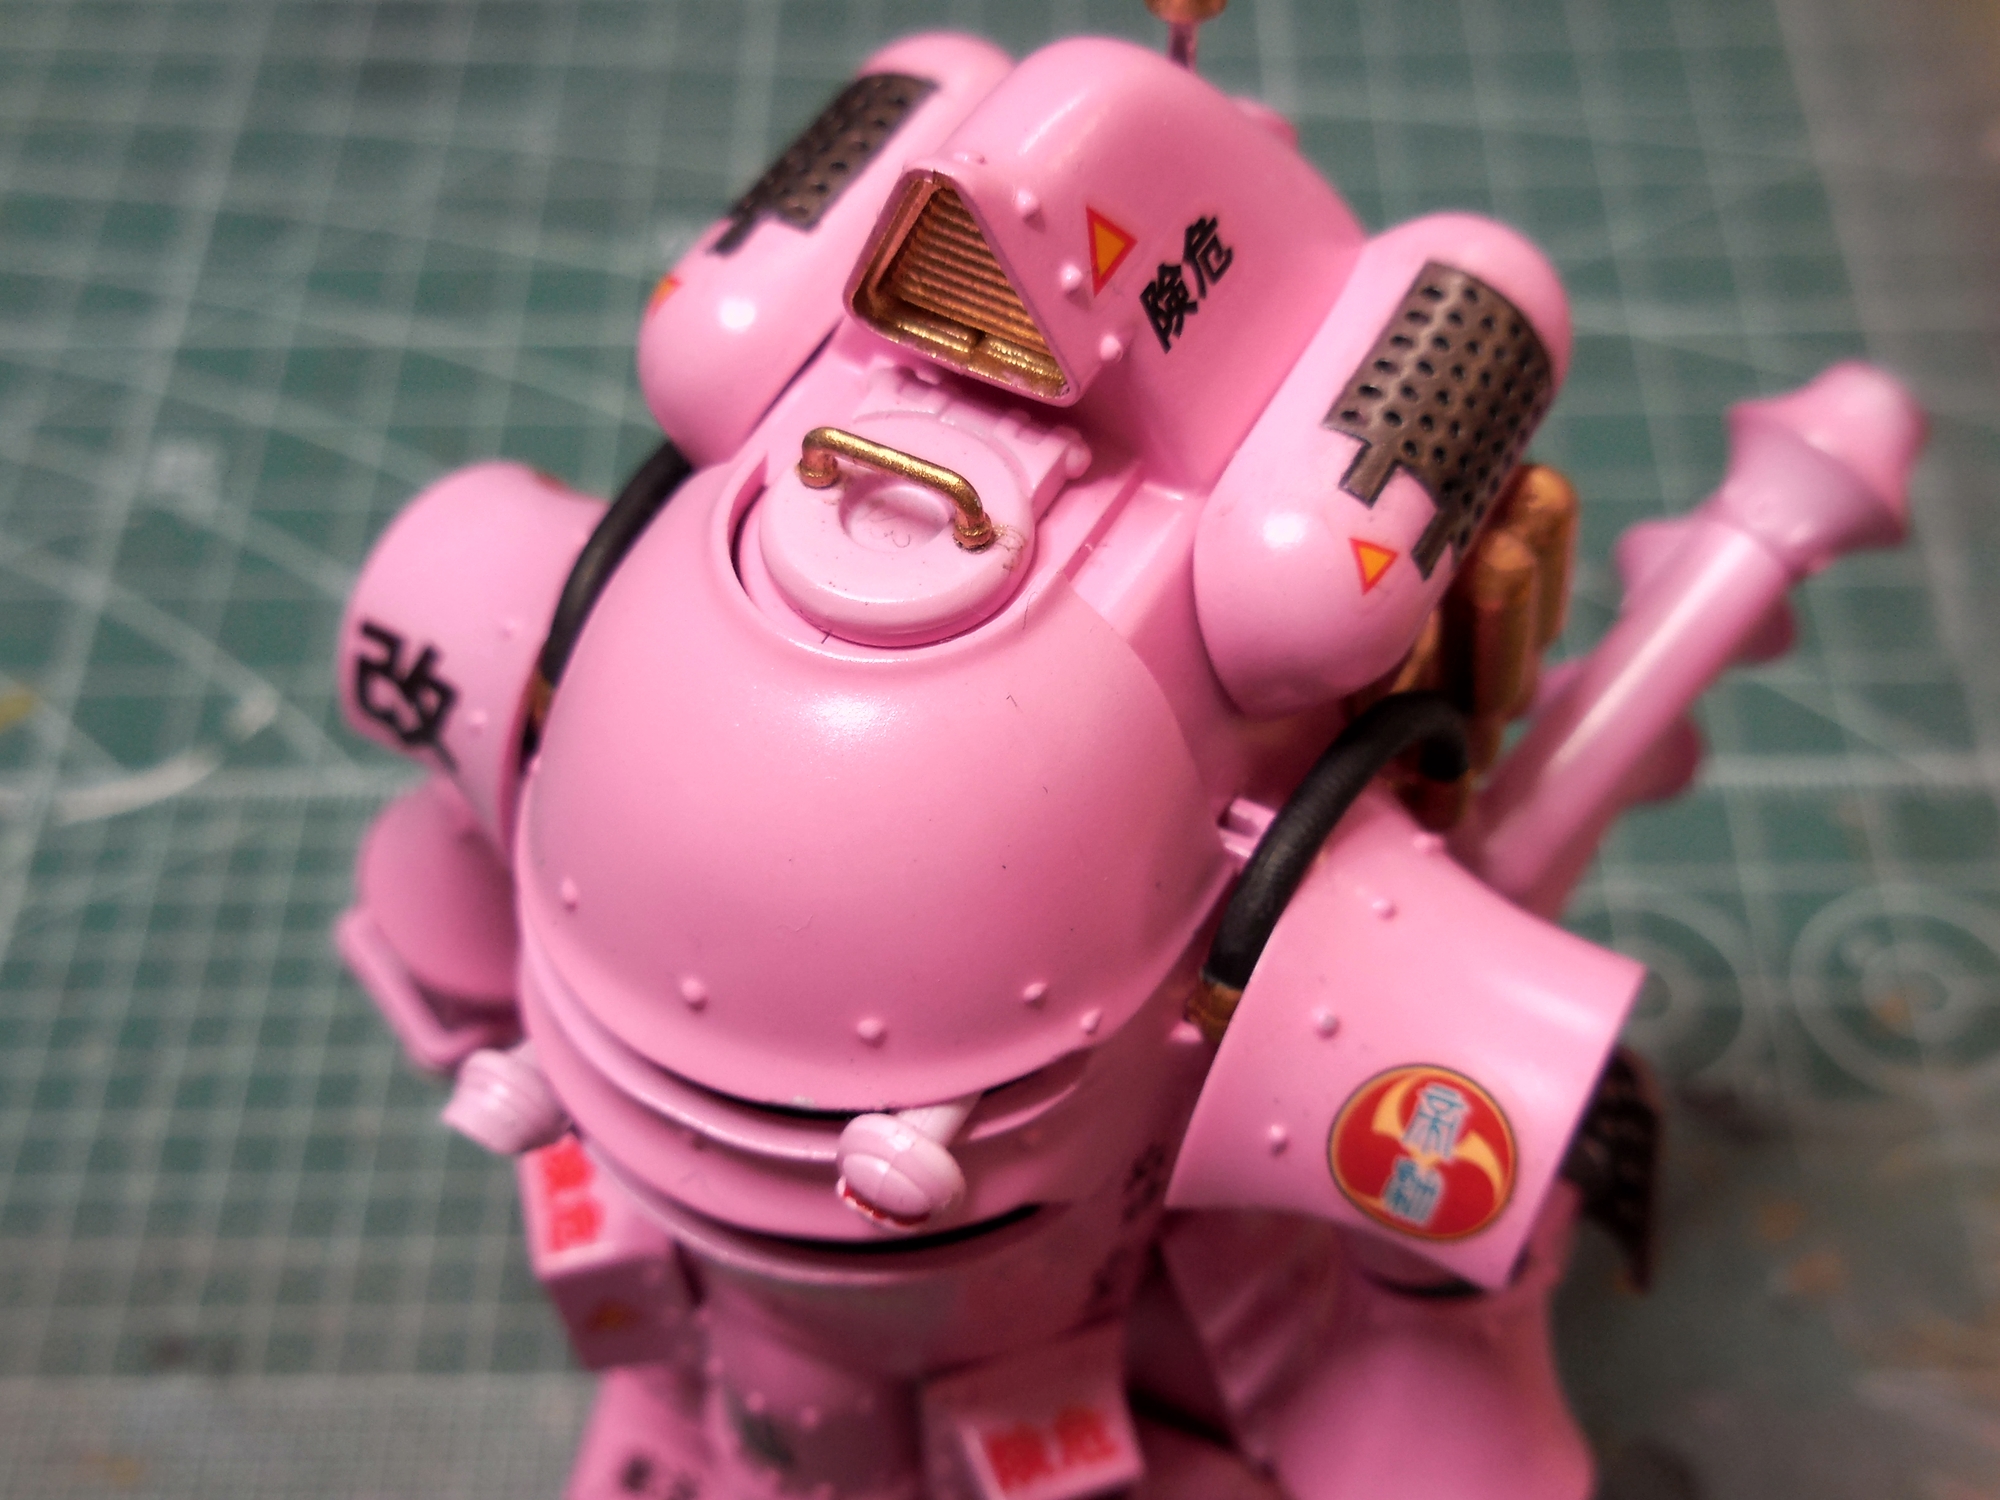
This was my second model kit I've built by Wave, after the Galaga starfighter. The pretty pink color is from a mixture of Mr. Color 1 White 60%, 63 Pink 35%, and 67 Purple 5%. I screwed up my first batch by adding too much purple, but the second time came out perfect. It really is an elegant shade of pink, and not gaudy at all. The gray parts are Mr. Color 13 Neutral Gray and the steel-colored parts are Mr. Hobby 61 Burnt Iron. The black parts were Tamiya XF-1 Flat Black, the gold is Testors enamel gold, and the red parts are Mr. Hobby 68 Red Madder. The sword was painted with Alclad II Chrome.
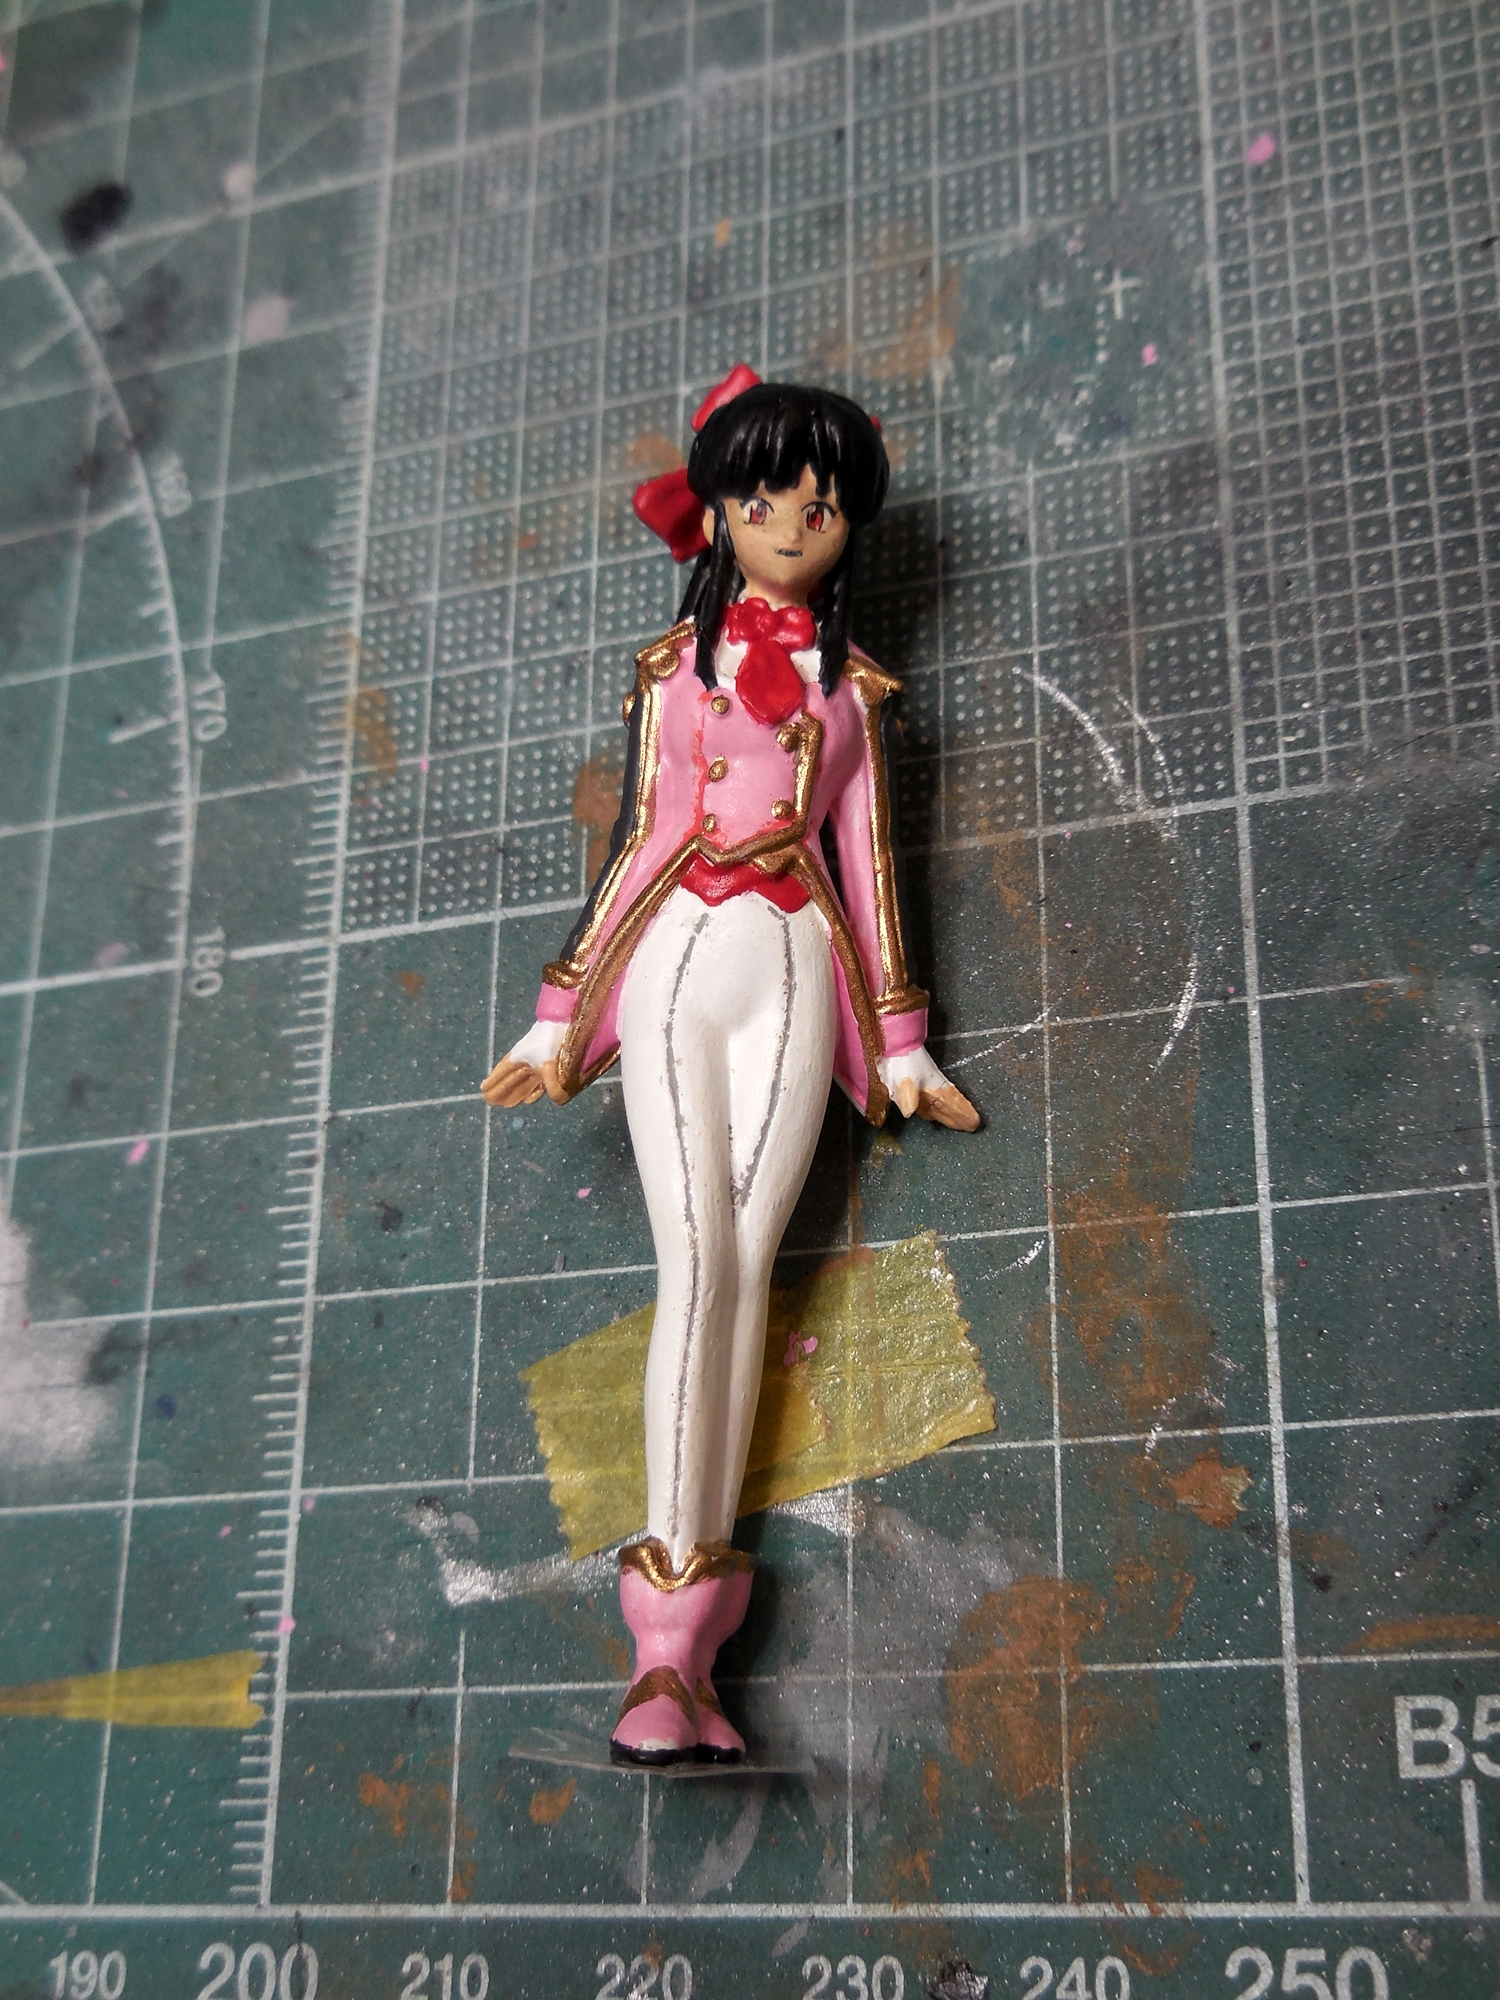
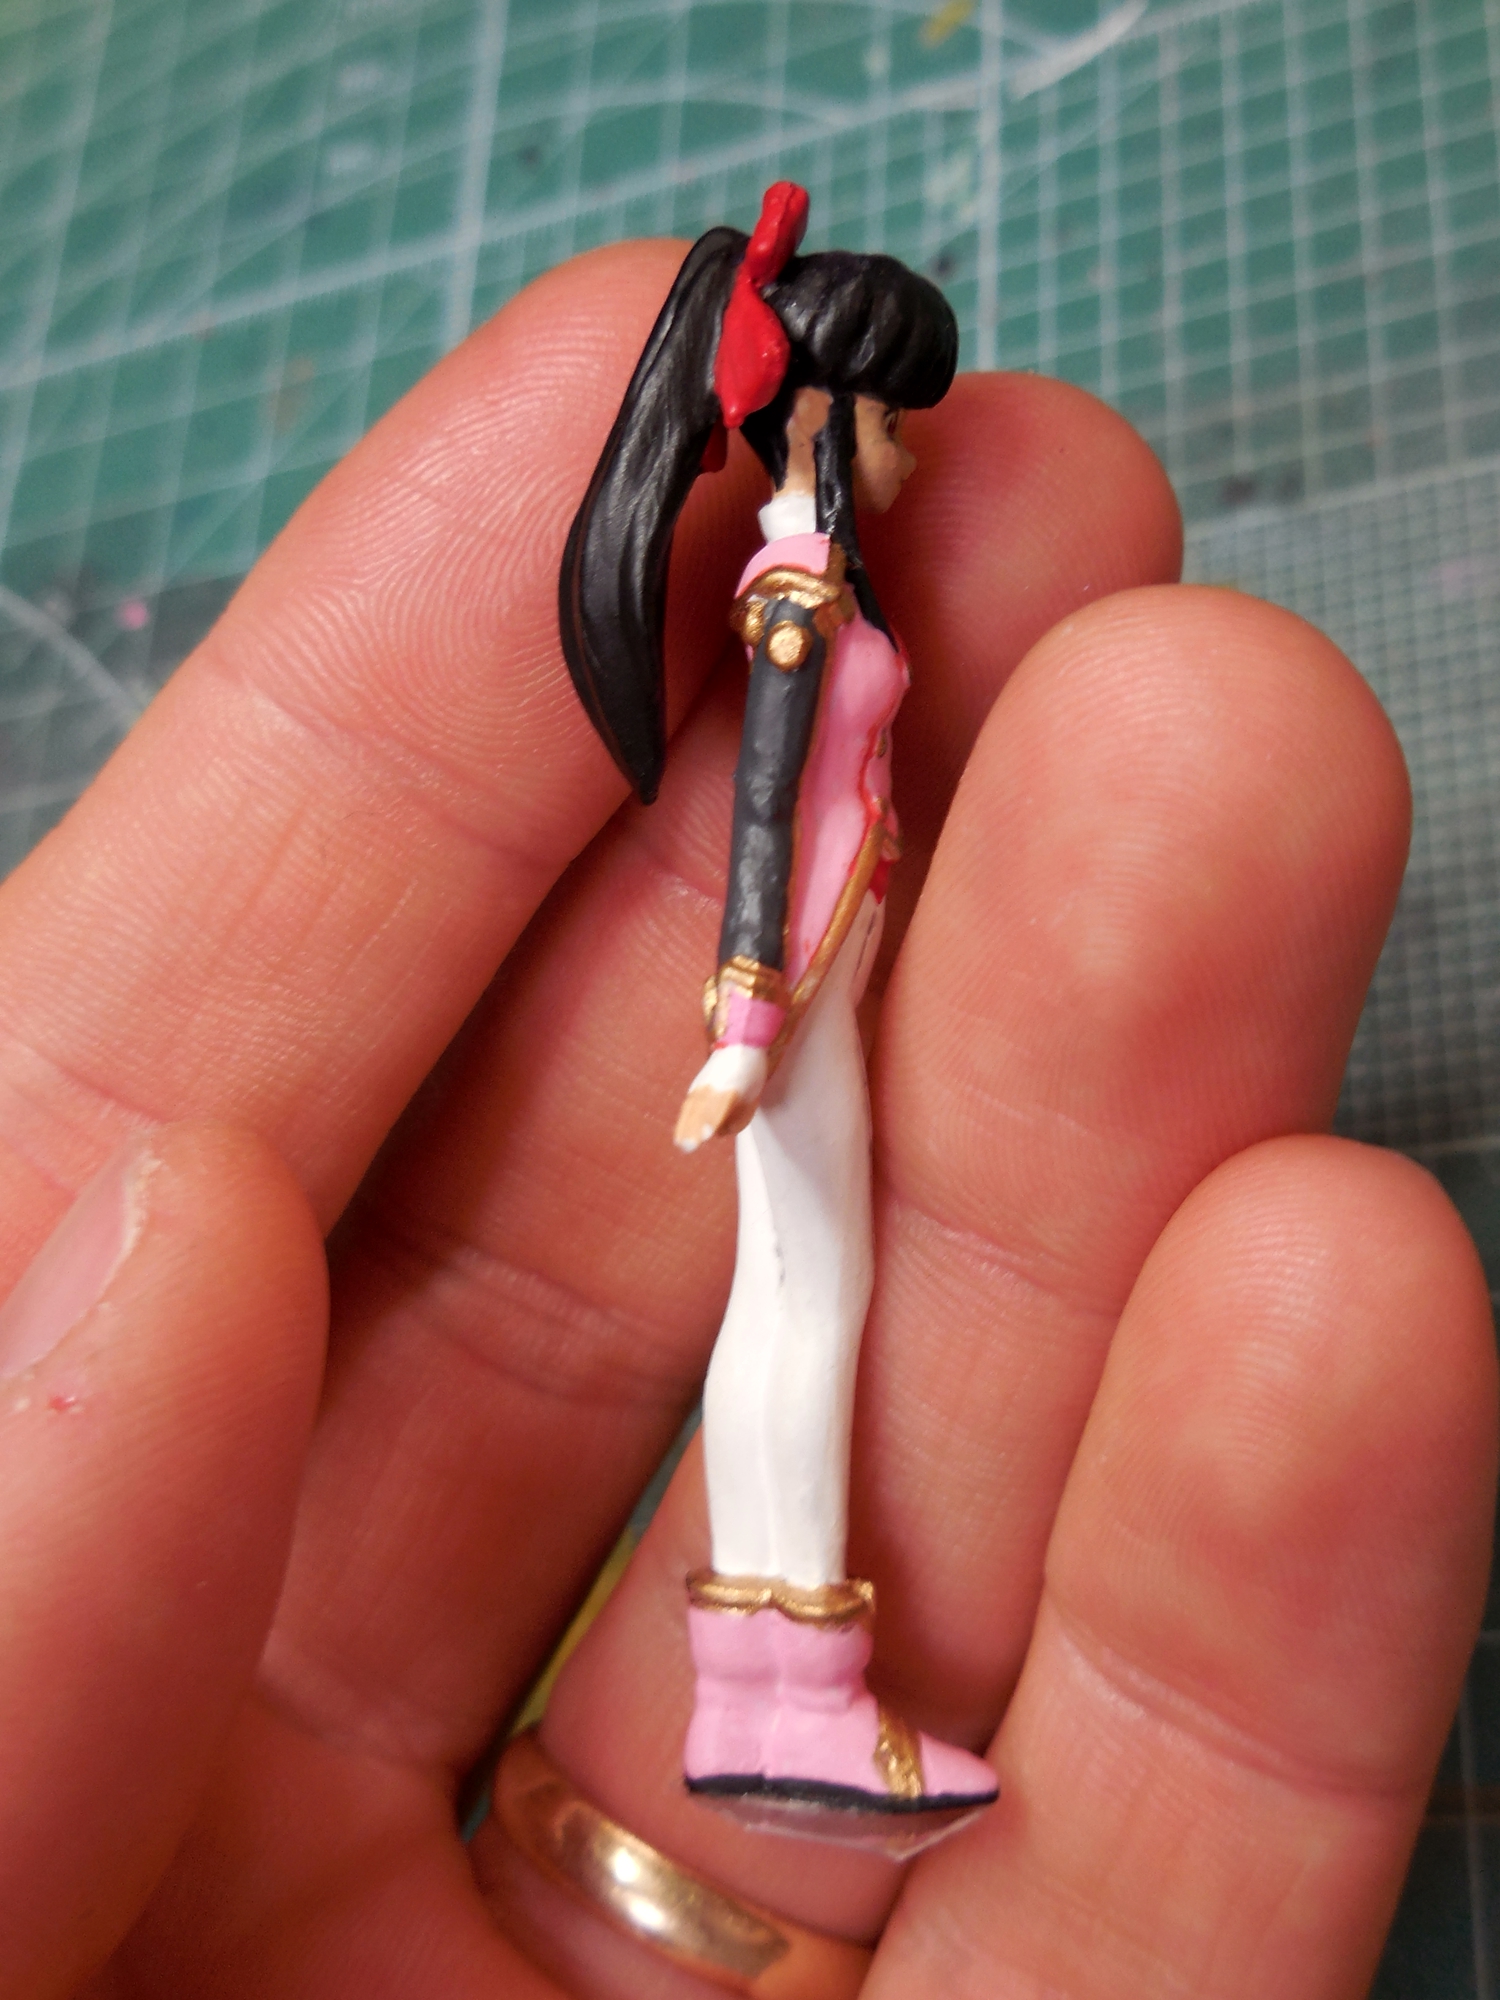
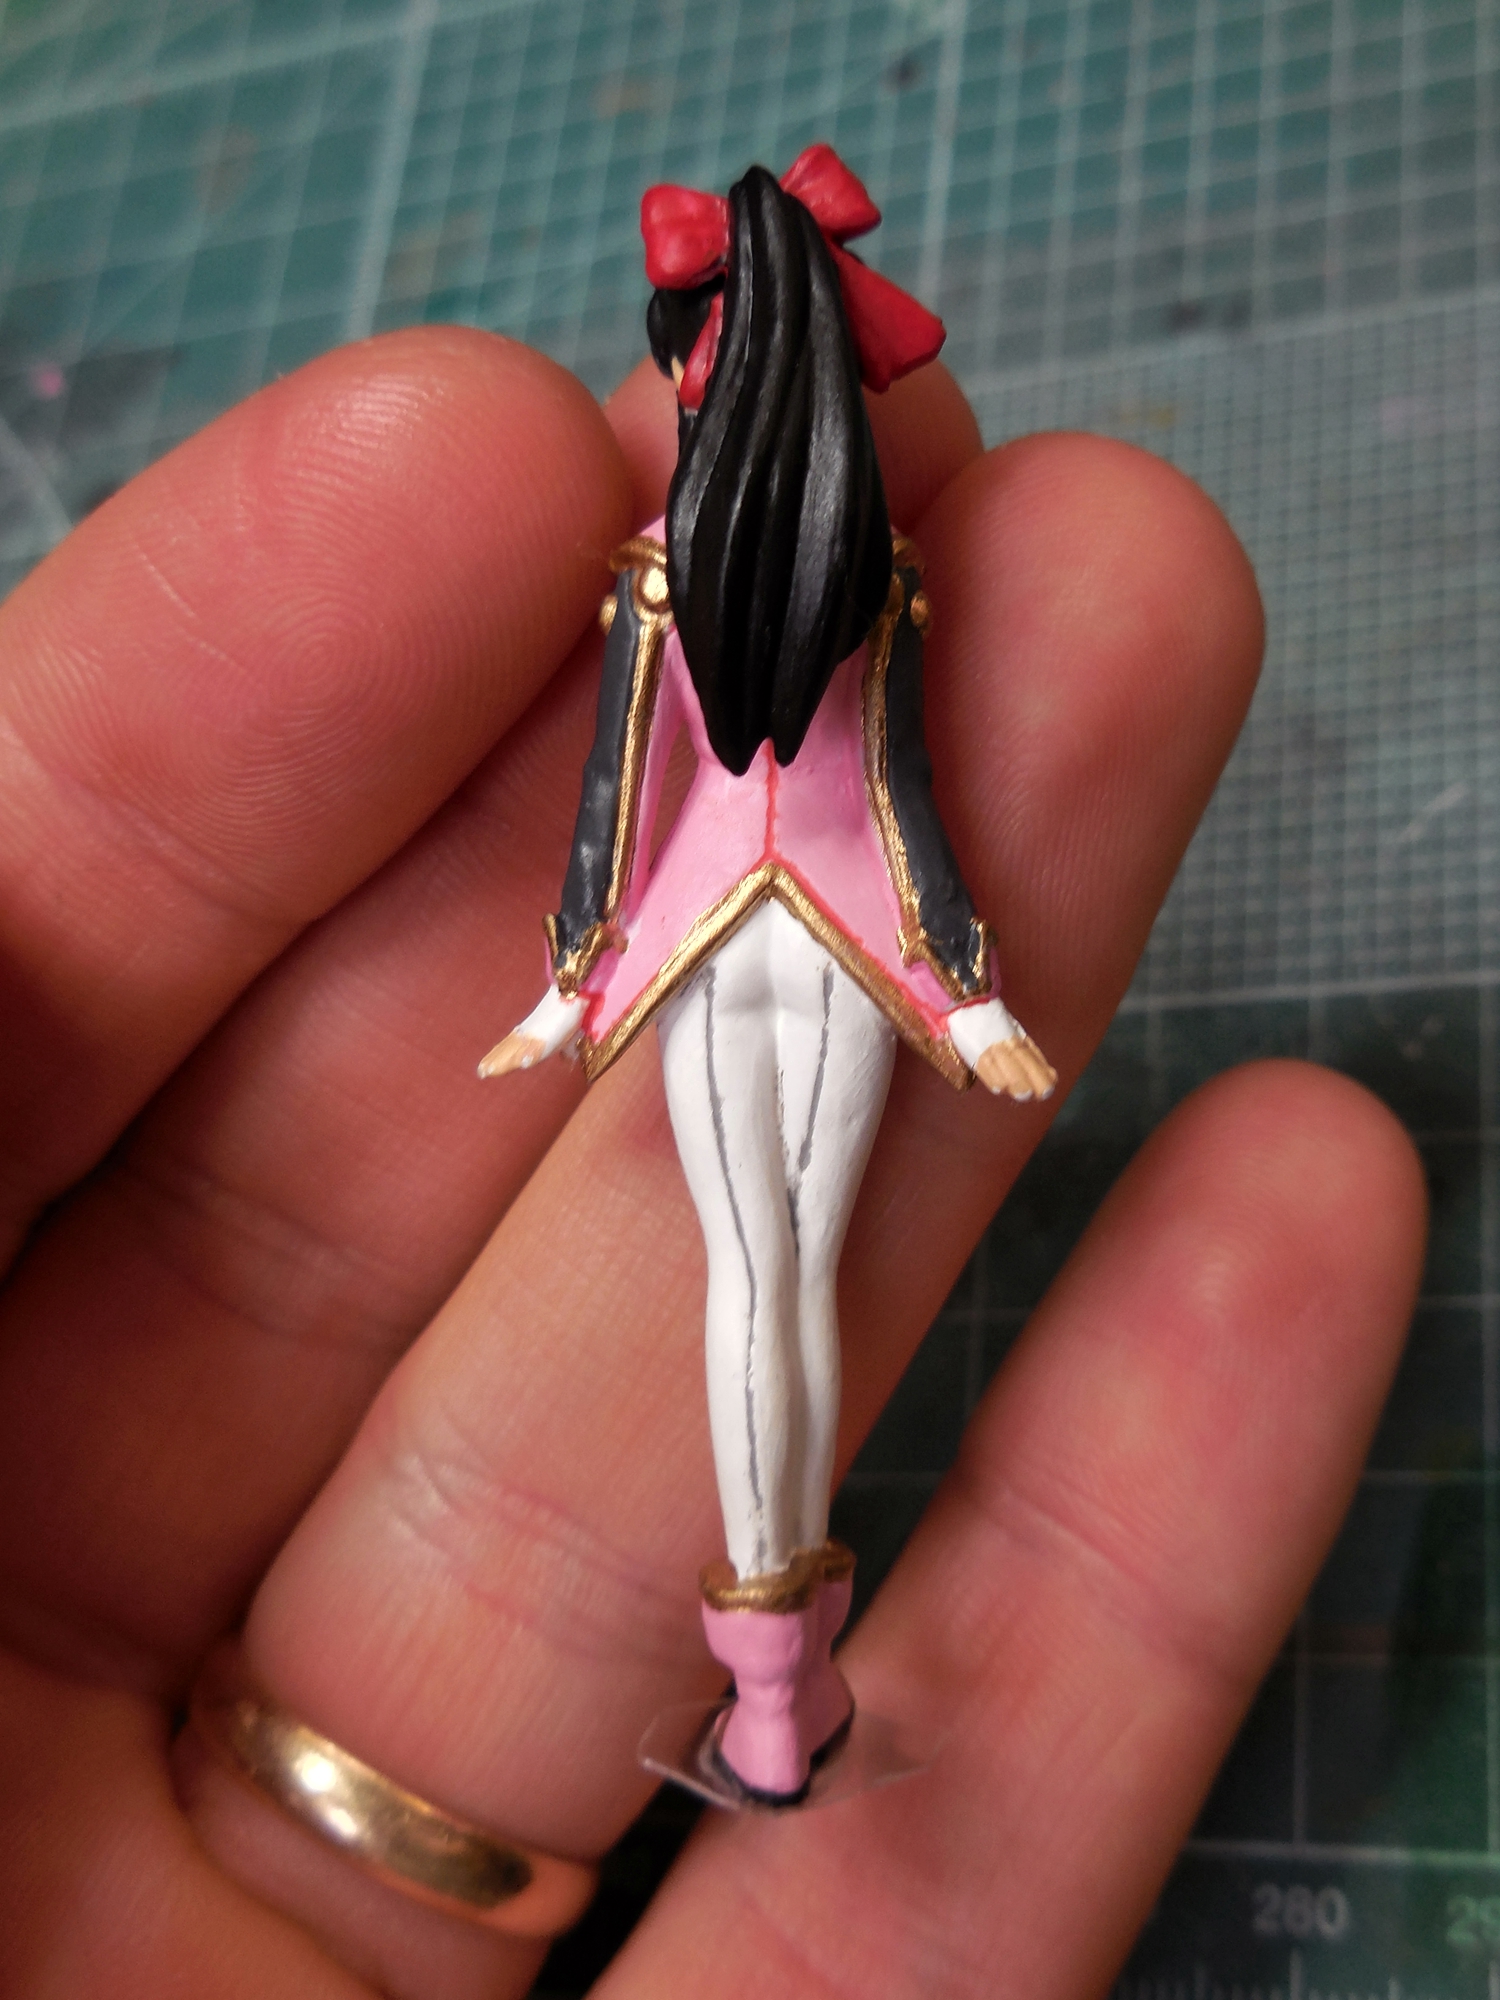
As for Sakura-chan herself, she was painted with Delta Ceramcoat paints. Her pink uniform was painted with Bubblegum, Think Pink, Red, and White Delta paints. I'd found a Delta paint called Spice Tan that is perfect for Japanese skin tone, so that is what I used. For her hair color, I was going more for Kosuke Fujishima's character designs and made it more of a bluish black, instead of more of a blue color as it appears in the video games and anime. Her gray sleeves were Tamiya's German Gray and the gold trim was again Testors Gold enamel. Fortunately, the kit came with decals for her eyes! That made me happy and makes her look great.
There were a few places I wasn't happy with, such as tiny little marks that are not very visible to the naked eye, but showed up when I took closeup pictures of this kit. My main disappointment with myself is that I believe I forgot to use the proper mark softner to melt the waterslide decals properly. It was a learning experience for me, at least!


Video playlist: